
A frustrating aspect of cycling can be how quickly technology advances and leaves your gear behind. Just when you have saved up to acquire a great set of wheels, tyres, groupset or a bike, the new version comes along and it’s better, lighter and faster than what you have.
What can be even more frustrating is that when the gear you bought breaks, or you make a change somewhere else on your bike, getting your old stuff up to speed is easier said than done.
You may like
Rather than buying a set of new(er) wheels, I decided to put in the work to get it fixed, and I’m glad it did! It reaffirmed to me that even in the world of modern bike tech, if you invest in solid gear and have some creativity, the ability to keep that gear going is easier than the industry might suggest.
Why do I love my old Enve 5.6s?
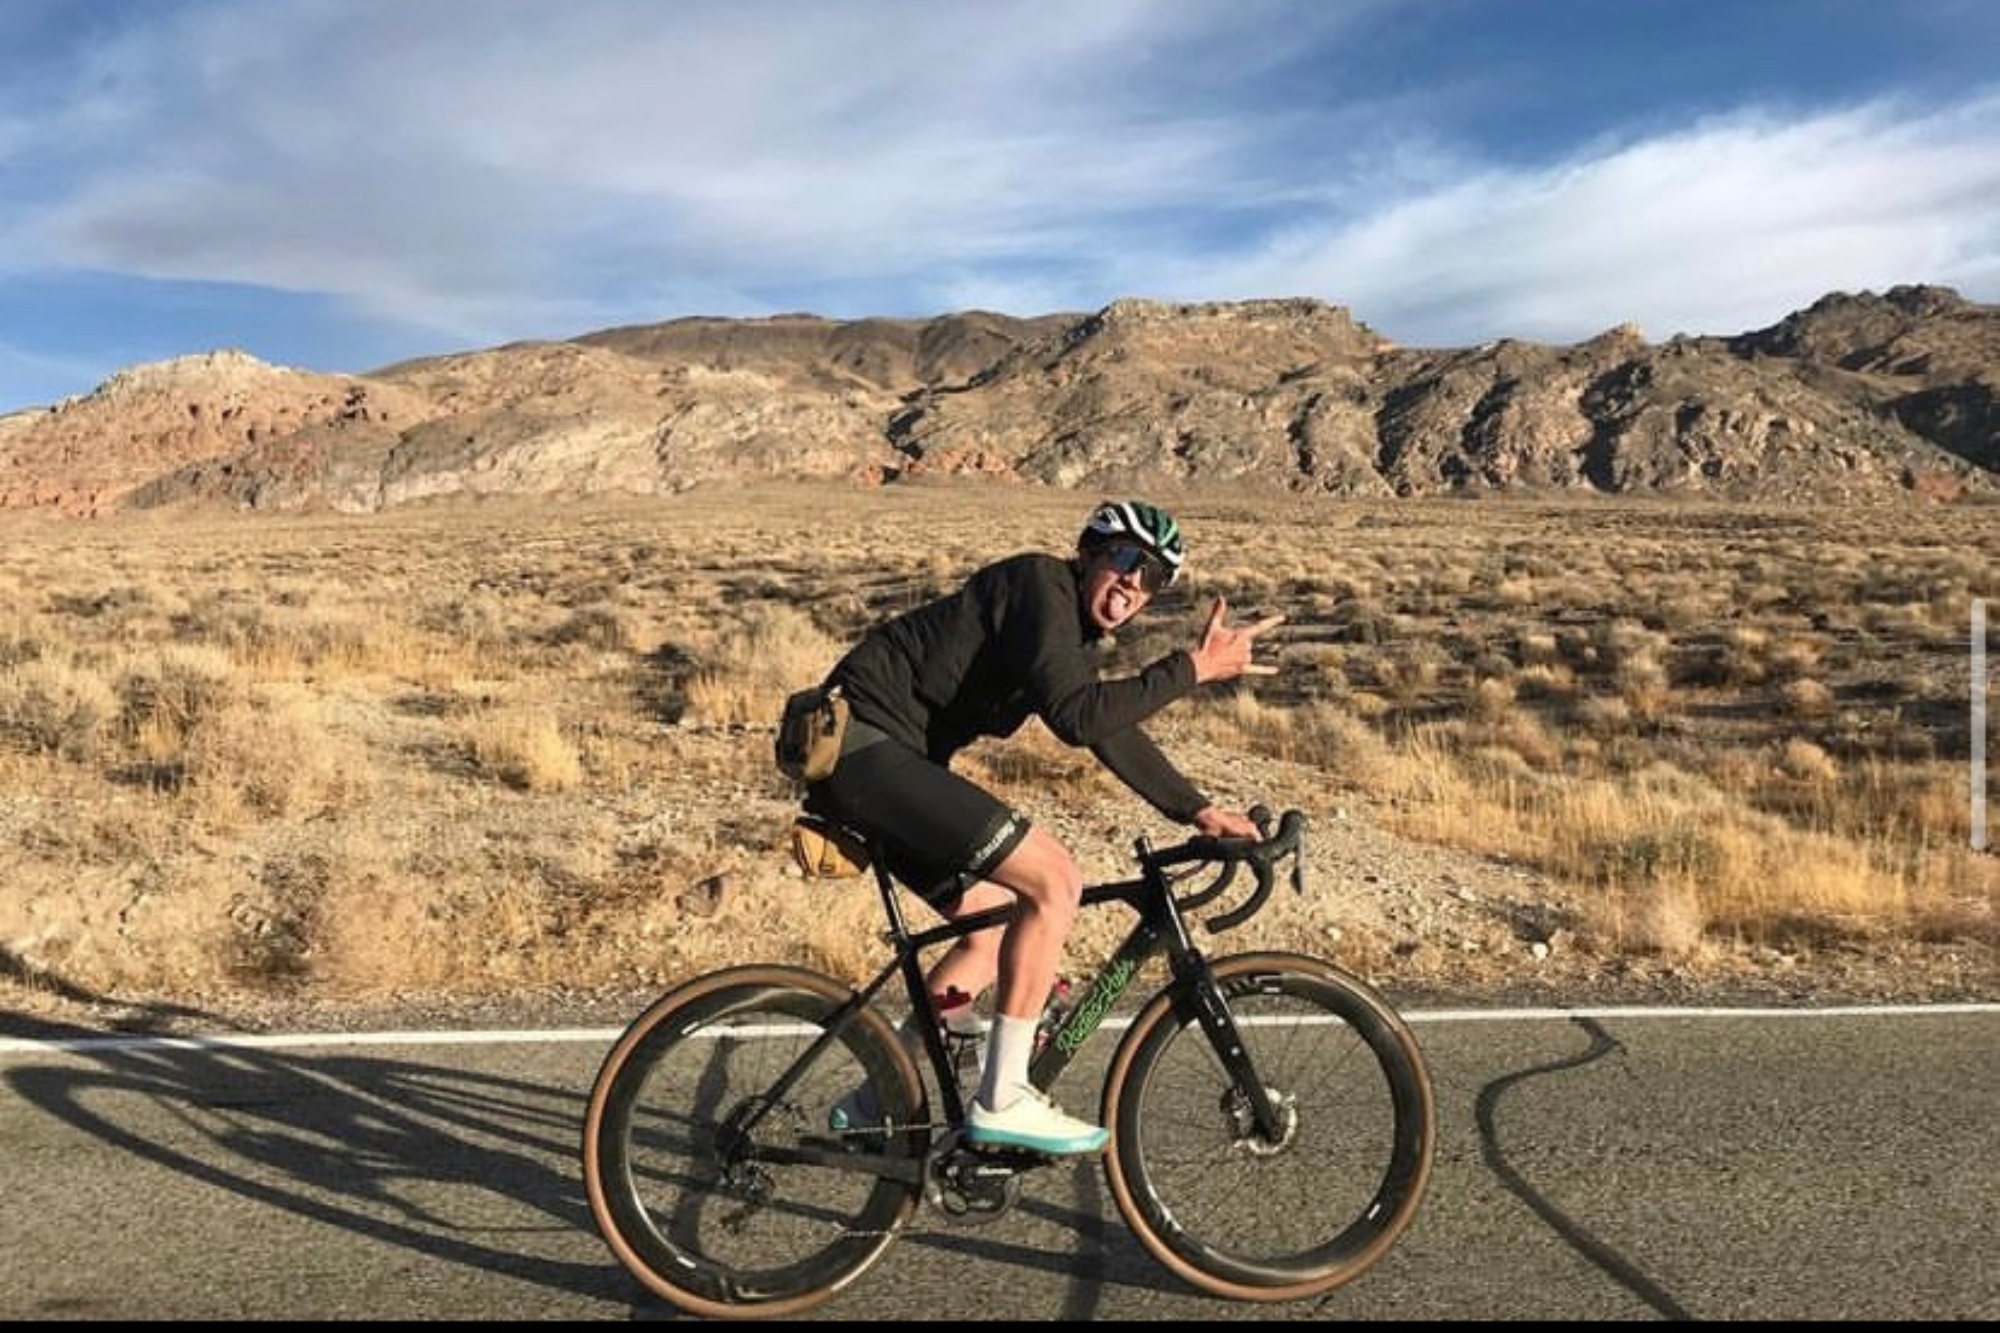
A much younger Logan on his way to putting 25,000 miles on his Enve SES 5.6 wheels
(Image credit: Logan Jones-Wilkins)
To begin, I must explain why this project was worthwhile to me, and my attachment to a six-year-old wheelset that is no longer being made.
The 5.6s were a pair of wheels I got back in my racing days as a U23 road rider in the United States. I didn’t get the $2,500 for free, but it was a heavy discount that made the top-of-the-line wheels achievable in the Fall of 2019 when my team, Kelly Benefit Strategies, made the shift to disc-brake-equipped road bikes.
My cycling journey since then has been circuitous, but the Enve 5.6s have been a constant on my bikes, from road riding to gravel adventures. Unbound 200? Yup. Professional criteriums? Certainly. Cross-America road trips with all different kinds of riding in between? I put on some 38mm slicks and had a great time.
Enve shelved the model in 2022 in favour of their shallower and lighter SES 4.5s or the deeper and wider SES 6.7.
The 5.6s are not the lightest, nor the widest road rims, but I still found myself looking at them in the back of my bike room, sad that I couldn’t use them anymore. Without rim brakes to grind at the carbon, the rim was still as bulletproof as ever. What a waste to have them sitting there, collecting dust or, worse, getting tossed in a landfill.
Still, a new Enve wheelset replacement seemed a steep price to pay for some old wheels, so for a year, they continued to collect dust, waiting for me to find a solution to get them back on the road.
And then I broke a different set of wheels.
When life gives you lemons
My cycling journey has been circuitous, but the Enve 5.6s have been a constant on my bikes, from road riding to gravel adventures. Unbound 200? Yup. Professional criteriums? Certainly. Cross-America road trips with all different kinds of riding in between? I put on some 38mm slicks and had a great time.
(Image credit: Logan Jones-Wilkins)
Last summer, I cracked a rim on a pair of Shimano GRX wheels. It was a substantial blow, and no fault of the Shimano rim as broken wheels are sometimes the price of rugged gravel riding. But almost immediately, my gears started turning: one good rear rim plus one good rear hub equals one whole rear wheel. Once I counted up the spoke holes on the rim and the holes in the hub–and counted again to be 100% sure–my plan started coming together. Both had 24 spoke holes and would work as a combined system.
I still had a few things to figure out: One, I had to find spokes of the right length to match the new hub. Tricky because the Shimano hub was not available for sale individually. It is an OE hub, or a hub that only comes pre-built onto the full wheelset.
There are a few sites online that can find the right length of spokes to match both the rim profile and the hub shape, width and height. But no matter what I tried, I couldn’t quite figure out the way to get the correct measurements. The time had come for me to turn to the professionals.
Fearing the worst, I took the Shimano hub and Enve rim to The Velo, my local independent bike shop here in Phoenix, Arizona.
The Velo is the kind of shop that I knew would be interested in trying to problem-solve with me. And sure enough, they knew a guy. The solution wasn’t an employee on staff, but a semi-retired bike mechanic who works out of his home office on the outskirts of Phoenix. An on-call wheel builder with no website, no social media, just referrals. But he had the right tools and know-how.
A week — and a mere $200 investment in labour, spokes, and nipples — later, I got the call from The Velo that my wheel was ready for pickup. I never met the man, or even spoke to him, but it didn’t matter. The wheel was nearly ready to roll.
One final compatibility problem

(Image credit: Logan Jones-Wilkins)
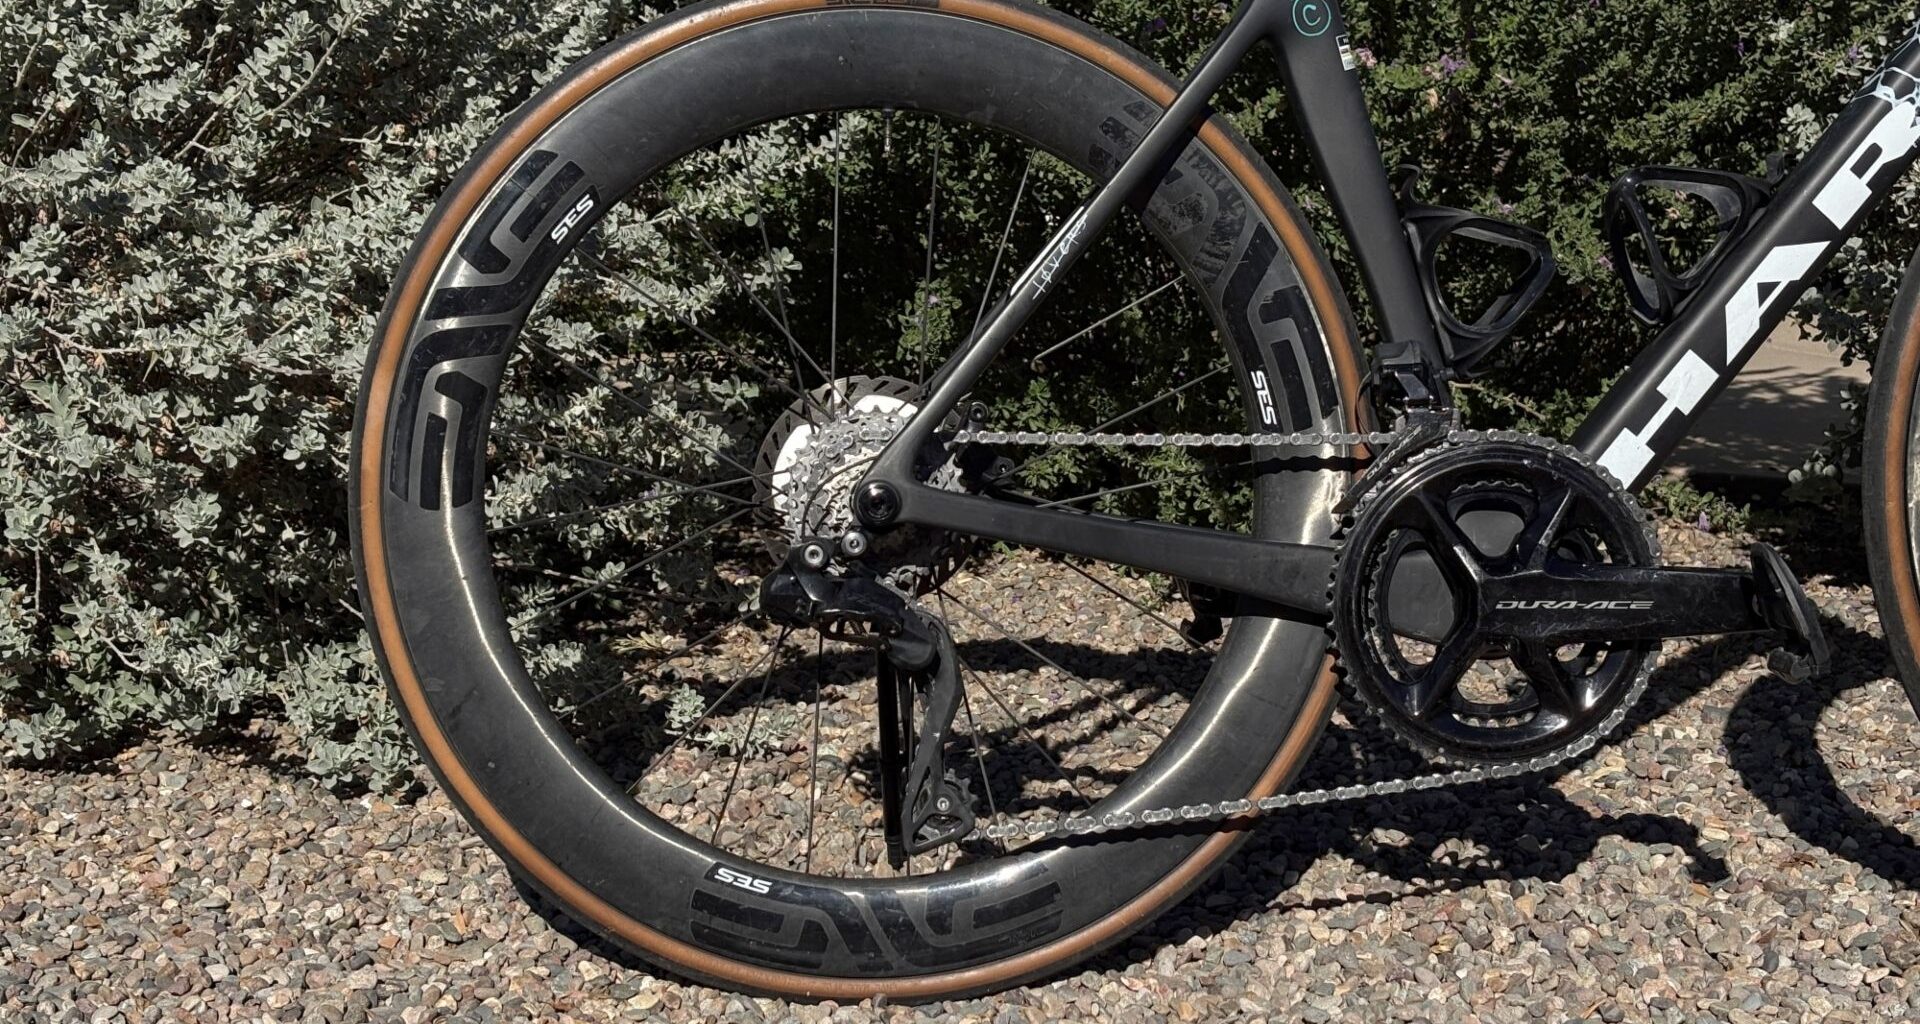
Nearly ready because there was one final compatibility problem: the right 12-speed Shimano hub.
Currently, Shimano offers three distinct 12-speed freehub options. The one that most riders are familiar with is the HG Freehub. The HG remains the main configuration for Shimano 11 and 12-speed 2x groupsets.
But the cassette body that I had been using on my Shimano hub was from Shimano’s 1x off-road offerings: the Micro Spline.
The Micro Spline came around to allow for a 10t small cog at the low end and a 51t on the high end. Originally an MTB invention, it trickled into gravel with the 1x GRX 12-speed drivetrains relying on mountain bike cassettes. There are, however, no road cassettes with the Micro Spline interface, and Micro Spline and HG cassette bodies are not cross-compatible.
Ultimately, the solution was to invest in the third and newest type of Shimano cassette body: the HG L2 Freehub.
Frankly, I had never heard of the HG L2 Freehub before this project, as the standard is new and very specific. It was launched with the 12-speed DURA-ACE 9200 groupset and used in the 12-speed wired GRX as well. However, for now, the HG L2 is compatible with only one type of cassette, which, at $410, ultimately becomes the most expensive part of the entire refurbishing process.
Welcoming back an old friend
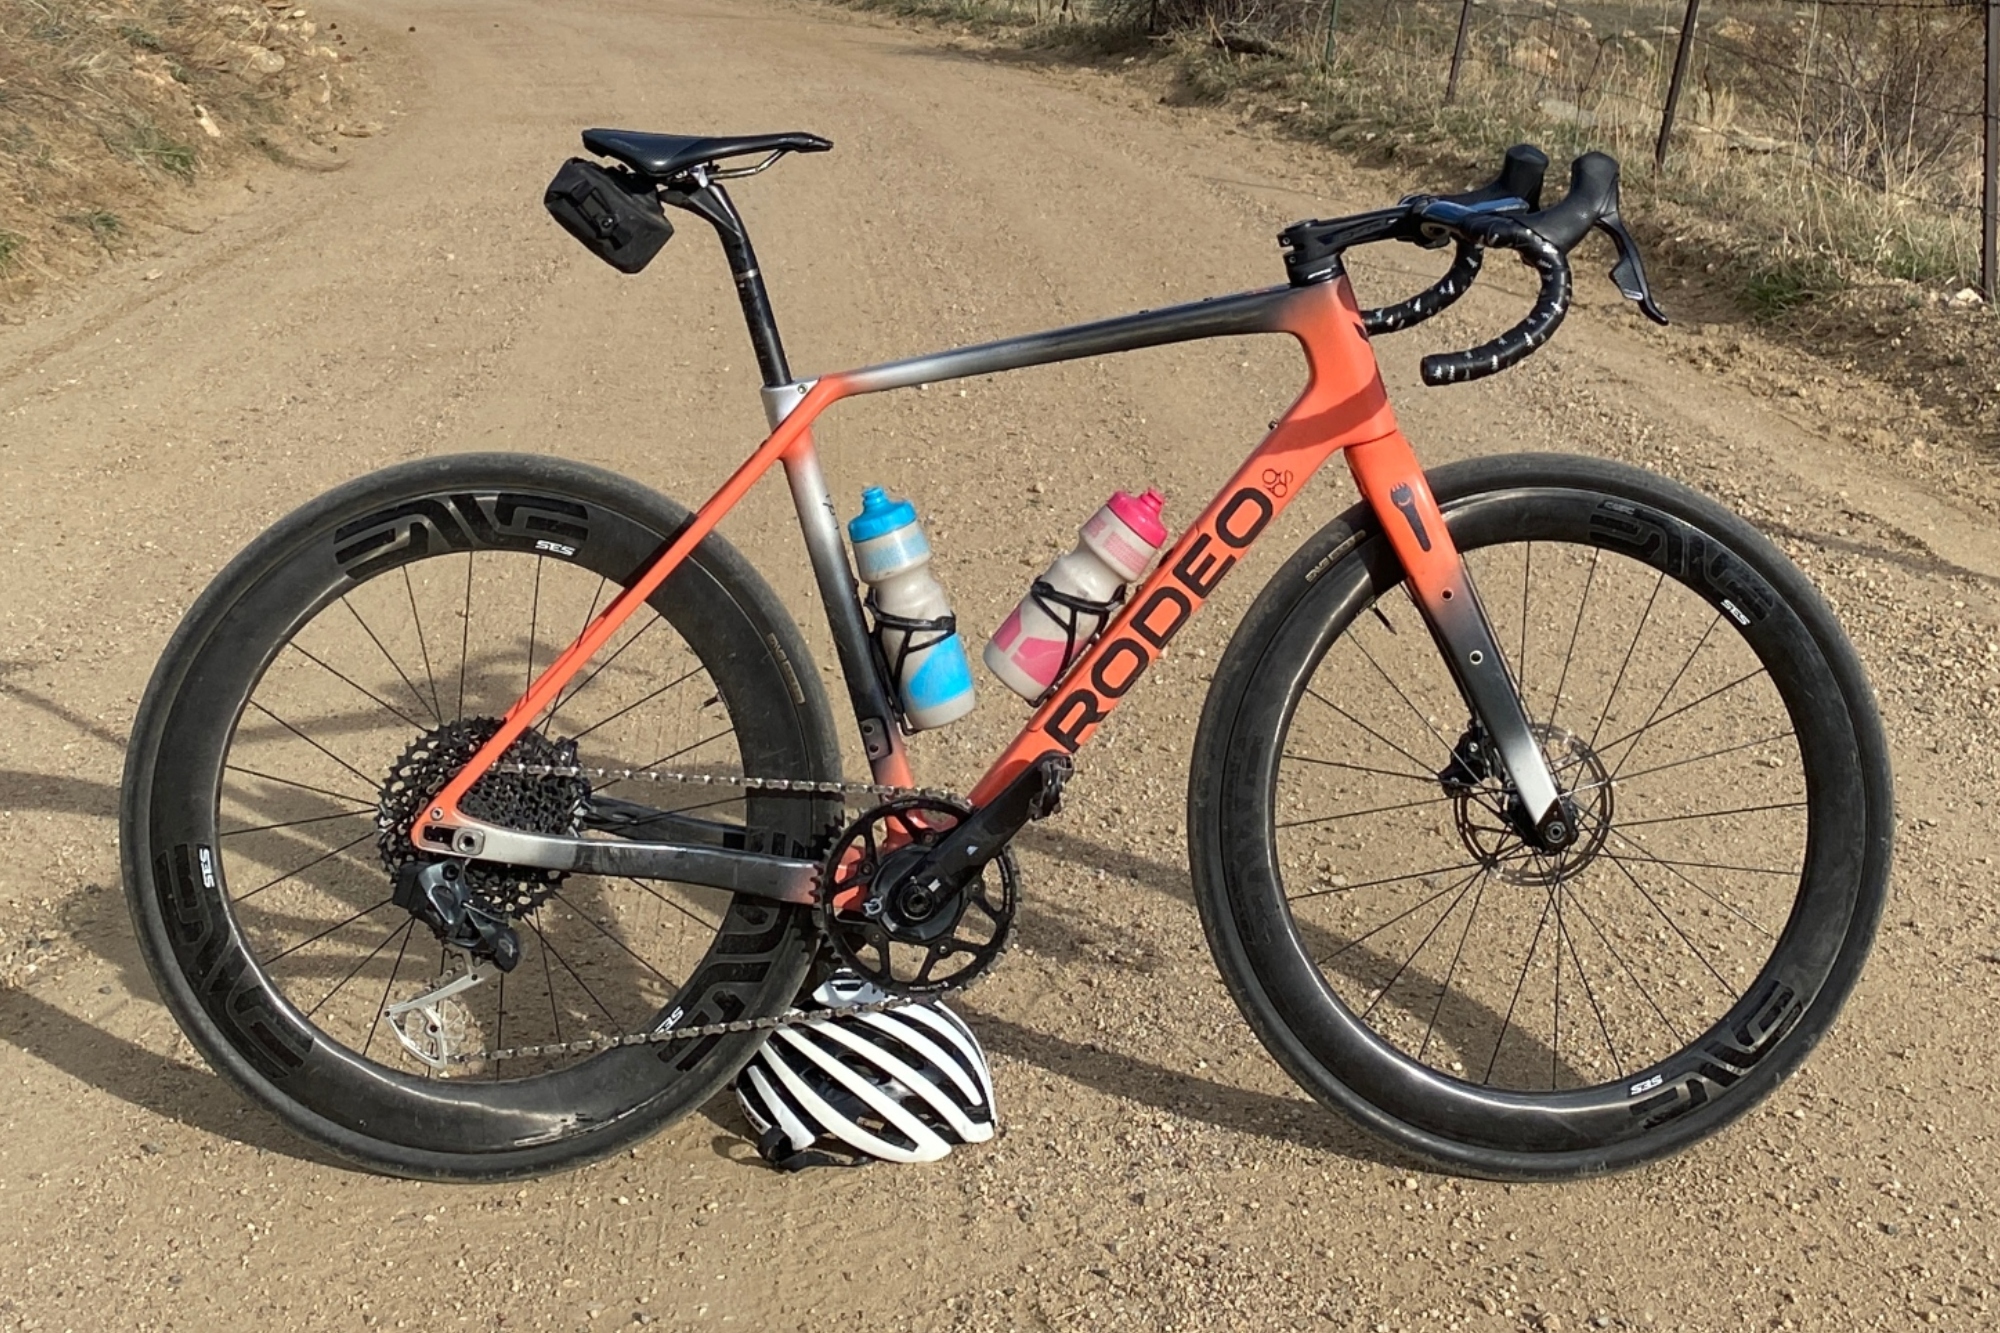
Getting the refurbished wheels back out there almost felt better than a new bike day.
(Image credit: Logan Jones-Wilkins)
All things considered, for $610, my beloved wheelset is back on the road, and lighter than ever before.
Getting them back out there almost felt better than a new bike day. Like the first day of fall, slipping into an old sweater, everything felt familiar yet renewed. The deep rims’ whoosh on the pavement, the clean look of a modern bike with deep rims, and that snappy stiffness under power all brought me back to those 25,000 miles of riding together.
It was nostalgia, delivered through sweat equity, as I thought through each step of the process, trusted local resources, and refused to do the easy thing of just moving on to the new thing and forgetting about the old.
While there are certainly issues surrounding the right to repair in cycling these days, the process was a good reminder that for some things, gear is stronger than ever. If you buy good gear, maintain what you can, and keep looking for solutions when things are imperfect, your investments can hang around for quite a while – no matter the fancy tech that comes out in the meantime.