
Shooting intimate water scenes in landscape photography is one of the most overlooked ways to build a compelling portfolio. You don’t need dramatic mountain vistas or sweeping coastlines to create striking images.
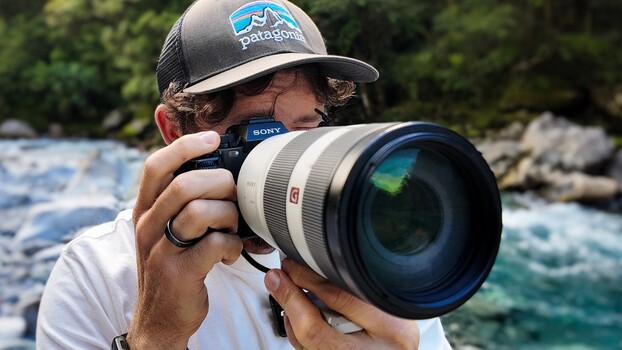
Coming to you from William Patino, this practical video focuses on finding and photographing small-scale water scenes in everyday locations. Patino walks through his full process at a local river, from choosing the right lens to reading the water itself. He recommends a telephoto lens for this kind of work, and he’s shooting with a Canon RF 100-400mm f/5.6-8 IS USM, though he notes a 70-200mm or even a 24-105mm can work. The extra reach lets you isolate small pockets of moving water that would otherwise blend into the broader scene. Patino also prefers shooting from slightly above the water rather than at ground level, which keeps more of the frame in focus and avoids the blurred foreground compression that a telephoto at close range tends to produce.
One of the more useful things Patino covers is shutter speed experimentation. He’s shooting across a wide range, from 1/20 of a second down to a full second, and he points out that the right speed depends on your focal length, how close you are to the water, and how fast the water is actually moving. There’s no single answer. He also shoots a large number of frames in a single session because the water changes constantly and each frame looks different. What he’s hunting for is a sense of flow and direction in the image, not just a static pattern of rocks and foam. Lighting plays into this too. He picks days with intermittent cloud cover for soft, diffused light, and he suggests golden hour if you’re near a beach or lake, where the color contrast becomes more dramatic.
The post-processing side of this work is simpler than you might expect, partly because you’re dealing with a narrow color palette and a relatively controlled tonal range. Patino’s approach leans on selective dodging and burning to suggest where light is entering the frame, which gives the eye somewhere to land. Since you’re shooting with a long lens, the frame doesn’t always make the light source obvious, so adding that directionality in post helps the image feel intentional rather than flat. He also avoids leaning too hard into flat midtones, keeping some small highlights in the image so it retains contrast and life. There’s more in the video about his specific color grading approach and how he handles different lighting conditions, including the golden hour processing he briefly mentions. Check out the video above for the full rundown from Patino.