
Check out the draft order as it stands with three games left in the 2025 season
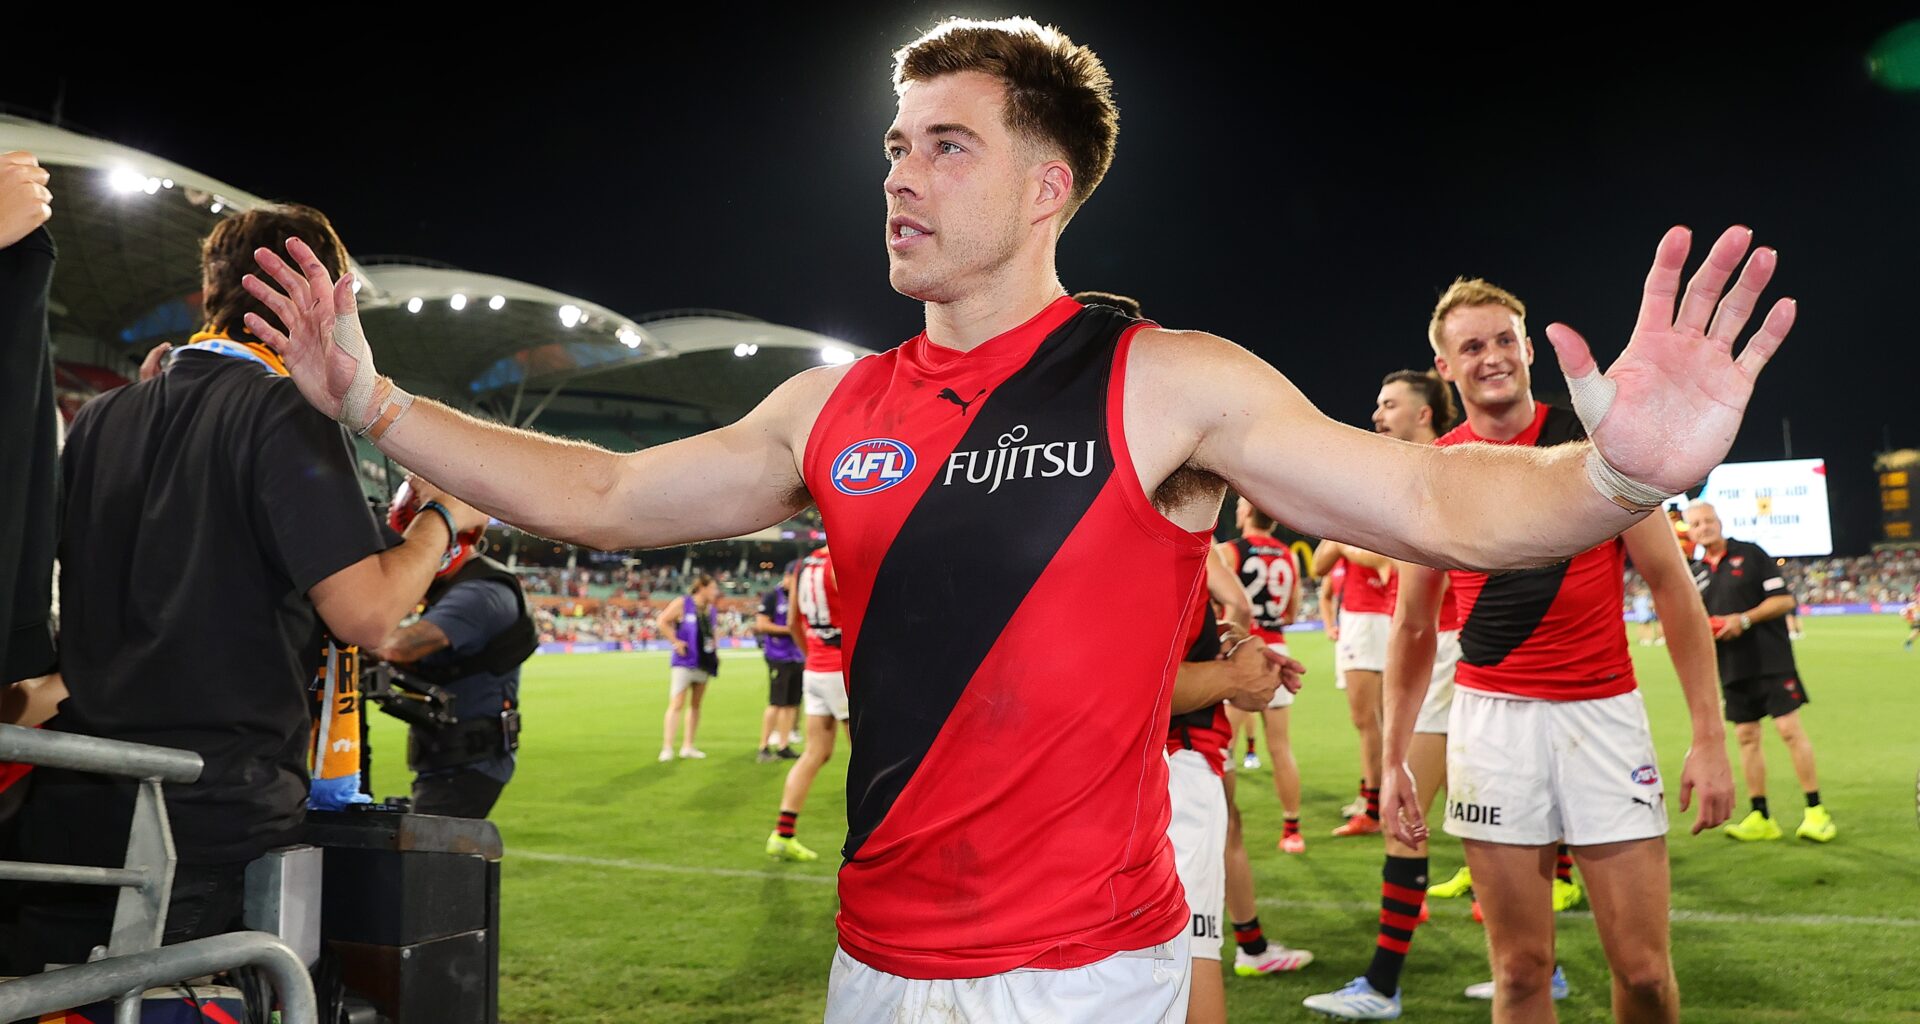
Zach Merrett leads the team off after Essendon’s win over Melbourne in round five, 2025. Picture: AFL Photos
HAWTHORN is into yet another preliminary final and the Hawks will also head into the Continental Tyres AFL Trade Period with a prized top-10 pick at their disposal.
Hawthorn currently holds pick No.8 this year after the Tom Barrass trade last October, which saw the Hawks land Carlton’s 2025 first-round pick, and their own future first-round selection end up at West Coast.
DRAFT HUB Click here for the latest draft news
In negotiations, the Hawks gave the Eagles the choice of future first and future second-round picks tied to the Blues or tied to the Hawks. West Coast opted for the latter, essentially betting that Hawthorn would finish below Carlton in 2025.
The Hawks finished the season in eighth spot and were just one loss away from finishing ninth, which would have seen the Eagles end up with pick 10.
But with the Hawks now into the final four, that pick has blown out to pick 15 and will be pushed back even further if the Hawks make it through to the Grand Final.
The Hawks’ second-round pick belonging to the Eagles has now also blown out to 33.
On the flip side, with the Blues finishing a disappointing 11th, the Hawks have possession of pick eight, which could be pivotal in their pursuit of disgruntled Essendon captain, Zach Merrett.
While Hawthorn’s strong September is a blow to West Coast, the Eagles will still head into the Trade Period with pick one and could end up with pick two as well if they receive band one compensation for departing free agent, Oscar Allen.
The final draft order ahead of the Trade Period will be determined after the Grand Final, before compensation picks are determined.
Indicative draft order after the semi-finals
ROUND ONE
1 West Coast
2 Richmond
3 Richmond (tied to North Melbourne)
4 Essendon
5 Essendon (tied to Melbourne)
6 Gold Coast (tied to Port Adelaide)
7 St Kilda
8 Hawthorn (tied to Carlton)
9 Sydney
10 Western Bulldogs
11 Fremantle
12 GWS
13 Gold Coast
14 Adelaide
15 West Coast (tied to Hawthorn)
16 Brisbane
17 Gold Coast (tied to Collingwood)
18 Geelong
ROUND TWO
19 West Coast
20 North Melbourne (tied to Richmond)
21 North Melbourne
22 Essendon
23 Melbourne
24 Port Adelaide
25 Essendon (tied to St Kilda)
26 Hawthorn (tied to Carlton)
27 Sydney
28 Western Bulldogs
29 Fremantle
30 GWS
31 Gold Coast
32 GWS (tied to Adelaide)
33 West Coast (tied to Hawthorn)
34 Carlton (tied to Brisbane)
35 Collingwood
36 Geelong
ROUND THREE
37 Brisbane (tied to West Coast)
38 Fremantle (tied to Richmond)
39 North Melbourne
40 Brisbane (tied to Essendon)
41 Adelaide (tied to Melbourne)
42 Port Adelaide
43 St Kilda
44 Carlton
45 Sydney
46 Brisbane (tied to Western Bulldogs)
47 Fremantle
48 Adelaide (tied to GWS)
49 Brisbane (tied to Gold Coast)
50 Adelaide
51 West Coast (tied to Hawthorn)
52 Melbourne (tied to Brisbane)
53 Collingwood
54 Geelong
ROUND FOUR
55 Hawthorn (tied to West Coast)
56 Gold Coast (tied to Richmond)
57 North Melbourne
58 St Kilda (tied to Essendon)
59 Melbourne
60 Port Adelaide
61 Brisbane (tied to St Kilda)
62 Carlton
63 Sydney
64 Collingwood (tied to Western Bulldogs)
65 Fremantle
66 Adelaide (tied to GWS)
67 Gold Coast
68 Adelaide
69 Hawthorn
70 Brisbane
71 Collingwood
72 Geelong