
Every year when autumn arrives and the woodlands start to transform, I find myself turning my attention away from the sweeping landscapes and down to the forest floor. The change feels fitting — literally and figuratively — because photographing fungi is all about paying attention to the smallest details. It’s a slower, more deliberate process, where every small adjustment matters.
For me, the biggest factor that separates an average fungi image from one that truly stands out is focus. And I don’t just mean autofocus. I’m talking about my entire approach — my positioning, lens choice, and how I handle depth of field through focus stacking.
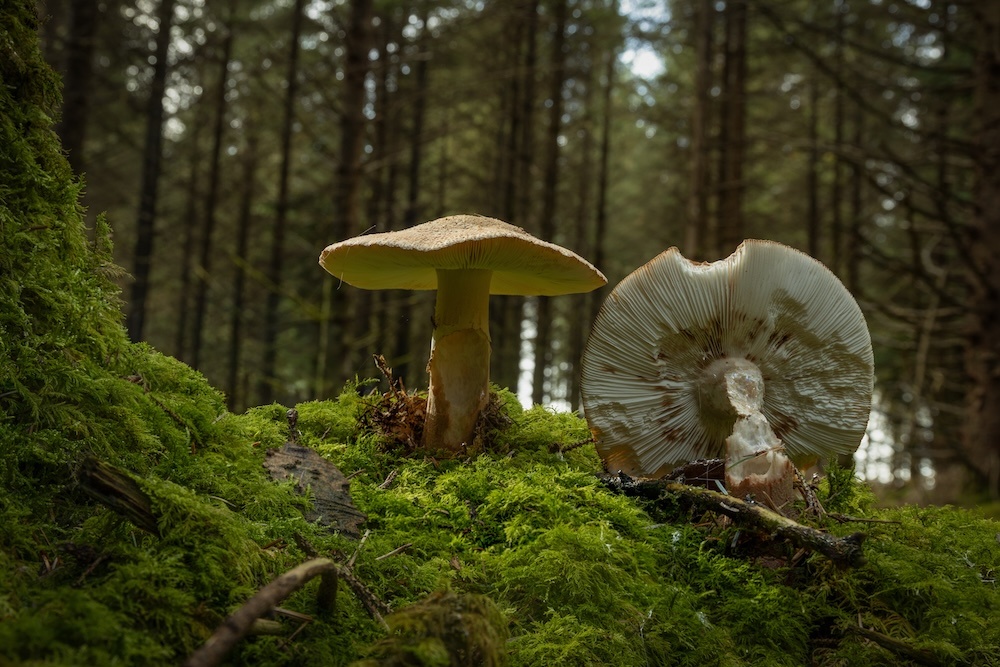
Understanding the Challenge of Fungi Photography
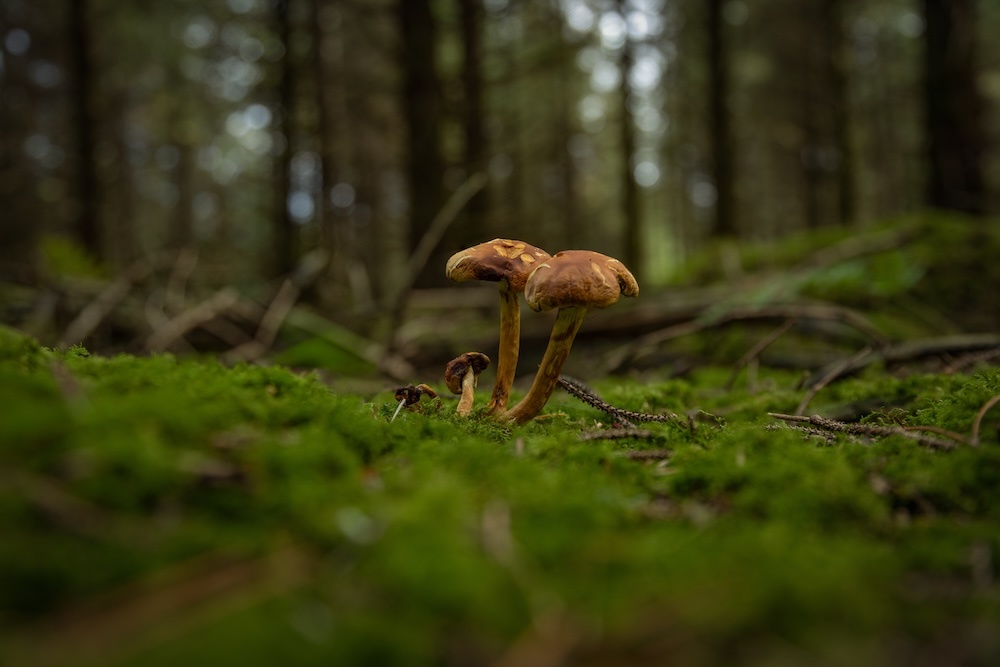
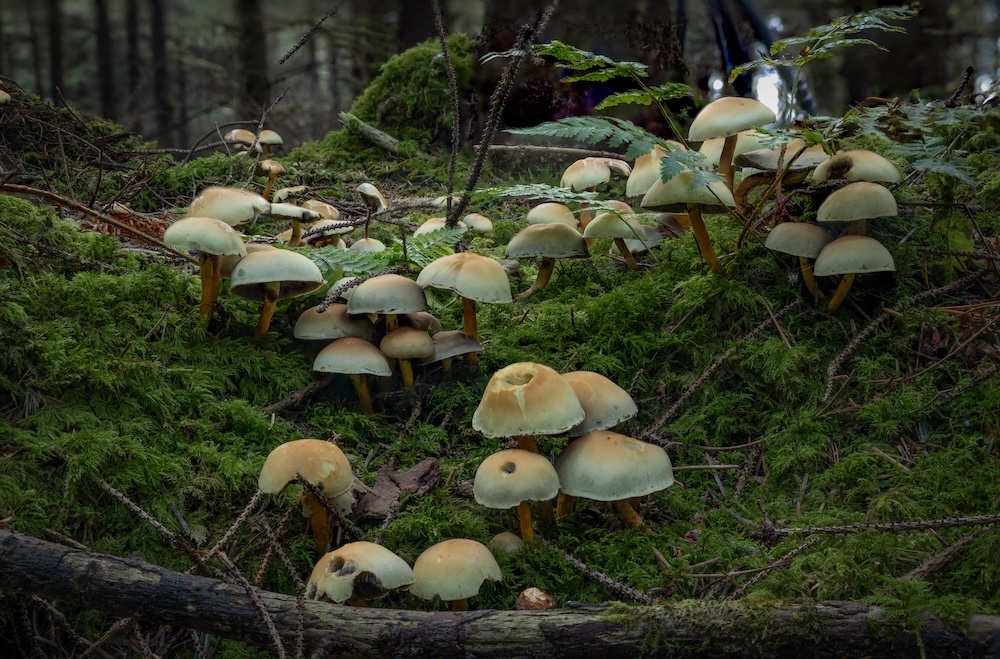
Mushrooms bring challenges that most of my usual landscape subjects don’t. They’re small, often low to the ground, and almost always growing in shaded, damp conditions. That means I’m usually working with low light, very narrow focal planes, and backgrounds filled with moss, leaves, and twigs that can easily distract from the subject.
Even at f/16, I find the depth of field isn’t enough to keep the entire mushroom sharp. The front edge of the cap might be in focus, but the back edge or stem often falls soft. It’s one of the most common issues I notice when looking back through early fungi shots — that slight blur that makes the image feel unfinished.
That’s where focus stacking comes in. It’s a simple but incredibly effective technique that turns a three-dimensional subject into a crisp, detailed photograph from top to bottom.
The Secret — Focus Stacking and Patience
My process for focus stacking is straightforward. I take a series of images, each focused slightly deeper into the subject, and then blend them later in software like Adobe Photoshop. The result is a single image where every part of the mushroom is tack sharp — from the tip of the cap to the base of the stem.
Depending on the size of the mushroom and how close I’m working, I’ll usually take between five and ten shots. The important thing is to make tiny adjustments to the focus ring between each exposure — just a few millimeters of change can shift what’s in focus completely.
If your camera has focus bracketing built in, it can automate this process, but I prefer doing it manually. It helps me stay more aware of what’s happening through the lens.
This style of shooting forces patience. I’m often lying flat on the forest floor, carefully nudging the tripod into place and double-checking focus after every shot. It’s a calm and methodical process, and I actually enjoy that. After chasing sunsets and changeable weather most of the year, it’s nice to slow down and give attention to something small.
Getting Down Low — The Perspective That Matters
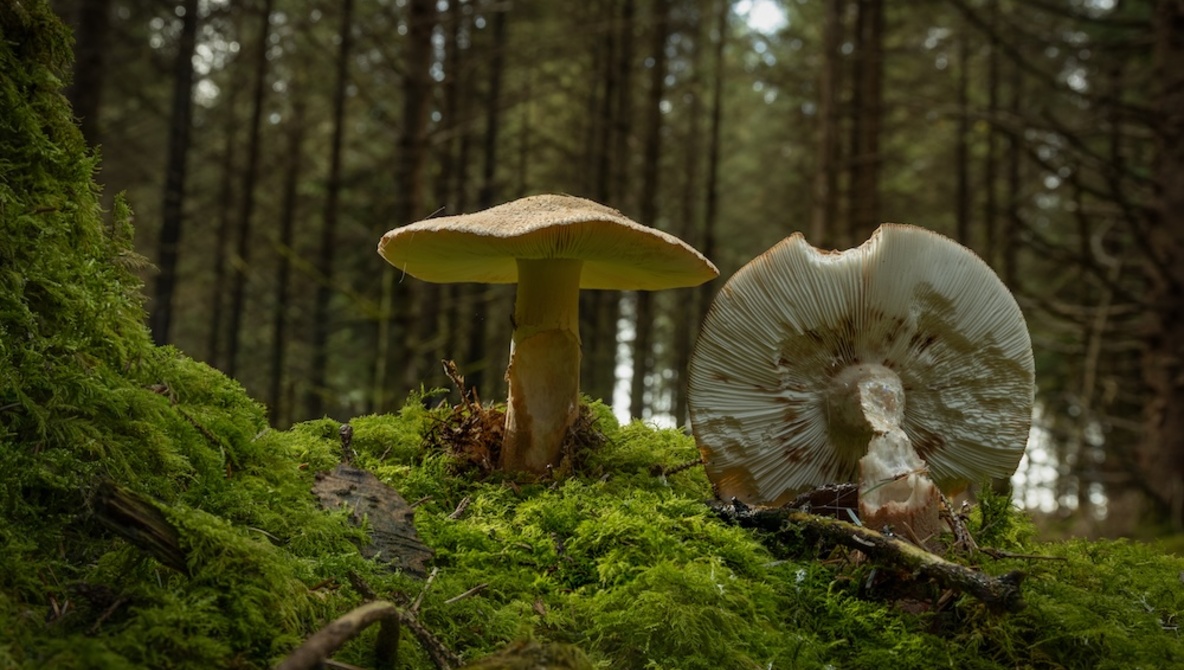
Fungi photography works best when you shoot at the same level as your subject. Shooting from above rarely does justice to their shape or texture. To capture their true character — the curve of the cap, the detail in the gills, the texture on the stem — I need to get down low.
That usually means setting the tripod almost flat to the ground or removing the center column altogether. If your tripod allows for an inverted column, that can help, but I prefer keeping the camera upright so I can adjust and reframe easily.
Lying down in the damp forest might not sound appealing, but that perspective completely changes the composition. You start to see the small details of the scene — how a patch of moss can act as natural framing, or how soft light filters through the canopy to highlight the cap of the mushroom.
Know Your Minimum Focusing Distance
Before I head out, I always remind myself to check the minimum focusing distance of my lens. Every lens has a limit to how close it can focus, and that distance will dictate how near I can get before the camera physically can’t achieve focus anymore.
A dedicated macro lens is ideal for this kind of work because it’s designed to focus at close range without losing detail. That said, I’ve also used zooms like a 24–105mm or 70–200mm when I stay within their focusing range. The main thing is to understand that boundary before you set up.
I also pay attention to how close the front element of the lens is to the subject. If I get too near, the lens itself can block the light or cast a shadow, which can ruin the shot. Sometimes stepping back slightly and cropping later produces a cleaner result than forcing the lens in closer than it should be.
Depth of Field and Aperture Choices
There’s always a balance between aperture and overall sharpness. Wide apertures like f/2.8 give lovely background blur but make focus stacking more difficult because each image captures less depth. Very narrow apertures like f/16 or f/22 can cause diffraction, which reduces fine detail.
Through trial and error, I’ve found that f/5.6 to f/10 is usually the sweet spot. It gives good sharpness and enough overlap between focus slices for smooth stacking.
Stability and Small Adjustments
Because fungi grow in shaded woodland, shutter speeds are usually quite slow. A solid tripod is essential. I use a remote release or 2-second timer and turn off image stabilization when the camera is mounted to avoid any minor vibrations.
After every shot, I refocus slightly forward, making sure each focus zone overlaps the last. Once the full set is done, I quickly check for any frames where focus drifted before moving to the next subject. It’s repetitive work, but those checks save time later when processing.
Light and Environment
Overcast light is ideal for fungi photography. The soft, even illumination brings out the natural colors and textures without harsh shadows. If the light is too flat, I’ll sometimes use a small reflector or a handheld LED light to gently lift the shadows under the cap.
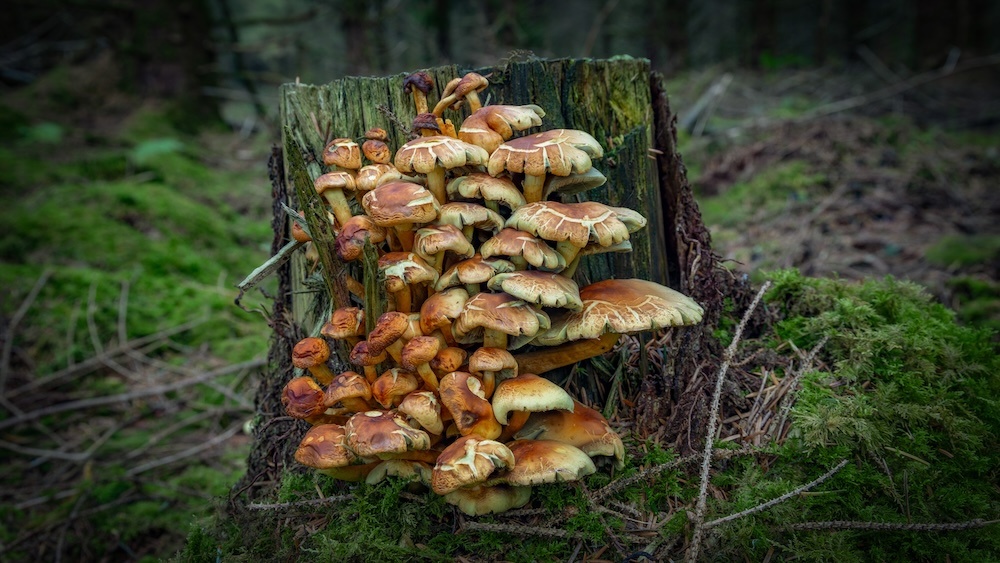
I always keep an eye on the surrounding environment. Leaves, moss, and decaying wood can make strong supporting elements that help tell the story of where the mushroom lives. I’ll sometimes move a loose twig or leaf that distracts from the composition, but I never disturb the fungi themselves or alter the scene too much.
Post-Processing and Blending
Back at the computer, I blend the stacked images using Photoshop’s Auto-Blend Layers, which will align the frames automatically and blend only the sharp areas from each exposure.
Once I have the merged file, I make small adjustments to contrast, clarity, and color balance. I’ll often dodge and burn lightly to shape the light and draw attention to the texture on the cap or the gills underneath. It doesn’t take much — the detail from the focus stack usually speaks for itself.
The Bigger Picture — Why It’s Worth It
What I enjoy most about photographing fungi is how much it slows me down. It’s not about dramatic light or fast-changing skies. It’s about quiet observation and patience — studying something small and finding beauty in its structure.
A finished fungi image can be just as satisfying as any wide landscape. There’s something rewarding about seeing all that fine detail, knowing it came from a series of small, careful decisions.
If there’s one takeaway from my approach, it’s this: fungi photography is all about focus — both technically and mentally. Take your time, master the stacking process, understand your gear, and get down low to see the world from their perspective. Do that, and even the smallest mushroom will have real impact in your frame.