
Most design tools are primarily great for visual execution, but not so much for planning your designs. I’ve bounced between so many design apps since I’ve been on the internet, and I truly love giving as many as I can a proper shot. Most deliver on their promises to an extent – but almost none of them handle the brainstorming part.
Since I’ve had success in pairing NotebookLM with my favorite design app, and also learned new design tools with it, I decided to pair it with a tool that I’d honestly forgotten about – Canva. Everybody loves Camva, it’s that tool you reach for when you’re not a designer but need to design something, and even some pro designers swear by it.
Since I’ve been busy building a more serious graphics stack after leaving Adobe this year, I hadn’t given Canva much thought; there are way better options out there. Or so I thought… until I paired it with NotebookLM.
Why even pair these two?
They actually complement each other better than you’d think
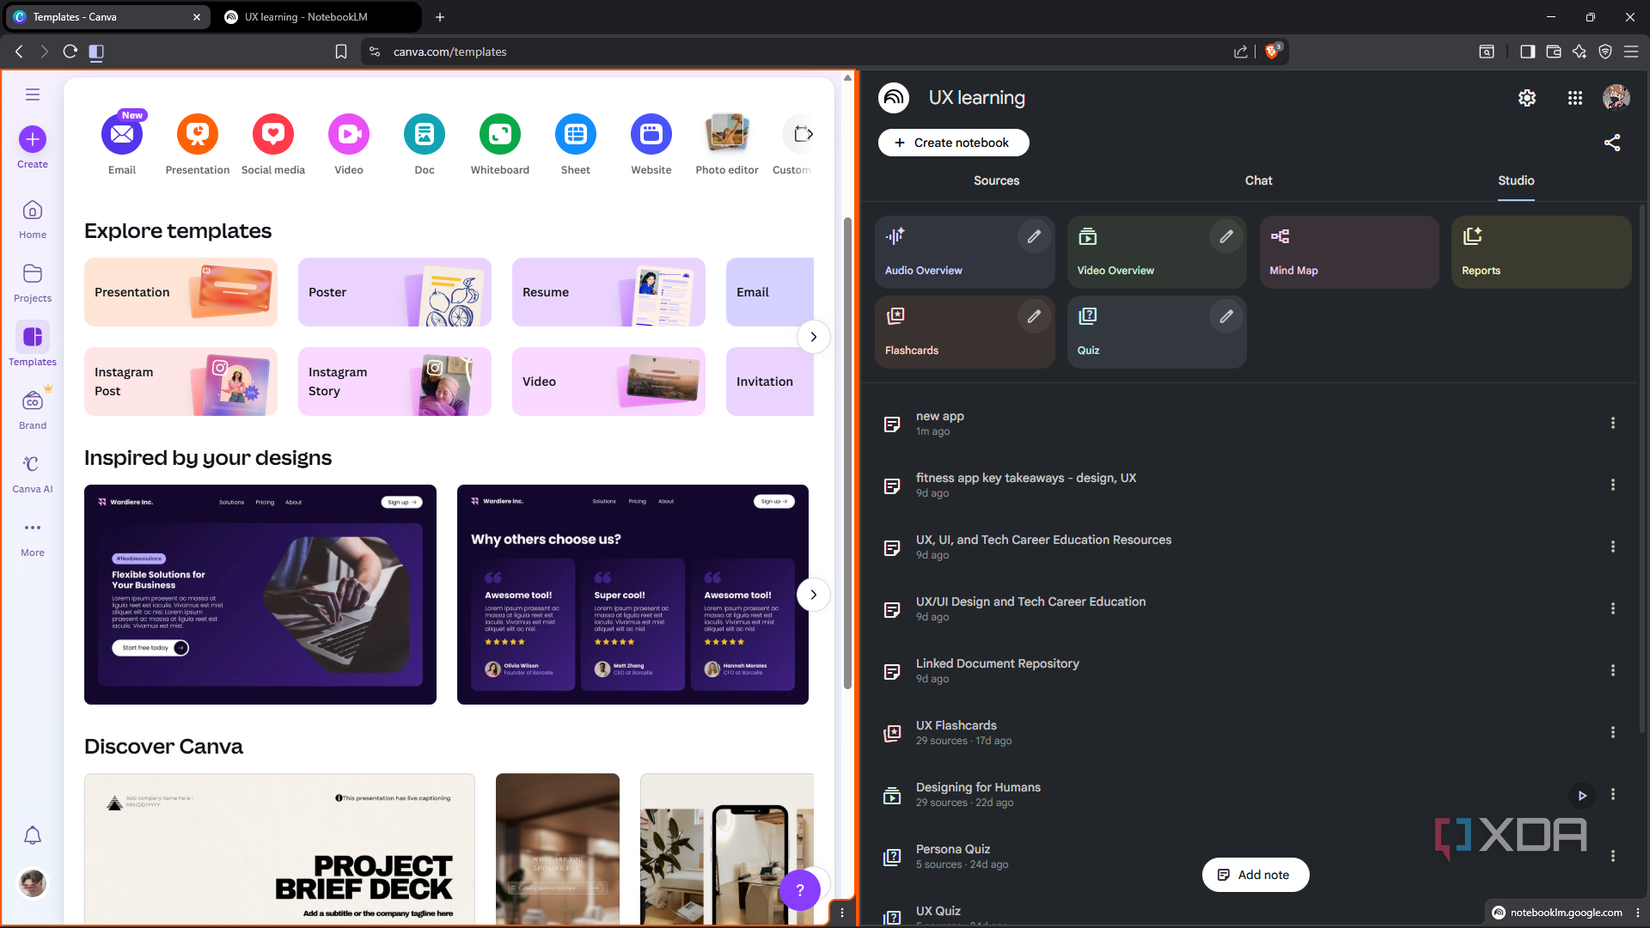
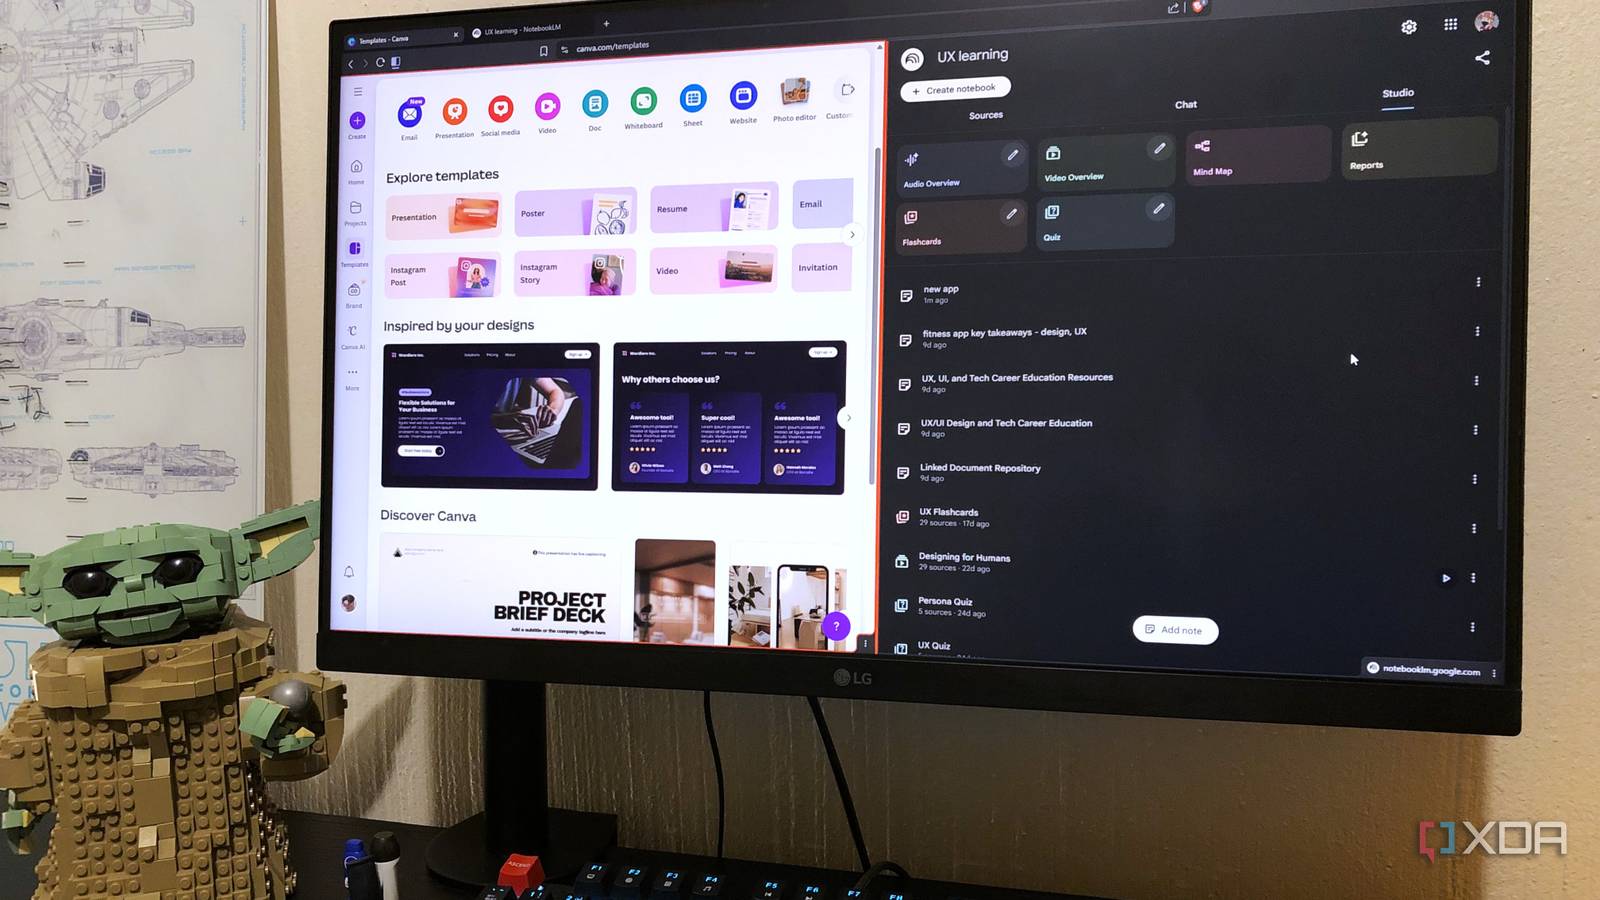
I wanted to see if I could get more out of Canva than I was expecting. Right out of the gate, I noticed how different it felt when I logged in for the first time in forever. Canva used to lean hard into the “fun graphics for Instagram” vibe. Now, it seems to position itself as a bit of a productivity tool, too. There are templates for resumes, pitch decks, emails, business cards, internal docs, and planning boards.
But the thing that caught my eye the most was the whiteboard, wireframing, and prototyping tools. Apparently Canva has had these UX/UI tools for a while; I’ve just been too smitten with Figma to notice. So I wanted to tap into these other sides of Canva that I hadn’t really explored yet. And what better tool to pair brainstorming sessions with than NotebookLM?
It can map out your entire design workflow and explain its reasoning, track your progress, and help you learn new features. But most importantly, it supercharges the research process of whatever design or concept you want to create.
Using NotebookLM to research anything you want to create
Everything starts with research
NotebookLM is the first piece of the puzzle. Let’s say you’ve got an idea for creating a product and want to sell it, want to get it out to the public, or just want to create something for fun. This could be physical products like T-shirts, digital products like ebooks or albums, or something more abstract like a landing page. Whatever format you’re working with, you need context to get started. You need to know what similar things look like, what people expect from it, what gaps you can fill, etc.
It’s going to require a bit of research on your part. For example, if you want to create a new coffee mug (you can actually design mugs in Canva by the way) you’re going to have to look at competitor reviews. Or if you want to create a website for selling your mugs, you’re going to need tutorials on how to set it up. Whatever it is you’re working on, you can plug it all into NotebookLM.
I already have my UI design notebook which is filled with all things related to website and app design, so I didn’t have to start from scratch. And then it’s just a matter of prompting NotebookLM. I wanted to create a website footer for a hypothetical company that sells plants. So I added a couple more sources for competitor analysis, and used prompts like:
What information do modern e-commerce footers usually include?
What do plant shops typically highlight in their website footer sections?
Suggest a color palette for a modern and friendly plant shop website.
What font pairings work well for eco-friendly or nature-focused brands?
This gave me everything I needed to get started in Canva. Of course, if you’re a Canva beginner, you can also use NotebookLM to learn how to use Canva itself. I recommend feeding it some YouTube videos to speed up the tutorial process.
Applying NotebookLM’s answers to your Canva design
Bringing it all together
NotebookLM gave me a bunch of ideas for my website footer design, so it was just a matter of creating it (or in this demonstration case, customizing the prototype template). I changed the color of the background and overlaid a reduced-opacity flower image. I also changed the text, icons, and placement of the elements based on the insights NotebookLM gave me. It was quite nice to get reacquainted with Canva – it really is like riding a bike.
All your design elements are on the left, such as illustrations, text, and shapes, with their adjustable properties at the top, such as color and size. I also recommend making use of some of the more advanced features, such as layering and generating color palettes.
And that’s all there is to it! If you want to AI-ify the process even further, you can use Canva’s AI features, namely Magic Studio, which lets you do things like remove the background, select all areas with text, or expand your images. It does require a pro subscription, however, which I’m not paying for.
NotebookLM revived Canva for me
I hadn’t thought about Canva much this year, until I paired it with NotebookLM. Yes, I could have done these designs on my own without the AI, but the reason this pairing is so powerful is that it basically gives you your own template for how to design a product. Before, my designs would be loosely based on random online tips or inspiration from Pinterest. With NotebookLM, you can give any concept real structure.