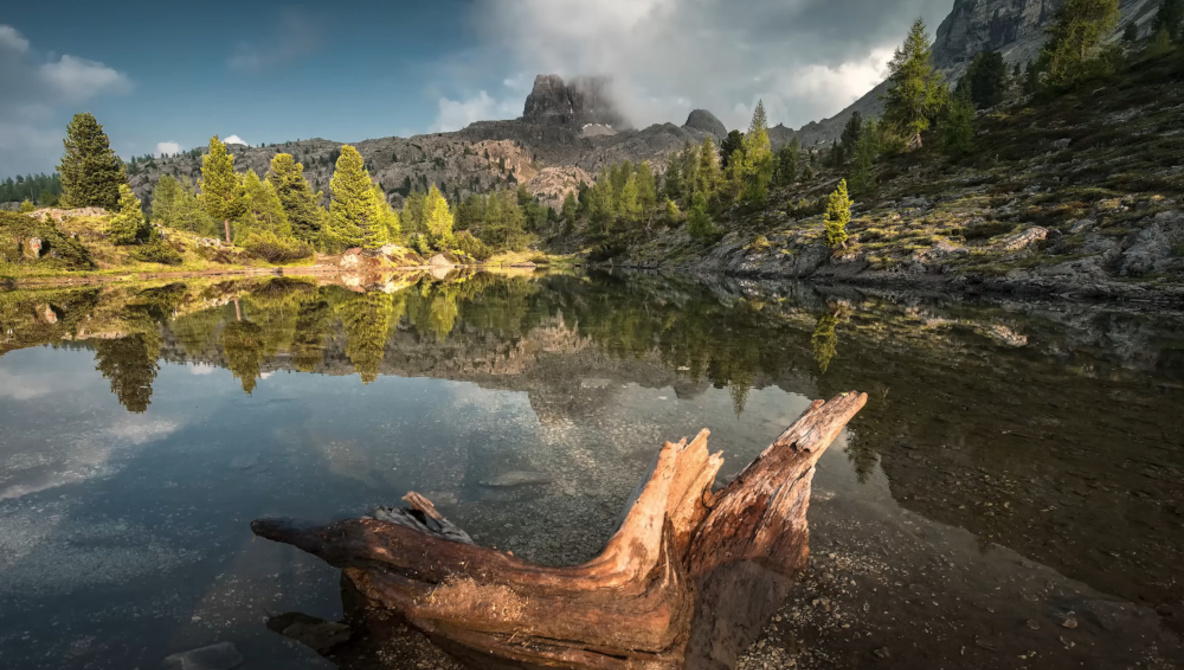
Lightroom masks can feel like a one-way door: you commit to a set of sliders, then second-guess how strong the whole mask should be. This video shows a cleaner way to dial a mask up or down after the fact, without rebuilding anything.
Coming to you from Christian Möhrle – The Phlog Photography, this practical video starts with a full edit and then zooms in on a single control that changes how you manage masks. Möhrle begins by flattening the starting look with the Adobe Standard profile, then reins in harsh highlights so the sky keeps texture. Shadows come up to restore detail, but contrast does not get abandoned, it gets rebuilt with whites and a careful contrast push. White balance goes cooler, and a small tint correction pulls out an unwanted purple cast in the sky.
Once the base is stable, the masking work turns the image from “nice capture” into something with clear direction. A landscape water mask tightens the reflection with clarity, texture, and a little contrast, while a linear gradient darkens the near foreground without crushing the deadwood. Color range masks target greens in the trees, pushing exposure and whites to fake a believable hit of sunlight, then warming those greens so the scene leans toward golden hour. The sky gets its own treatment with blue selections and gradients to shape brightness from top to bottom, and the mountains are separated so the background reads darker and heavier than the lit foreground.
The part worth watching is how Möhrle fine-tunes all that work without re-opening every slider. Instead of revisiting each mask and nudging exposure, clarity, temperature, and contrast one by one, he uses a single “amount” control inside the mask to scale the entire set of adjustments. That means a mask can be tested at 60%, pushed to 120%, then eased back again, while keeping the same relationships between the sliders you already chose. It is especially useful on masks where you stacked multiple changes, because the image can drift into “too much” quickly once texture, clarity, and dehaze pile up. He also shows how this helps balance linked areas, like keeping a darker sky and its reflection believable when you change intensity, and how to calm down a mountain mask without losing the separation you built.
After that, Möhrle moves into color work that supports the masking rather than replacing it. Hue shifts pull orange and yellow in a direction that changes how the main subject and green highlights read, then saturation adds energy to yellows, greens, and blues without turning the file radioactive. Luminance is used like a second masking layer, brightening foliage while dropping blue luminance to deepen the sky. A final stop in calibration shifts blue primary hue and saturation to steer the overall palette, which can change the feel of the scene faster than most people expect. Sharpening finishes the file with a smaller radius, higher detail, and masking applied while holding Alt so edges get priority over smooth areas. Check out the video above for the full rundown from Möhrle.

