
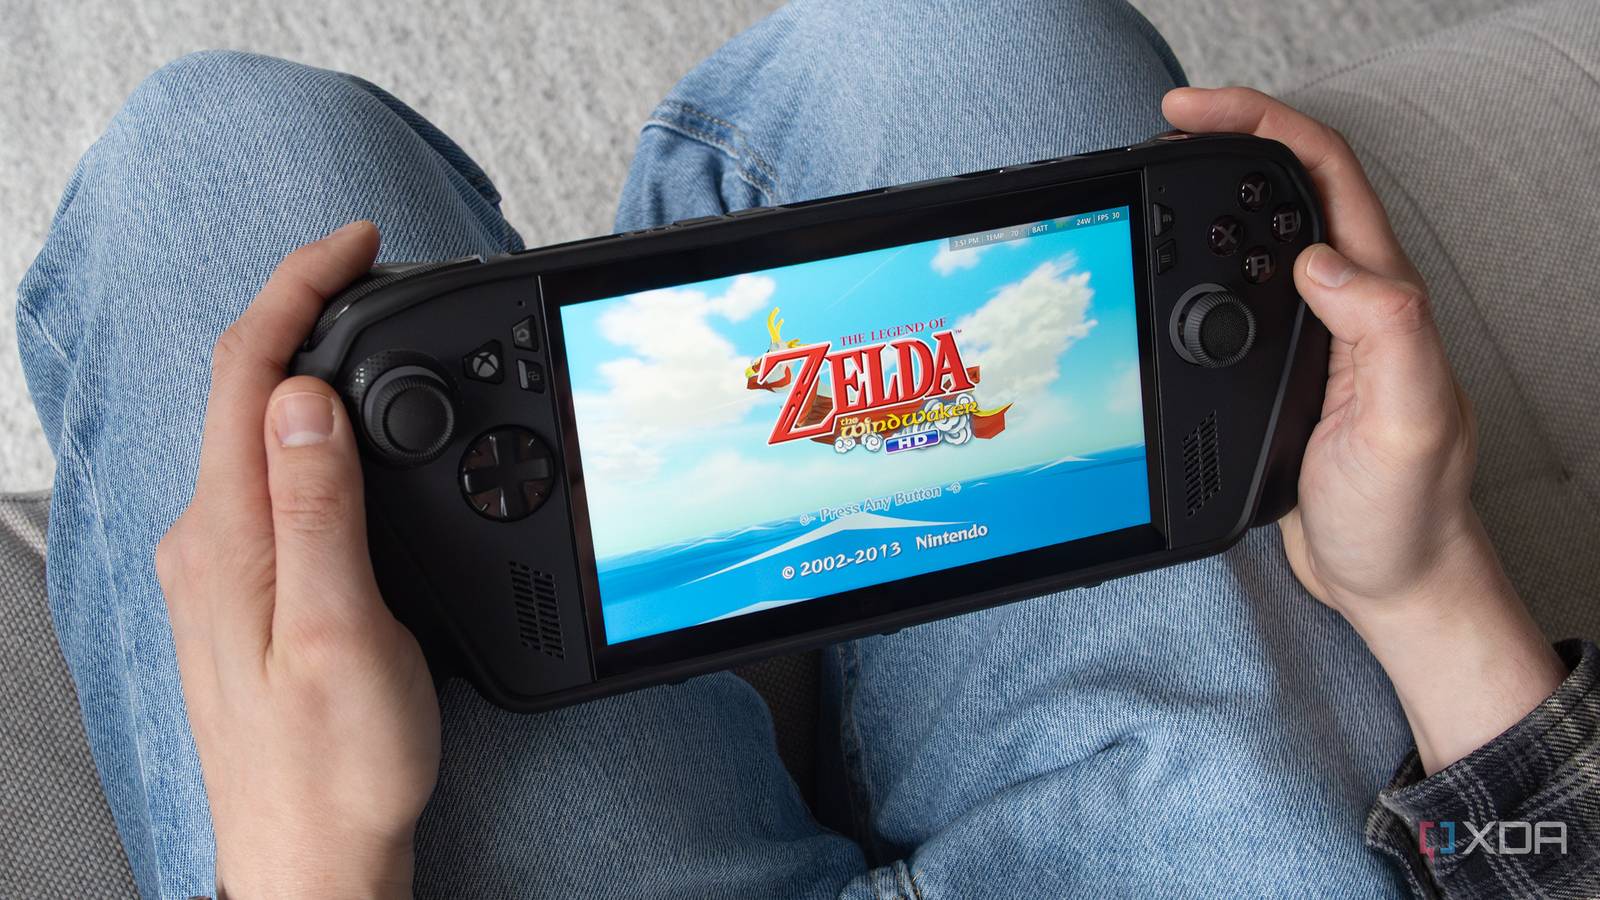
I’ve been on a The Legend of Zelda retro gaming kick lately, whether it’s revisiting Nintendo 64 classic Ocarina of Time through the excellent unofficial Ship of Harkinian-powered PC port on my ROG Xbox Ally X, or spending time playing the Game Boy Advance’s The Minish Cap on Anbernic’s GBA SP-like 34XXSP.
This reminded me that when the Steam Deck first released, I spent a long time getting EmuDeck up and running on Valve’s handheld (Linux and SteamOS were very new to me at the time), and then, a few years later, I transferred everything over to the Steam Deck OLED. Now that I’ve switched to the Windows 11-powered Xbox Ally X as my main gaming handheld, I’ve decided it’s time to get emulators running on it.
While there are a few all-in-one emulation packages out there, I ultimately decided that EmuDeck is the most streamlined option, even for Windows 11 handhelds like the Xbox Ally X. I enjoy tinkering with settings as much as the next person, but I also like to actually play retro games, and in my experience, EmuDeck offers a simple setup that’s still customizable.
What’s EmuDeck anyway?
It’s designed for the Steam Deck, but it still works great with Windows 11 handhelds
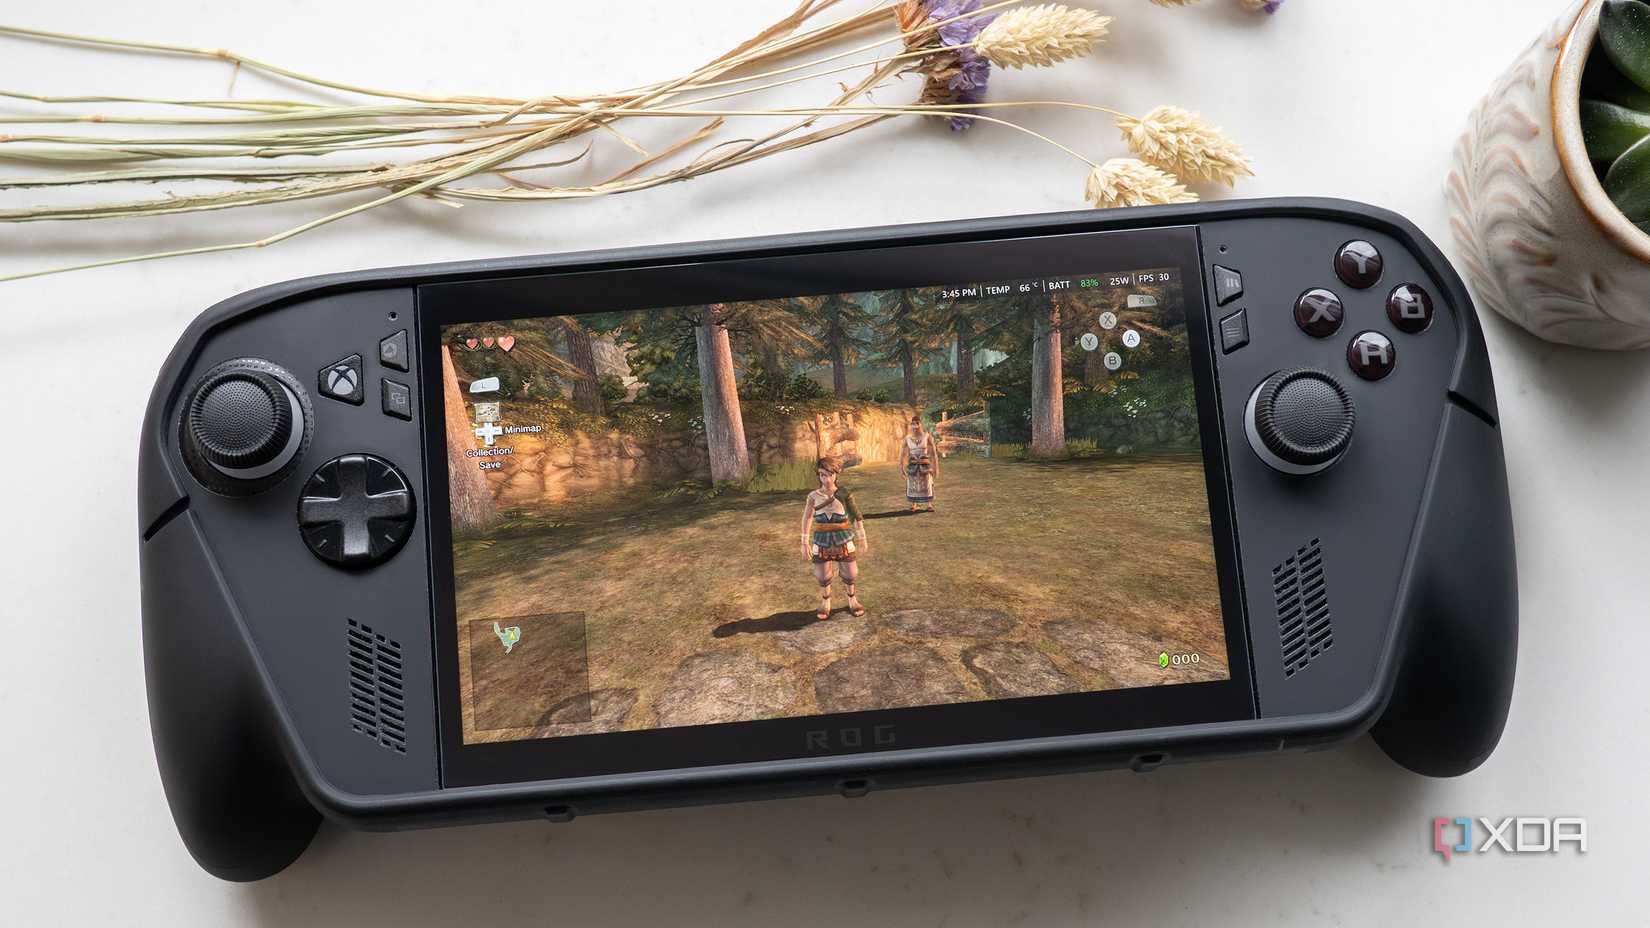
At a base level, EmuDeck is an installation script that streamlines setting up multiple emulators on a device (with the help of RetroArch for some platforms), whether you’re looking to play games for more recent consoles like the Wii U with Cemu, Dreamcast tiles with Flycast, GBA games with mGBA, or even PSP games with PPSSPP, alongside a streamlined front-end that makes it easy to access all of your ROMs (which you’ve, of course, ripped from cartridges and discs you already own).
My favorite part of EmuDeck is that it pre-configures every emulator’s in-game controls, aspect ratio settings, and other settings, so you can spend more time gaming and less time messing around with settings. That said, the app still offers simple, easy-to-access Quick Settings, like turning AutoSave and Bezels on, changing the aspect ratio for different platform eras, adjusting the resolution, and more. If you want to change something specific in an emulator, you can still launch it outside of EmuDeck and adjust the settings, but I haven’t needed to do this very often in my experience. For the most part, EmuDeck’s default settings are superb.
EmuDeck also allows you to keep all of your installed emulators up to date with the latest version, easily import games and console/handheld bios files, and more, all without having to delve into Windows 11’s file system (except for during the initial setup process). You can even get cloud saves if you sign up for EmuDeck’s Patreon ($4/month), which lets you sync saved files across multiple platforms (I haven’t done this yet, but I plan to).
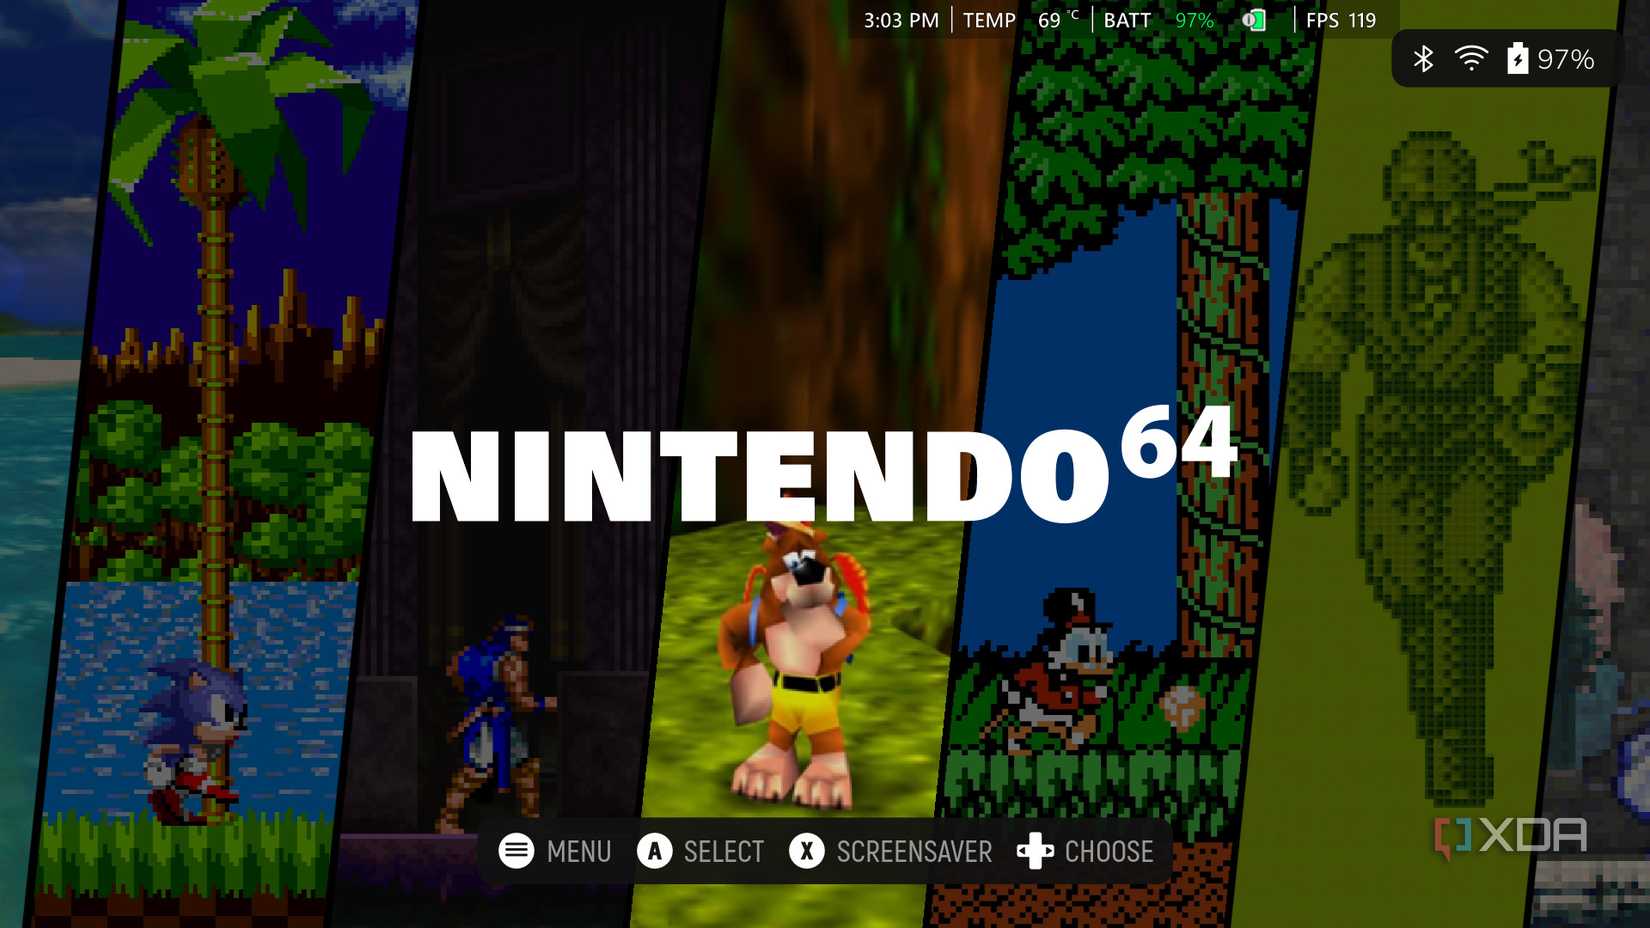
It also installs EmulationStation, a front-end launcher interface for your emulators and game collection that makes organizing and adding your ROM library way easier. It’s basically a console-like dashboard where all of your games are organized, complete with box art and metadata.
Related
I thought retro emulation was a novelty, but it’s become my favorite way to play
You don’t need a pile of ancient consoles to enjoy the authentic feeling old-school games.
EmuDeck’s setup process with the ROG Xbox Ally X is straightforward
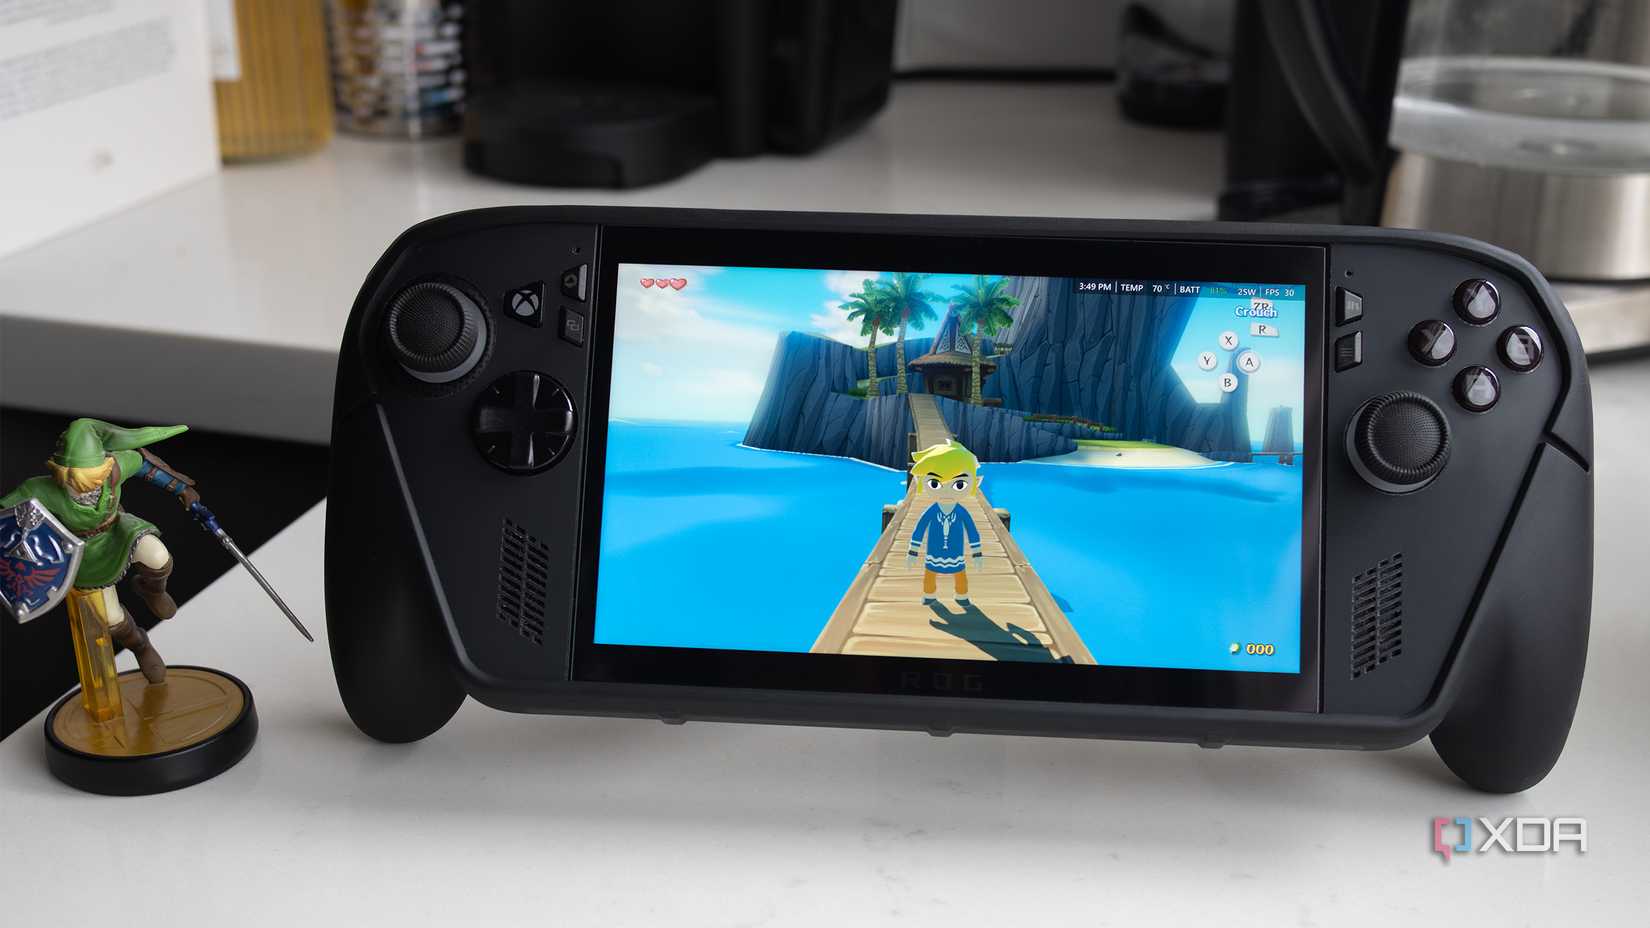
I was sailing the seas in Wind Waker HD in about an hour
First, you need to download the latest version of EmuDeck from the app’s official website. Next, launch the Emudeck.cmd file you just downloaded, and enjoy as a Matrix-like script installs all the dependencies required for EmuDeck, EmulationStation, and various emulators to run. You then need to choose between Easy Mode and Custom Mode for the installation process. Either direction works fine, but if you’re like me and prefer to mess around with settings later, Easy Mode gets the job done.
Next, you select what device you’re using. In my case, I picked the Asus ROG Ally since it’s basically the same handheld as the ROG Xbox Ally X. I then selected Low for the integration level since I’m not interested in managing my ROMs with Steam Rom Manager. You’ll now have the option to select between several different themes. I always use Art Book Next because it’s the most streamlined option, but there are several other cool-looking themes. Now you can select what emulators you want on your handheld.
Since I already have a curated library of ROMs I pulled from my Steam Deck OLED, I selected the systems I plan to emulate, including the Game Boy Advance, Wii U, Dreamcast, PlayStation, Nintendo 64, and more. Next, I turned on Auto Save and left RetroAchievments Off. I’m a fan of game bezels because I’ve always felt they make games look better when played at their native aspect ratios, so I turned them on (they can cause issues with certain emulators’ default settings, though). EmuDeck will now install and configure all of your selected Emulators (this will likely take a few minutes).
The next step is to copy all of your ROM files to their corresponding platform folders. For this part of the setup process, I hooked up a Bluetooth mouse and keyboard for more precise control. Head to File Explorer > This PC > C Drive > Emulation > ROMs. You now need to copy all your ROMs into their corresponding platform folders (the same process applies to BIOS files). I already have my ROM library organized by console and handheld, so this only takes me a few minutes.
Now it’s time to set up EmulationStation, the sleek-looking launcher for all of your ROMs. I searched for the app in Windows 11 and opened it (you can also find it in Steam). Once you’ve opened EmulationStation, you’ll see your theme and all the ROMs you put in each folder. If you want to make your library look way prettier, press the Start Button and select Scraper. If you’re based in the US, scroll down to Other Settings, then scroll through the Region options until you reach USA. Changing this setting ensures that the box art displayed for each ROM is the US version. Next, select what games and systems you want scraped. Now, run the scraper. Once it’s done, you should have box art for all of your titles.
One key setting you need to change on the ROG Xbox Ally X is to go into Armoury Crate and set the Control Mode to GamePad. If you leave it on Auto, I’ve found that some emulators don’t seem to recognize the A button (I ran into this with the Dreamcast and GBA).
Don’t make the same mistakes as I did
Things can get complicated when you get into emulating newer consoles
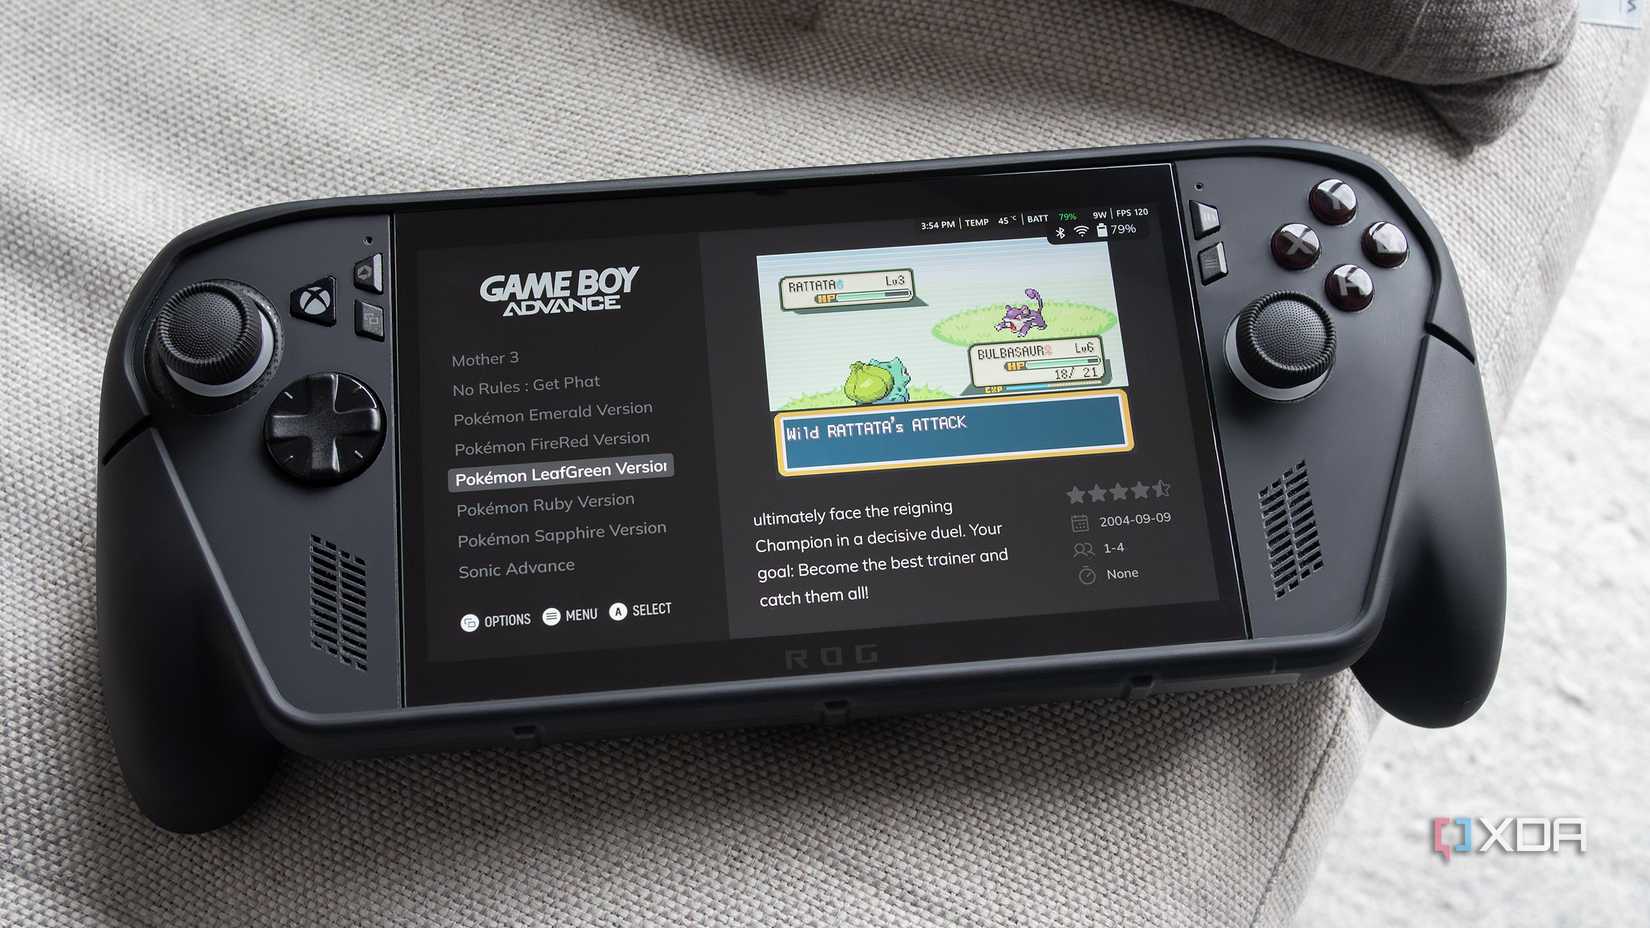
With my library, I copied everything onto a USB stick from my Steam Deck OLED, including the ROM folder hierarchy, saves, and bios files, all directly from EmuDeck on Valve’s handheld. For the most part, everything worked fine, but my saves wouldn’t transfer due to file compatibility problems, and all of my Wii U games, like The Legend of Zelda: Wind Waker HD and Twilight Princess HD, stopped working for reasons I still don’t quite understand. I was eventually able to fix the issue, but it took an hour or so of troubleshooting.
With all of this in mind, my suggestion is to do a clean install if you’re moving your EmuDeck setup from the Steam Deck to a Windows 11-based handheld. Organize your ROMs in their own independent folders elsewhere, and transfer them manually, as I suggested above, if you’re copying your library from another platform.
Now that I’ve set up EmuDeck and Emulation Station on the ROG Xbox Ally X, I don’t need to dig out my Steam Deck OLED when I get the urge to play old-school games, because I have everything on one device. I finally have a very capable handheld for all my retro-gaming needs.
Related
I don’t need the Switch 2’s Zelda: Ocarina of Time remake — I already made my own
Ship of Harkinian powers a native PC port of the N64 classic.