
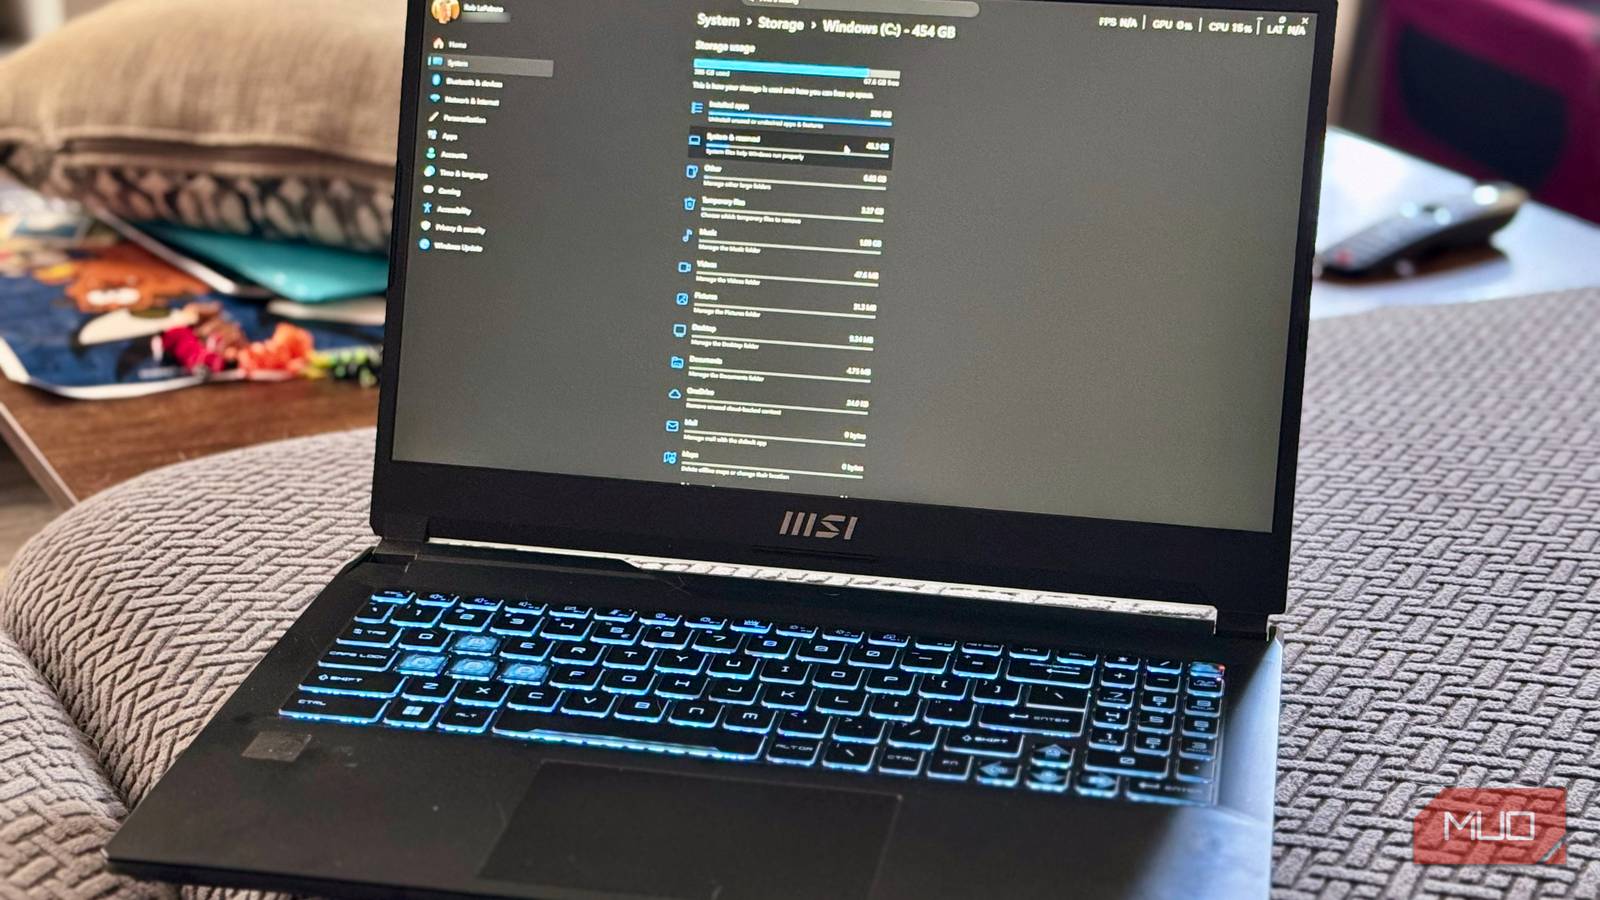
If you’re rocking a PC with a smaller SSD, you’ll likely want to squeeze every bit of storage out of it.
It turns out that Windows reserves around 7 GB of your system drive for updates, temp files, and caches. On a 256 GB or smaller SSD, that’s a meaningful amount of space. Reserved Storage has been around since Windows 10 version 1903 in 2019, and if you’re like me, you might never have heard of it. Here’s what it is, whether you should touch it at all, and how to disable it if you want to reclaim that extra bit of storage for your own.
What is Windows Reserved Storage?
Why Microsoft claims a slice of your drive
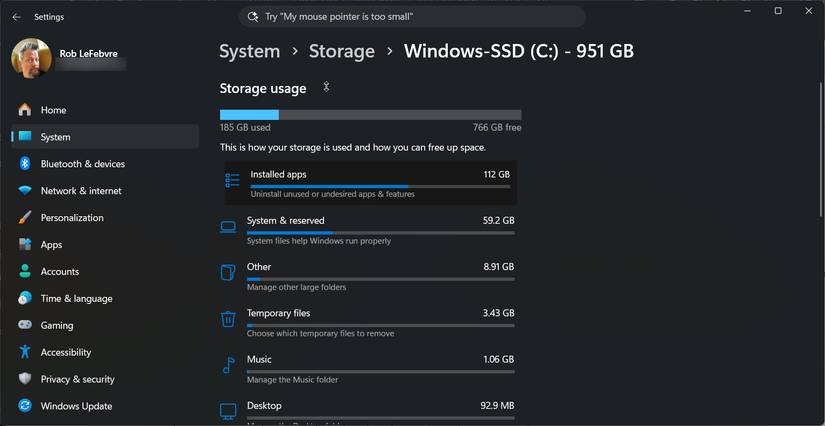
Reserved Storage is a fix for failed update installs on low-space devices. It holds space for Windows Update staging, temp files, caches, and other optional features. It’s enabled by default on clean installs, and you can find it underSettings > System > Storage > System & reserved.
Note: You’ll only see System & Reserved after you click the Show more categories link in the Storage tab.
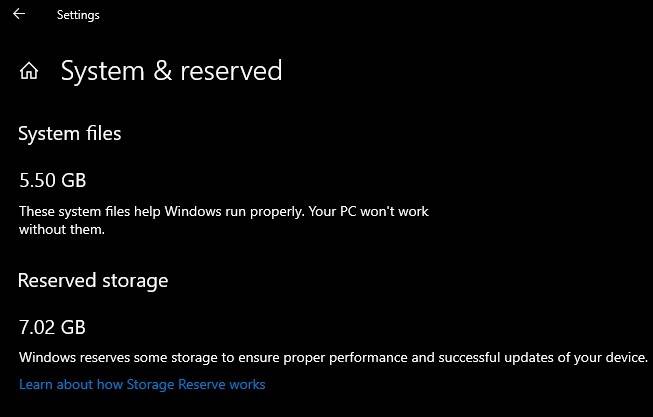
Scroll down past the other things like System Files and Virtual Memory to find Reserved Storage. Mine says it’s got 5.27 GB set aside for me on my 921 GB hard drive (1 TB in marketing). So, not bad for me. If your SSD is much smaller, that 5 or so of storage might be worth gaining access to.
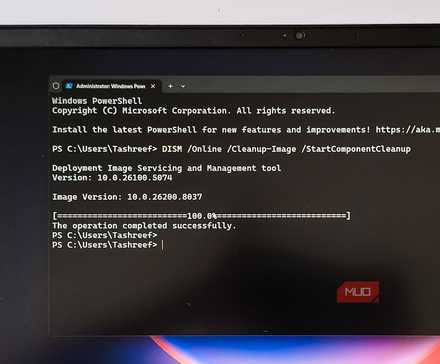
If you want to get fancy, you can drop into the elevated Command Prompt (Win + X > Terminal (Admin)) and type:
DISM.exe /Online /Get-ReservedStorageStateIf you have Reserved Storage enabled, it will tell you. If not, it will say Disabled.
Related
I ran one Disk Cleanup command and recovered 20GB of Windows Update files I didn’t know were there
Quickest 20GB I’ve recovered on my PC.
Should you disable it?
It depends on your drive size and how hands-on you want to be
If your SSD is 256GB or smaller and your space is legitimately tight, you might consider disabling Reserved Storage. You might think about it if you’re on a secondary or low-priority machine, or if you usually monitor your free space before running big updates.It’s also worth considering if you’ve already taken other steps to slim down your Windows footprint, like clearing Delivery Optimization files or trimming System Restore points, and you’re still coming up short.
If you’re on a 512GB drive or larger, you can probably skip it; that 5-7GB is truly negligible in terms ofstorage space. If you want to let Windows Update do its thing without having to check your free space, or if this is a work machine, you should likely leave Reserved Storage alone.
Disabling Reserved Storage removes the buffer Windows uses during feature updates. If your drive fills up during one of those update cycles, the update could fail. Re-enabling it between major updates could also work.
How to disable Reserved Storage
A one-line command is all it takes
There are two basic methods you can use to disable Reserved Storage on your Windows PC. The first goes through the command prompt using DISM.
Open Start, search for Command Prompt, then right-click and Run as Administrator. Run the following command, and then restart your PC.
DISM.exe /Online /Set-ReservedStorageState /State:Disabled
You can then confirm your settings viaSettings > System > Storage > System & reserved as above. The Reserved storage line should be gone when you hit the Show more categories link.
Note: If Windows updates are pending and not yet installed, you might get an error. Make sure you install all update first, then try again.
The second method is by using the Registry Editor. Type Win + R on your PC, type regedit, press Enter. Then navigate to:
HKEY_LOCAL_MACHINE\SOFTWARE\Microsoft\Windows\CurrentVersion\ReserveManager
Double-click ShippedWithReserves and set the value to 0. Then restart your PC.
Warning: Registry edits can make your PC unstable if done incorrectly. Please proceed carefully.
How to re-enable Reserved Storage
Do this before your next major Windows update
When you’re ready to turn Reserved Storage back on (and you should before big Windows updates), run the same command as above in an elevated Command Prompt, only set the state to State-Enabled.
DISM.exe /Online /Set-ReservedStorageState /State:Enabled
You can also set ShippedWithReserves back to 1 in the Registry, too. Restart either way. You’ll likely want about 10-20GB of free space for larger updates, anyway.
Reserved Storage is just the start
Of course, Reserved Storage is just a single offender. If you’re looking for more places to save space, check outDelivery Optimization files,System Restore points, andHidden Windows folders. Otherwise, if you’re hurting for space, you can try disabling Reserved Storage. But, honestly, you might be better off upgrading to a bigger SSD in the long run.
Double-click ShippedWithReserves and set the value to 0. Then restart your PC.
Warning: Registry edits can make your PC unstable if done incorrectly. Please proceed carefully.