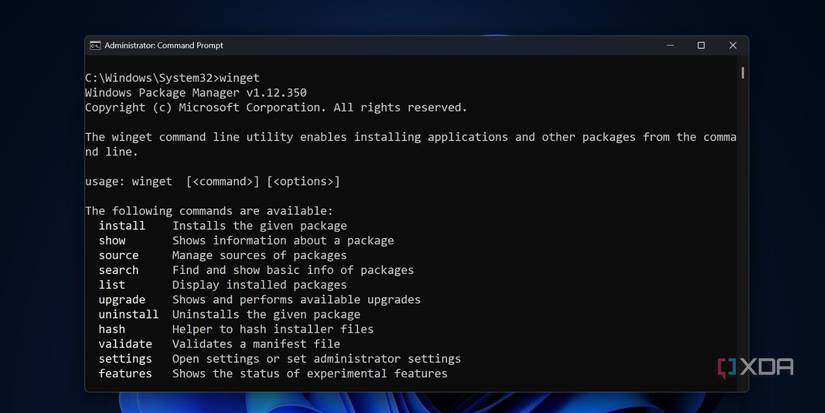
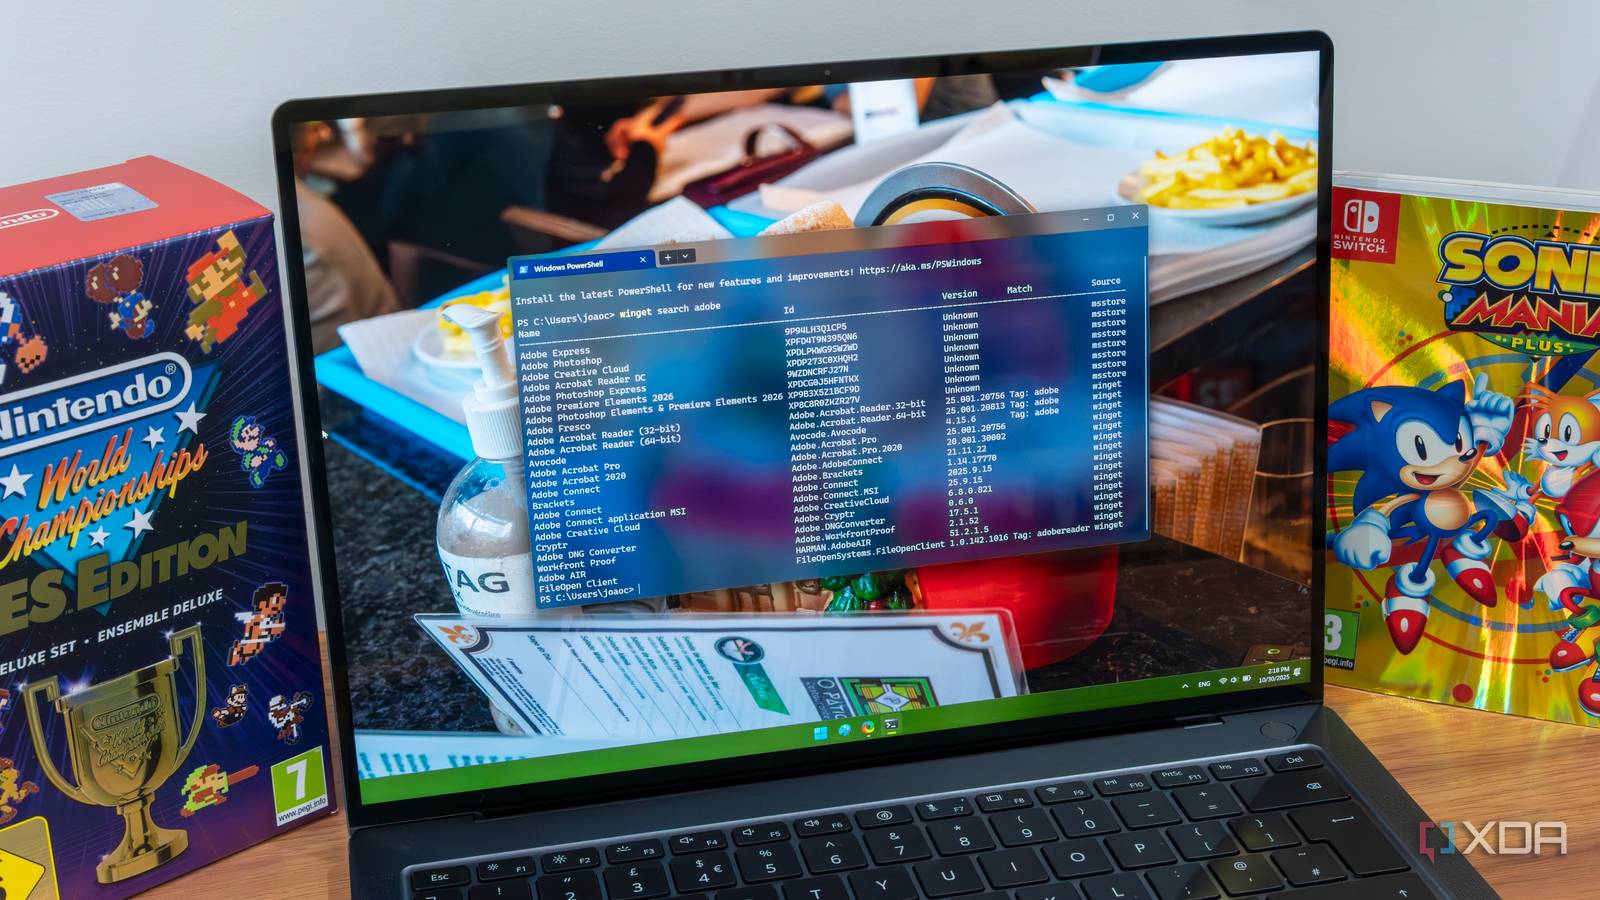
In my two decades of experience using Windows computers, I’ve always installed software the usual way. Hop into a web browser, search for the software, download it, and then install it. It’s worked fine for the most part and is probably the easiest way. Microsoft Store’s library has also grown, and finding official apps or at least the most popular apps is a lot less troublesome now. I’ve never gravitated towards frequent package manager usage, which is common on Linux, but after using WinGet for many months, I understand its value.
Microsoft began including WinGet by default in Windows 11 and 10, making it incredibly easy for users like me to try a preconfigured package manager. So, I didn’t need time to set it up or worry about potential conflicts because it’s a native system component. My habit of installing and managing software packages has drastically changed, and here’s why you must switch.
A smarter way of managing software
Quick and easy
I have already described the mundane method of installing software on your Windows PC. The first part is obviously searching for it, which requires you to open a browser. After that, you search for the relevant software and hope that the search engine lists the correct sites at the top.
Then, you open the official webpage or the download page of the software and hunt for the download button. Sometimes it’s a series of disclaimers or pop-ups that appear before you can start the download. Then the download starts, and you can either choose to run the installer file from the browser or open File Explorer’s Downloads folder.
That’s not all. You still need to interact with the installer multiple times before the software can start working on your system. It’s again a series of pop-ups and sometimes promotional check boxes and options.
It may not sound like much because we’re so used to it, but this process eats up time. But with a native package manager like WinGet, you can trim this installation process to three or four steps. You can also manage everything from the same Terminal window rather than interacting with browsers and installers.
WinGet not only reduces the total number of steps but also offers a silent installation option to avoid unnecessary option selection popups. You need to type yes only once while installing a package, and that’s it. If you use the -h flag with the installation command, you can avoid everything and just install the software in the default location.
Another great thing about WinGet is its ability to list multiple versions of a package listed on the repository. I’ve had many instances of using a fresh version of a software marred by bugs, only to revert to an older yet stable version. If you don’t want to try the latest release, you can pick the version number of the package and include it in the installation command.
WinGet uses a community repo and a Microsoft Store repo, and it’s not hard to find an older version of a software package. Finding it on the official website is a bigger pain because you have to hunt down the old releases page, if any.
Swift upgrades
One command does it all
Upgrading apps can be an exhausting chore if you have a ton of apps present on your system. Some apps automatically update while others might need a manual check or download a new version to replace the old one.
Microsoft makes it incredibly easy to update Store apps installed on your PC. It happens in one click, but the same treatment isn’t available for software you download and install from the web or other sources.
I’m surprised by the lack of focus in this area, but WinGet has a solution. It can check for updates for all the installed packages, be it Microsoft Store or third-party software, and list the available version with the list command.
You can see in the images above that the WinGet list command mentions the currently installed version of a software in one column, and the latest available version in the next. Normally, I would just use winget upgrade –all and update everything in one go. But if you want to upgrade some apps, you can just add their ID after the command.
This kind of flexibility is missing from Windows settings, which can only list the installed apps and can do nothing more. I also don’t use third-party update tools because most of them just add bloat and ads.
Simple command syntax
No confusion

Using terminal-based tools is not a pleasant experience for anyone familiar with the GUI installers for such a long time. I occasionally use the Terminal app, but WinGet makes it incredibly simple to use package management. Most commands involve one option followed by a flag if you need it.
There’s rich documentation available on the official Learn page, so you won’t feel lost at all. Installing apps, searching for them, or removing them happens via easy-to-understand option names. Mostly, you’ll use either of these three actions with the occasional use of additional flags like -h for silent installations.
Embrace package managers
WinGet can even export and import the installed packages, and that’s a lifesaver when you set up a new PC. Windows cannot remember the list of installed third-party apps and only saves the data of Store apps. But I can create a JSON file of all the installed packages and then import it on my new system.
It’ll automatically start installing all the apps on the list and save me the effort of hunting down each of them individually. Ninite can help you install some common apps, but WinGet’s exported list is more powerful than Ninite because of its vast repository.
Staying away from package managers like WinGet is not a wise idea. It’s a trusted, native tool in Windows that does the job better than the sketchy system and app update tools advertised on the web. Why subject yourself to some bloated, untrustworthy app when WinGet can do the same in less time, and for free?

