
If you’ve ever stood up after a long day at your desk or the day after a tough workout and felt your hips tug, pinch, or protest, you’re not alone. When the muscles around the front and sides of the hips stiffen up, everything from walking to stretching can feel harder and that tight, stuck feeling can build up before you even realize it.
To understand why this happens, I spoke with Jillian Pransky, a certified yoga therapist. She explained that the hip flexors sit at the front of the hips and upper thighs and help lift your legs and stabilize the pelvis. They work closely with the deeper iliopsoas muscles, which she described as “the most influential part of this group.”
You may like
 Jillian Pransky
Social Links Navigation
Jillian is a certified yoga therapist (C-IAYT), mindfulness teacher, and integrative wellness expert.
The good news is that you don’t need a long routine to start easing tension. Pransky shared three simple exercises that help release the front of the hips, improve mobility and restore more comfortable movement through the pelvis and lower back. Just grab one of the best yoga mats and give it a go.
1. Constructive Rest

(Image credit: Jillian Pransky)Lie down on your back, knees bent, feet on the floor, arms resting alongside your body.Bring your feet a few inches from your seat and a little wider apart than your hips. Let your knees fall together to hold each other up.Place your stack of blankets over your knees with the long ends draping down the sides of your legs. This will help you release all muscular effort in your legs.As you explore being in your yoga poses and restoratives, feel free to readjust with any micro movements that help you feel more comfortable, grounded and at ease.Gently pay attention to your breath. Follow several long exhales as you progressively release your body weight into the ground. Allow your feet, seat, back and head to fall into the embrace of the earth.Mindfully scan your face and soften any obvious squinting and clenching in the eyes, ears and mouth. Let your tongue rest fully on the floor of your mouth.Practice resting here for 5 to 10 minutes.2. Reclined Pigeon
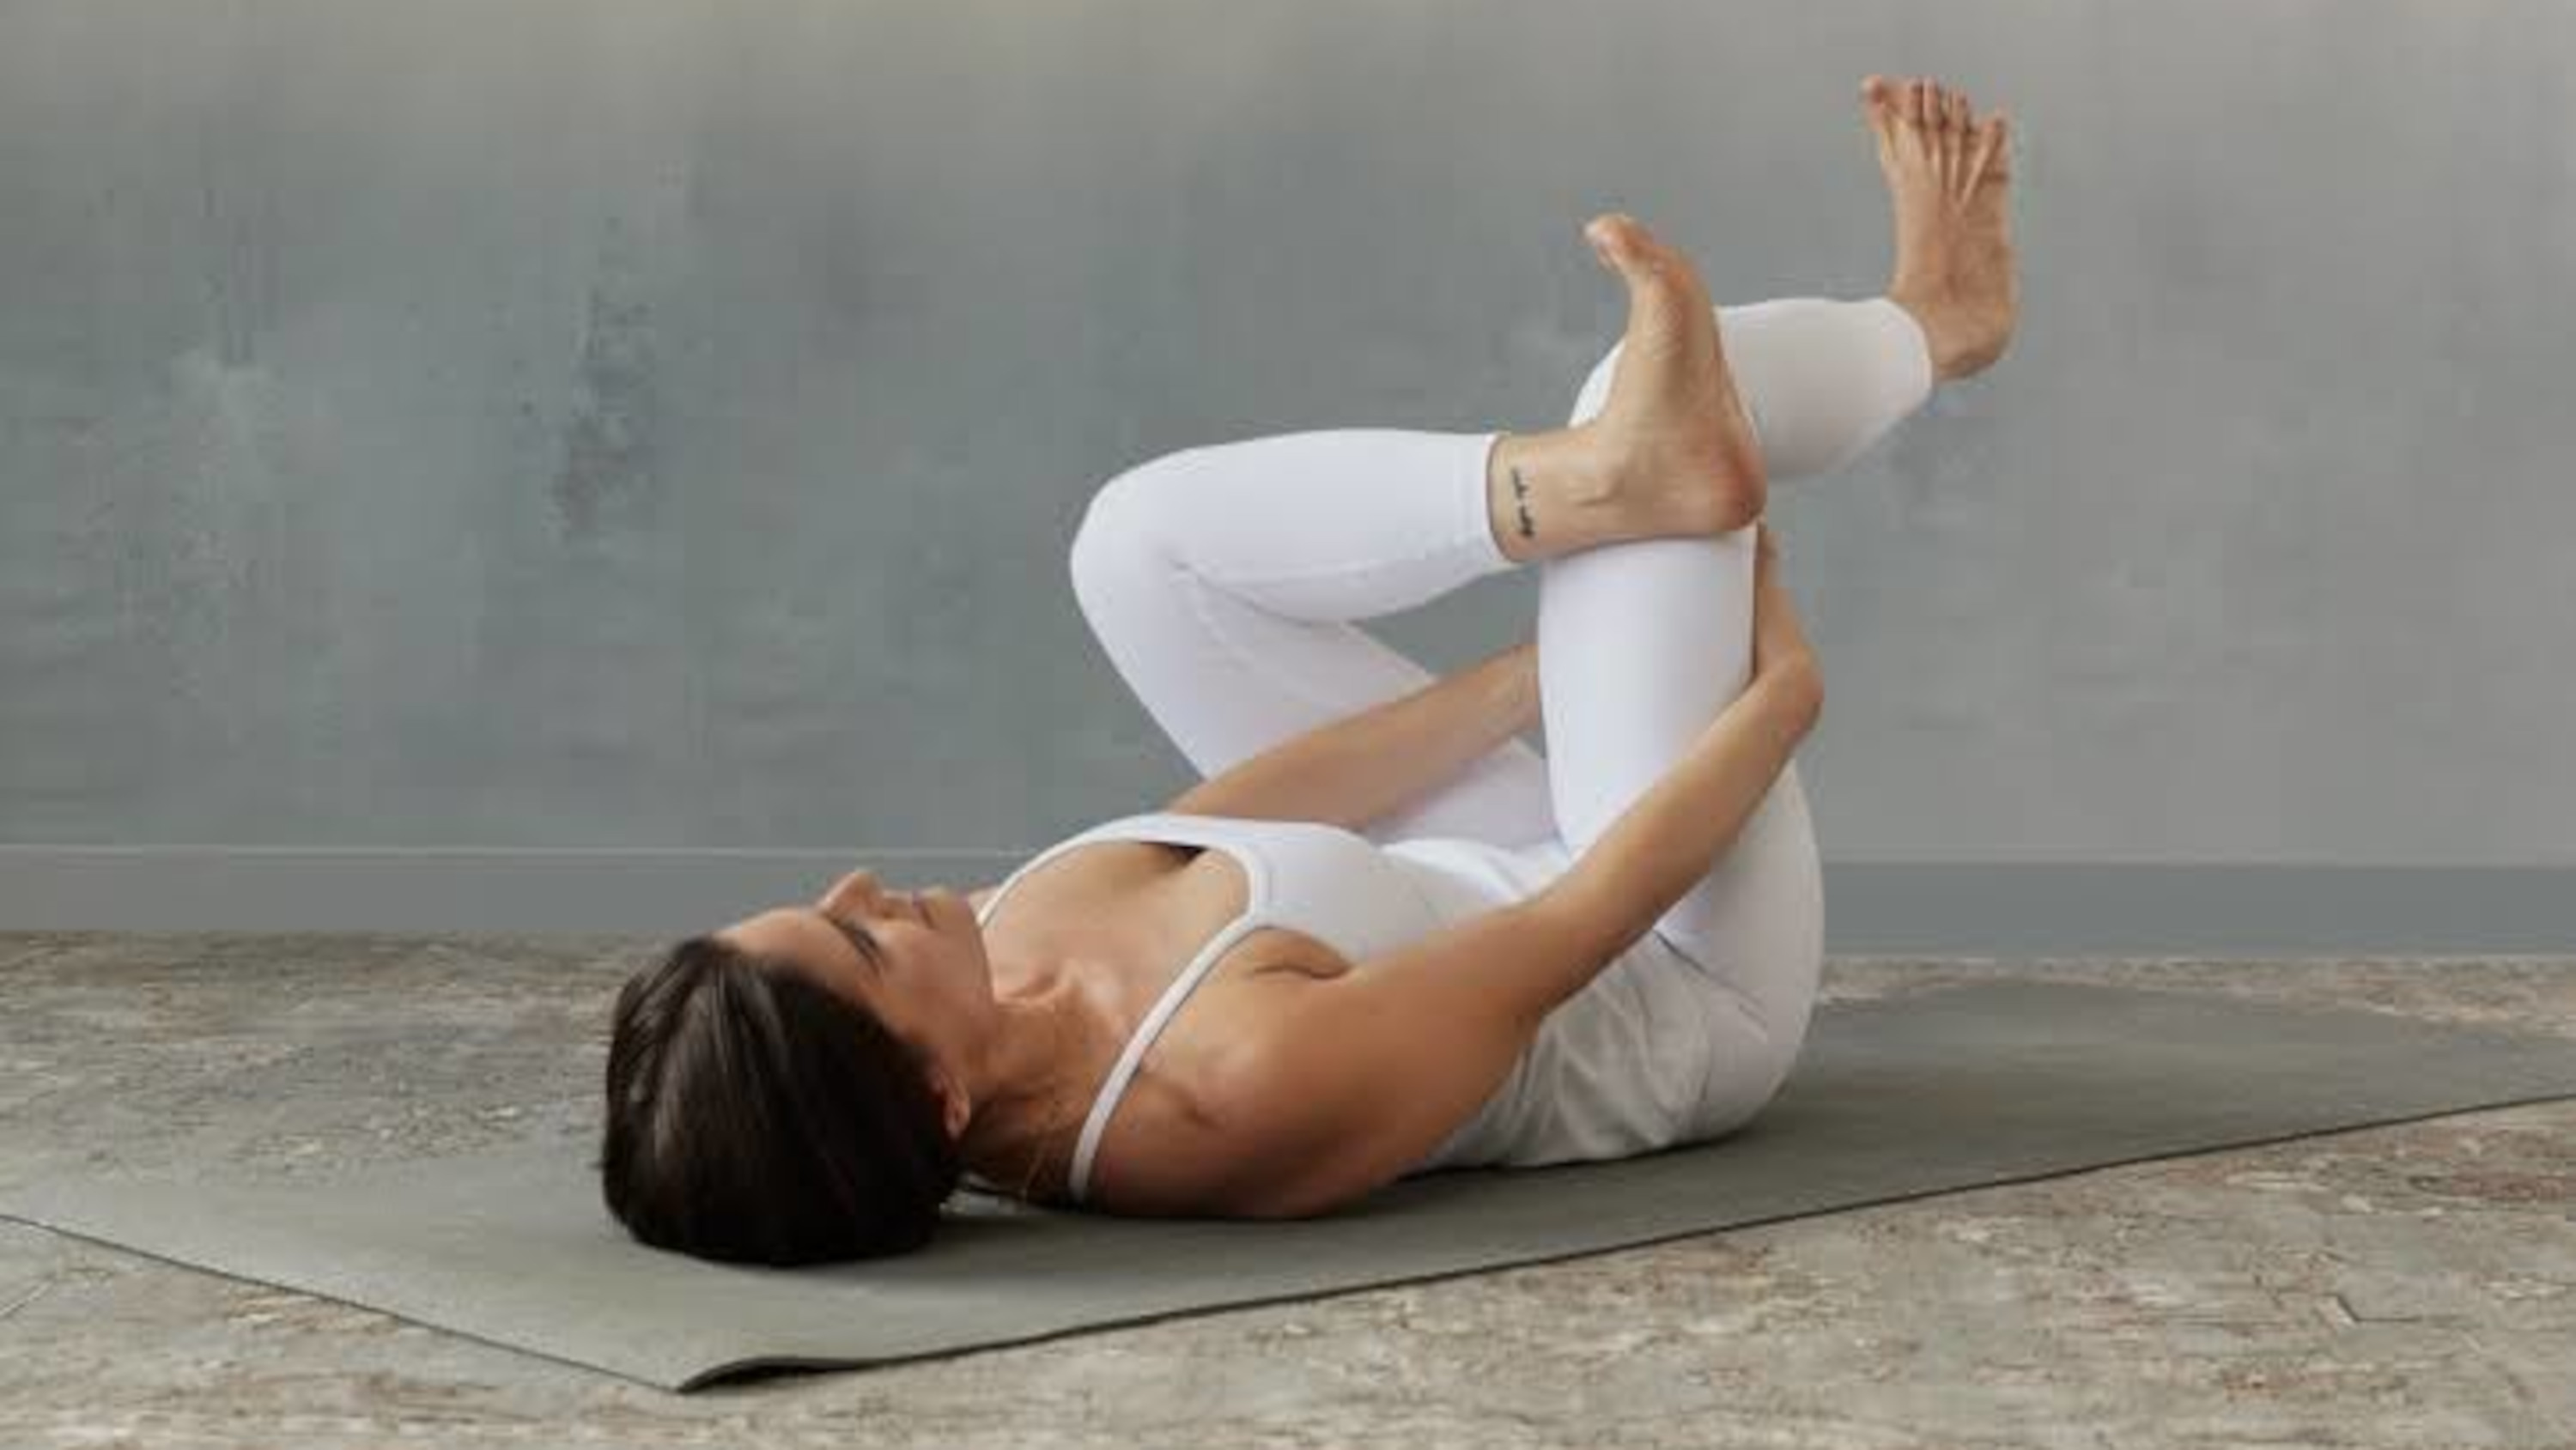
(Image credit: Jillian Pransky)Come onto your back with your knees bent, feet on the floor about hip-distance apart.Cross your left ankle over your right thigh. Ensure that your left ankle bone clears your right thigh completely.Bring your left knee in line with your rightActively flex both feet, spreading your toes and drawing them back toward your shins. Maintain this alignment throughout the pose.Stay in this shape for 5 to 10 breaths.Slowly transition to the other side.
For a deeper stretch:
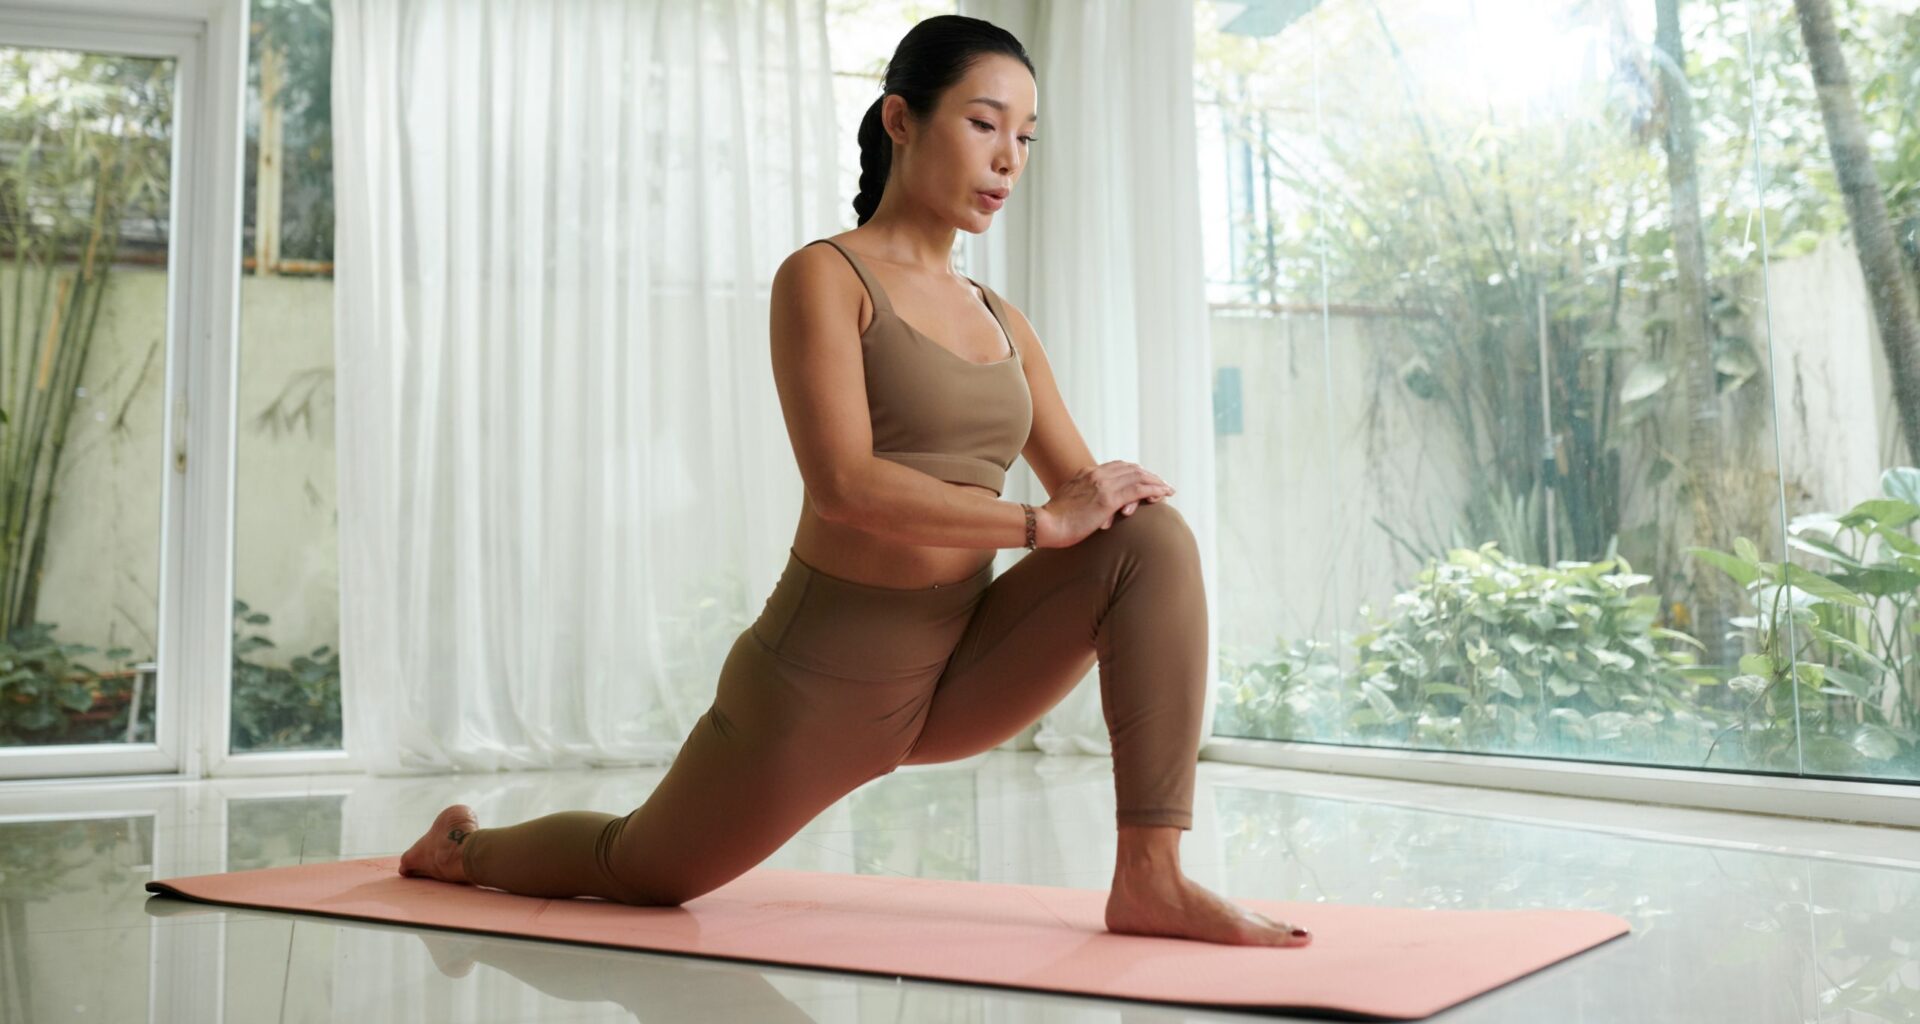
Begin with the steps above, then draw your right knee toward your chest and interlace your hands behind your right hamstring.Gently draw your thigh toward you, maintaining your alignment from above. Allow your neck and shoulders to ease.Stay in the stretch for 5 to 10 breaths as you breathe into the sensations in your outer hip and thigh area.Slowly transition to the other side.3. Low Lunge
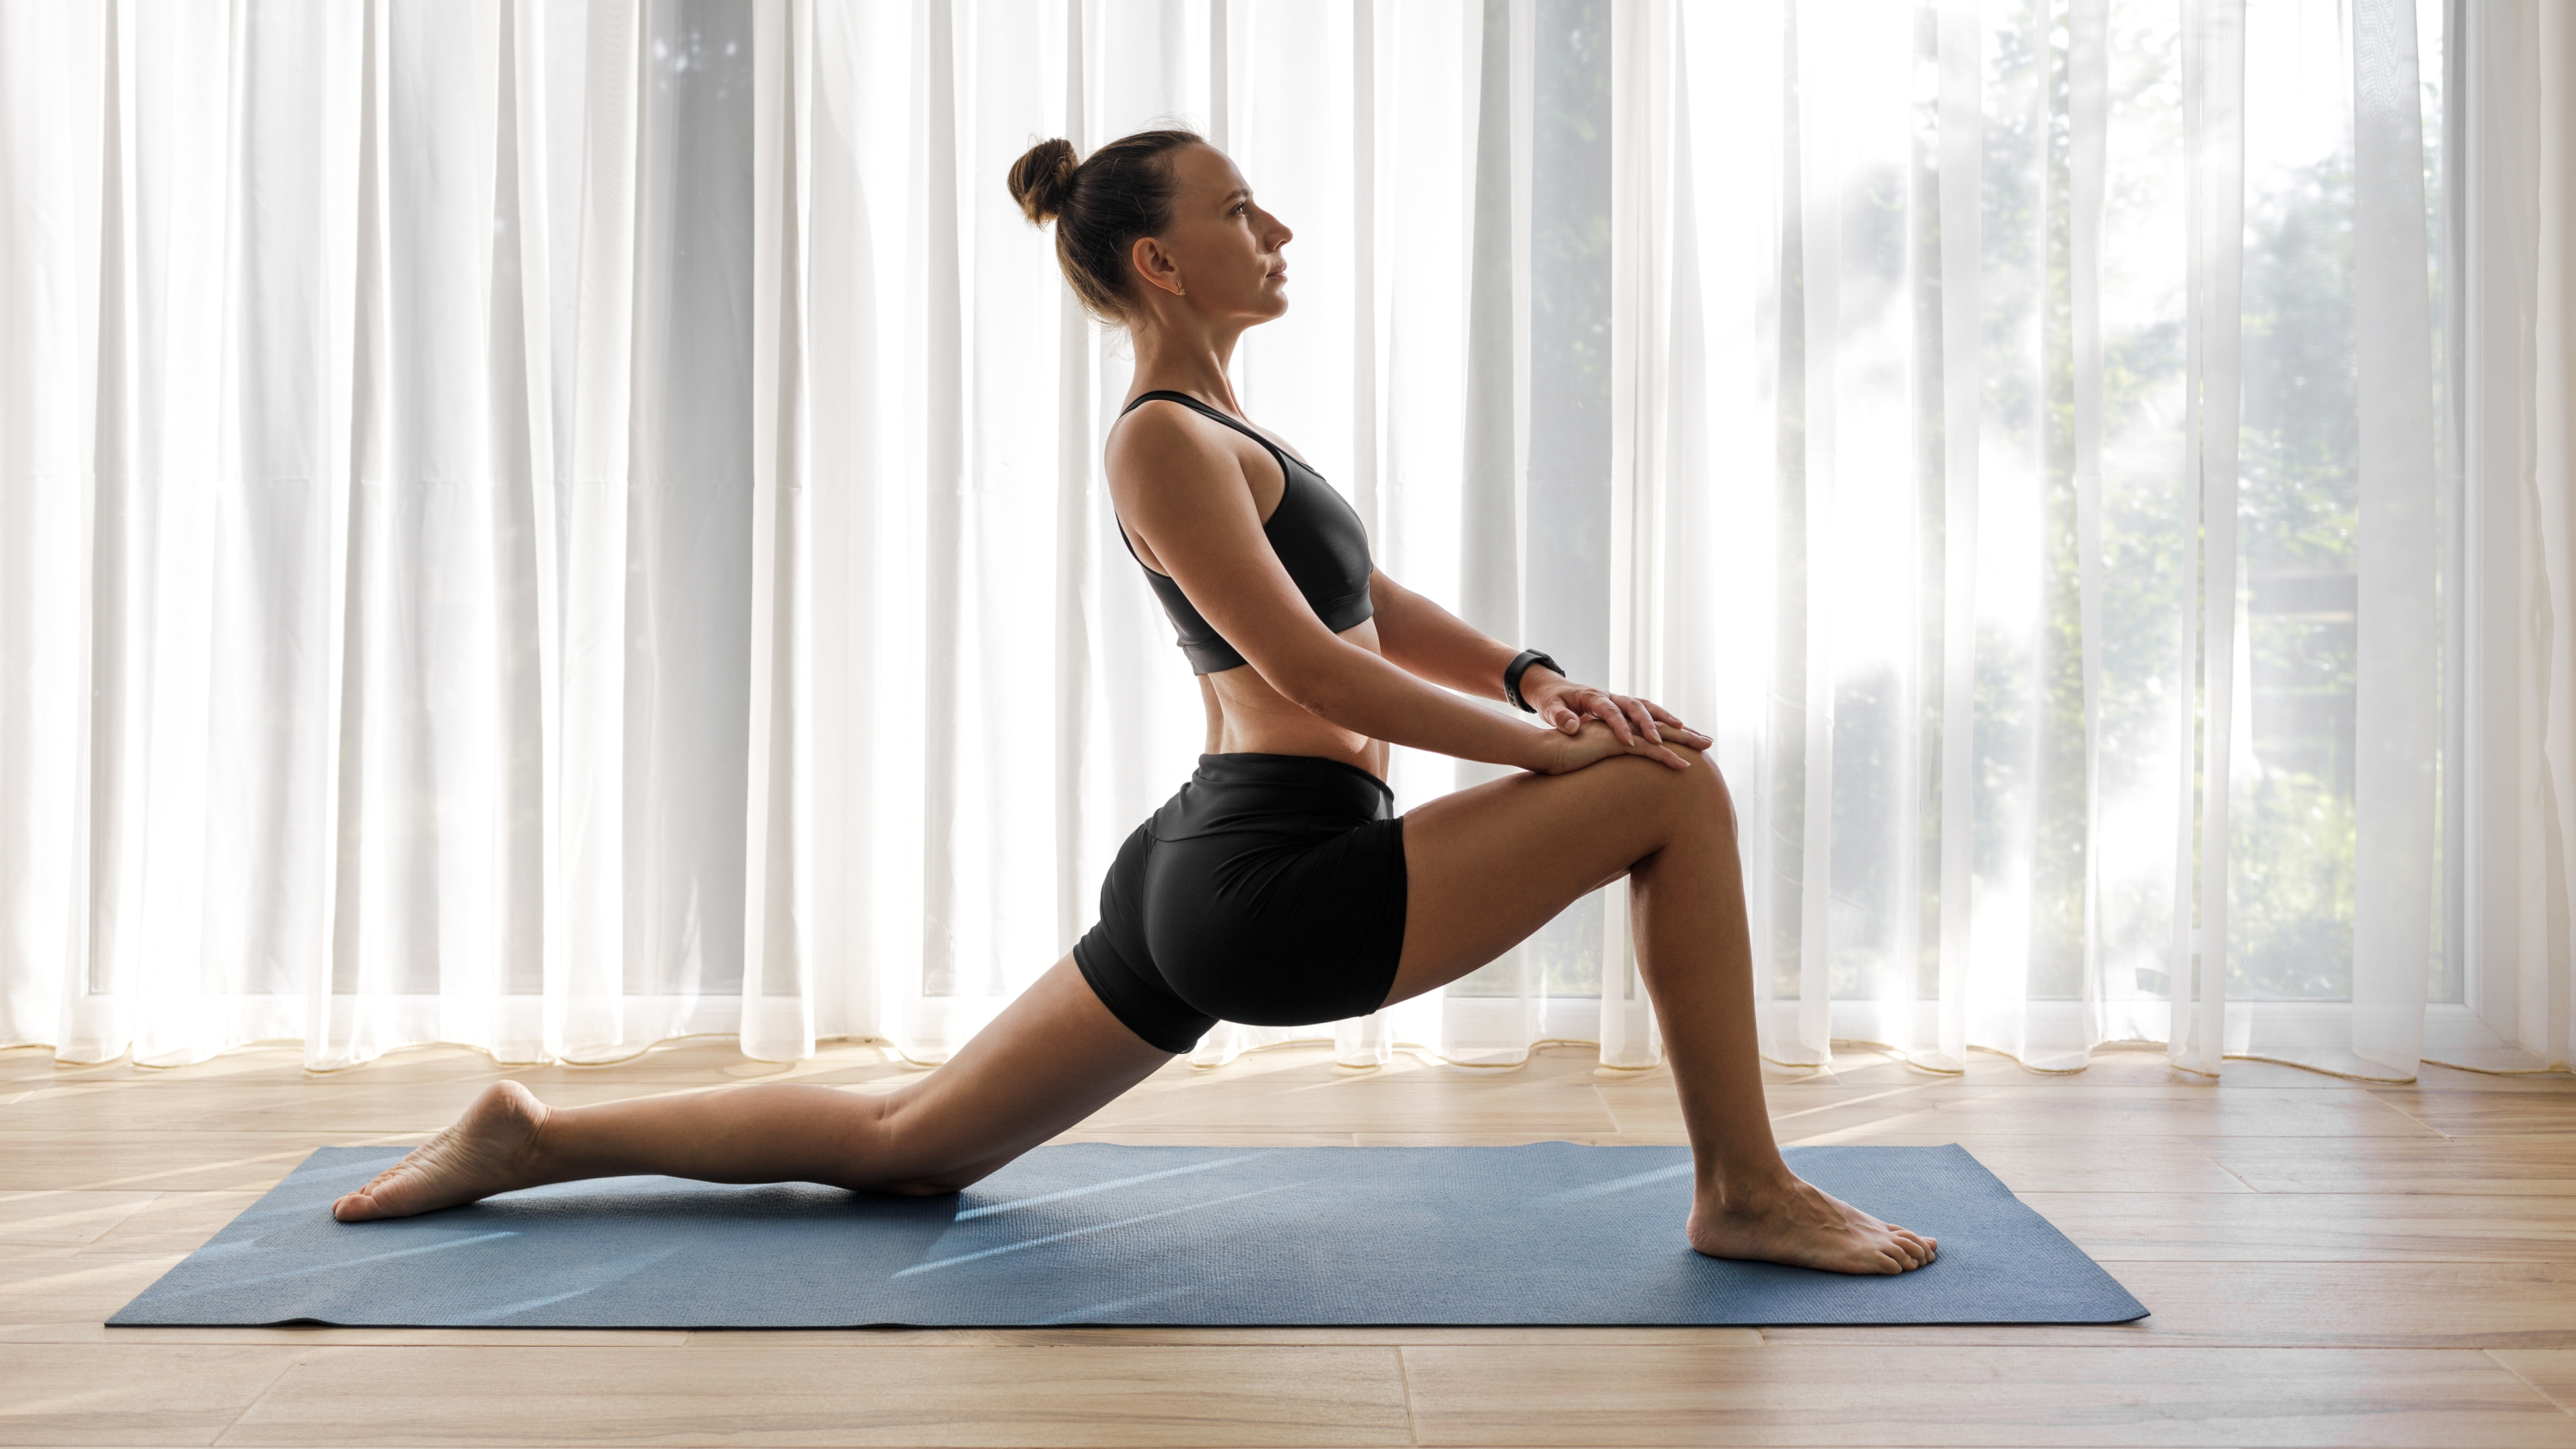
(Image credit: Shutterstock)You may want to use two yoga blocks and cushion your knee with a blanket. Place your blocks on either side of the front of your mat in their highest position, and your blanket on your mat to cushion your knees.Begin on all fours in a tabletop position (with a blanket under your knees, if desired) with your spine in a neutral position. Step your left foot between your hands.Bring your hands to the blocks and slide them back so they’re directly under your shoulders, and your arms make a vertical line to the floor.Your front knee lines up over your ankle, shin vertical to the floor. Your back knee is on the ground.Curl the ball of your back foot into the floor and press it down to leave a deep print in your mat. Spread through both footprints. Put more pressure on your feet rather than on the knee.Continually deepen your footprints in your matLet your weight drain down out of your head, neck, shoulders, chest and belly and into your pelvis, legs and feet.You can keep your hands on the blocks or sweep your arms up, bringing your biceps alongside your ears. Stretch your arms and spine up toward the sky.Allow your breath to flow through your body. After 5 to 10 breaths, slowly bring your hands to the ground. Come back to all fours.Repeat the sequence on the other side, with your right foot between your hands.To finish, come back to all fours, sit back on your heels and pause. Feel your connection to the breath and to the space around you.How often should you exercise your hips like this?
Pransky recommends practicing these hip mobility exercises on a regular basis, even every day. The focus should be on gentle, mindful movement rather than pushing hard, which allows the muscles to gradually release without strain.
Gentle, mindful movement is key. In her words, “Slow, mindful movements, breath-led transitions and supported shapes help signal safety to the nervous system — allowing tension to naturally unwind. Micro-movements, soft rocking, constructive rest and gentle low-lunge variations can create space through the front body, ease the lower back and improve overall stability.”
She warns that “when we push hard to ‘stretch the hips open,’ we often trigger the opposite effect, sending signals that something unsafe is happening.” Instead, you should pay attention to posture, move slowly with your breath and create a sense of safety for the body.

Follow Tom’s Guide on Google News and add us as a preferred source to get our up-to-date news, analysis, and reviews in your feeds.
Today’s resistance band deals