
I’ve used several devices ever since I got my first smartphone. Some died a while ago and had to be disposed of safely, but I still hold on to two devices: an iPhone 11 that I bought a few years ago and a basic Samsung Galaxy A15 smartphone. While cleaning my workspace, it hit me that there are plenty of ways to give older devices a second life instead of letting them sit idle.
Most of us upgrade to newer models for better cameras, performance, or software support—but the truth is, old phones can still handle plenty of useful tasks. They’ve got solid cameras, decent processors, and Wi-Fi connectivity, which makes them perfect candidates for smart home roles. So, instead of letting my devices gather dust, I decided to turn one into something practical: a security camera.
Putting my plan together
Choosing my tools of the trade
To embark on this project, I had two phones to choose from for my makeshift security camera. Ultimately, I decided to go with the Galaxy A15 for the project because the iPhone 11 has an issue where it restarts now and then, which, as you can imagine, doesn’t work well for a security camera.
The next step was to find appropriate apps to help me do the job, which would’ve otherwise required some heavy lifting. As you probably guessed, there are various apps that can help turn your phone into a security camera. I had to try various options, and in the end, AlfredCamera stood out to me as the perfect app for my needs.
Download: Alfred for Android | iOS (Free, in-app purchases available)
My repurposing plan
How I recycled my old phone
With that out of the way, the next step was setting up AlfredCamera, which was easier than I anticipated. At a high level, it’s a two-step process: you set up a camera device and then a secondary device for accessing the camera feed. My old phone was the one to be used as the security camera, so I launched the app and signed up for an account using my email. Personally, I always avoid using social sign-in whenever I can, but you can use it for convenience.
Once you sign in and go through the onboarding screen, you’re taken straight into the app. The default mode after logging in is Viewer, so you have to tap the top left to change it to Camera, then tap OK to confirm your action.
Next, grant AlfredCamera necessary permissions, including the microphone and camera. Tap Continue, then select While using the app from the pop-up to give the app permission to access your camera and microphone. Lastly, you’ll be asked to give the app permission to appear on top of other apps (this is essential, as it ensures AlfredCamera can work even when the screen is locked).
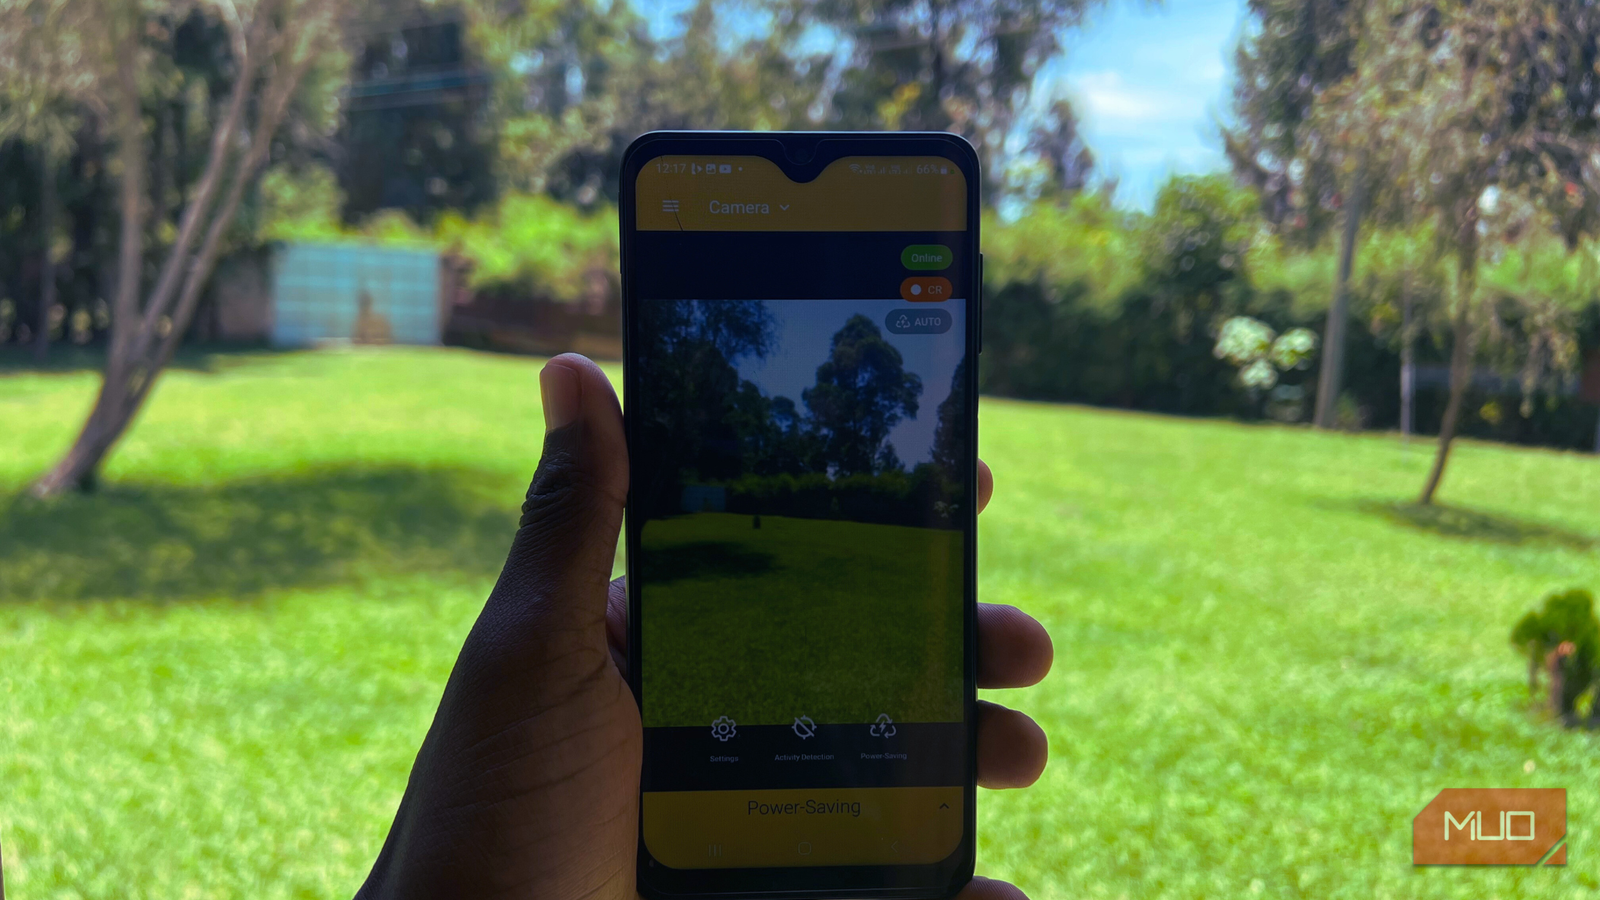
Tap Give access and toggle on AlfredCamera in the Settings app, then go back. When you go back to the app, you’ll be able to see whatever is in front of the phone via the app. However, with AlfredCamera, you can also switch the app to use the selfie camera instead of the back camera.
With the camera set, you can enable Activity Detection from the live video feed screen to ensure that you get alerted anytime there’s a moving object in view.
Finding the perfect spot for the camera
It was a bit trickier than I anticipated
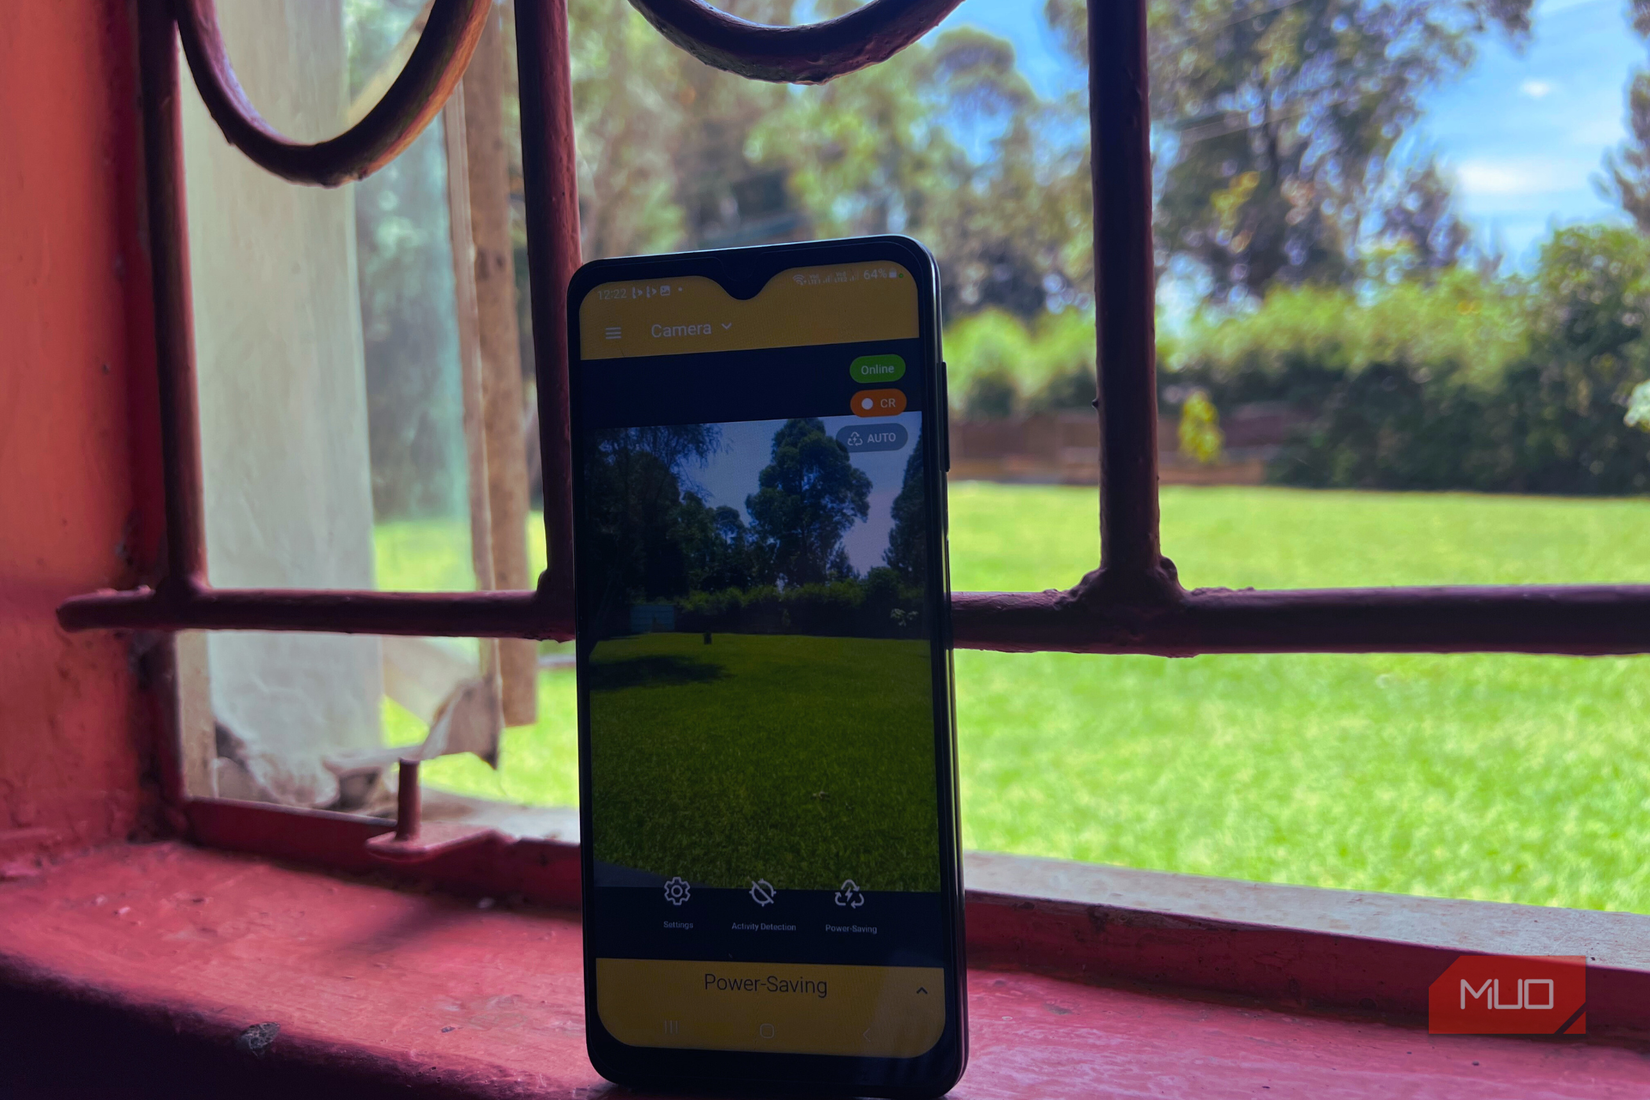
The next challenge was where to place my device after setting up AlfredCamera. After all, there are many places where you can install smart cameras. Since I wanted to keep an eye on what was happening outside—especially around my gate—I decided to place it on a window ledge facing outward. That way, I could monitor any movement or deliveries without stepping outside.
The tricky part was finding the right angle that minimized glare from sunlight and reflections on the glass. After a bit of trial and error, I positioned it slightly tilted. That also solved the visibility issue at night because there’s a security light just above the window where I placed the device.
Alvin Wanjala / MakeUseOfCredit: Alvin Wanjala / MakeUseOf
The final challenge was charging. For a security camera, you need to be sure that it’s running at all times. For this, I used a power bank to ensure my camera device has power at all times, as there’s no socket nearby to plug in a charger. It isn’t perfect, but it works.
Using AlfredCamera to keep tabs on what’s happening
Once the camera device is ready, the next step is to set up a secondary device from which you can access the camera feed. Similar to my Galaxy A15, I had to download the AlfredCamera app on my viewing device. For my viewing phone, all I did was sign in using my email and password. After signing in, the app prompts you to permit it to find devices on your local network.
Once I tapped Allow, the app automatically picked up my security feed. However, you don’t need to be in the same location as the security camera device to be able to see your feed—you can view it from anywhere as long as the primary device is connected to the internet. Once you’re connected, you can open the app at any time to view the live feed in the Camera tab.
While in the Camera tab, you can see a minimized view of your camera feed. You can see whether the camera device is online and the battery percentage. Below the minimized camera feed is a strip of three buttons: Check, Playback, and Events. The Check option shows you the status of your camera, including the network connection report and whether it’s charging. The Events option shows you captured events, like animals, a vehicle moving, sound, and more, while the Playback button shows you a replay of up to eight hours of recorded footage.
You tap the minimized camera view at any time to view the live feed. While viewing the live feed, AlfredCamera gives you a variety of options. You can view recordings, turn on the security camera phone’s flashlight, talk through the camera device, play a siren sound, switch the camera view, record the current feed, and more. However, keep in mind that while the app is free to download, some features, like playback and HD camera feed, are locked behind a paywall.
My plans to get the most out of my DIY security setup
It worked, but it isn’t perfect
While my current setup works, it’s certainly not ideal, especially when it comes to device placement. I wanted to keep tabs on any movement in my lawn towards the gate, and placing the device on the window ledge doesn’t do the job well. I plan to get a proper stand to hold my device, like the Eucos 62-inch phone tripod or Sensyne’s 62-inch phone tripod.
I also have issues with keeping my device charged because there’s no socket where I’ve placed the camera device. The easiest solution around this is to get a power extension cord like One Beat’s 10ft extension to extend power from the TV area to the window where my device is placed. This will ensure that my camera device has power at all times.
Your old tech can still be useful
If you have an old phone idling in your drawer, there are many ways you can make use of it. Instead of gathering dust in a drawer, you can turn it into a DIY security camera using AlfredCamera. With this setup, you can use it as a baby monitor or even a camera to monitor your pet while away. So before you toss that old phone, think again; it might just become your home’s newest smart gadget.