
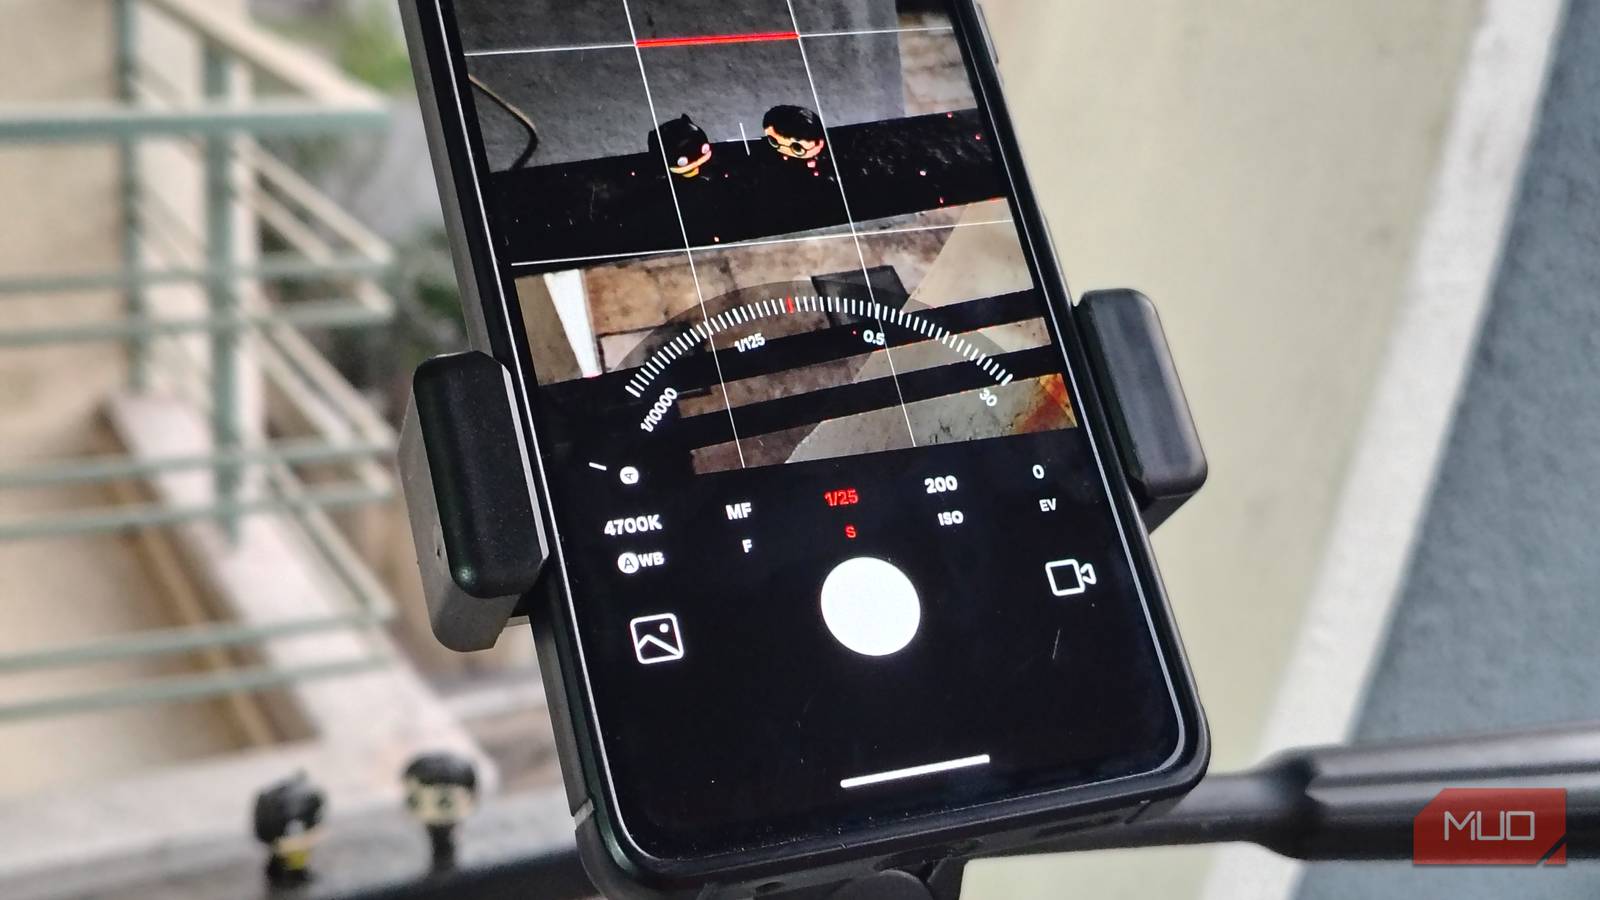
There’s a fundamental disconnect between the camera hardware potential of a modern smartphone and the out-of-the-box experience. Manufacturers ship their default settings to the lowest common denominator — prioritizing “safe” over professional ones. And most of us have come to terms with the fact that Pro mode is not for us.
And partially that is true, even though you don’t need to be a true master to use pro mode in modern smartphone cameras. You can still toggle on some of the settings in the “normal” camera mode to enhance your everyday experience.
Related
I stopped using the stock camera app because this one is so much better
Your phone’s camera isn’t the problem—it’s the app.
Anti-banding
Stop your pictures from flickering
If you have tried taking pictures indoors under artificial lighting, you might have noticed black bars flashing over the screen; they ruin the entire picture and video. This phenomenon is what is known as “banding.” It’s caused by the LEDs and fluorescent bulbs flickering, which conflicts with the camera’s shutter speed. These flickers are determined by the power grid’s AC current set by the local authorities — typically 50Hz or 60Hz.
We often ignore these flickers or try to fix them by adjusting the exposure on the viewfinder slider. What we don’t know is that we can prevent this from happening by changing the anti-banding settings buried within the camera settings. Manufacturers set these settings to 50Hz or 60Hz by default, depending on the region, but light flicker is not always consistent.
That’s why I keep it to Auto. By keeping it to Auto, I let the camera decide on the spot which anti-flicker settings to use. The sensor analyzes the room’s lighting and micro-adjusts the settings to achieve the best results. This is a set-and-forget setting that saves your indoor photos from looking like they were taken from behind bars.
Dirty lens warning
No more shots ruined by smudges

Credit: Keval Shukla / MUO
This one’s simple. It often happens: the picture is blown out, the lights are faded, or the entire shot is hazy. It is because of the smudges we put on the camera lens while getting the phone in and out of the pocket. And how can we not? The smartphone’s camera is now a better part of the entire phone’s back, so these smudges are inevitable.
That’s why toggling the Dirty Lens Warning on is important. Every time you open the camera app, it analyzes the screen and displays a subtle yet noticeable notification in the viewfinder that the lens is dirty. So that you clean it before taking a picture. I have found it quite handy when I am taking pictures of moments that won’t come back; they are no longer ruined by a smudgy lens.
Standard picture quality
Maximum resolution is not always the best choice
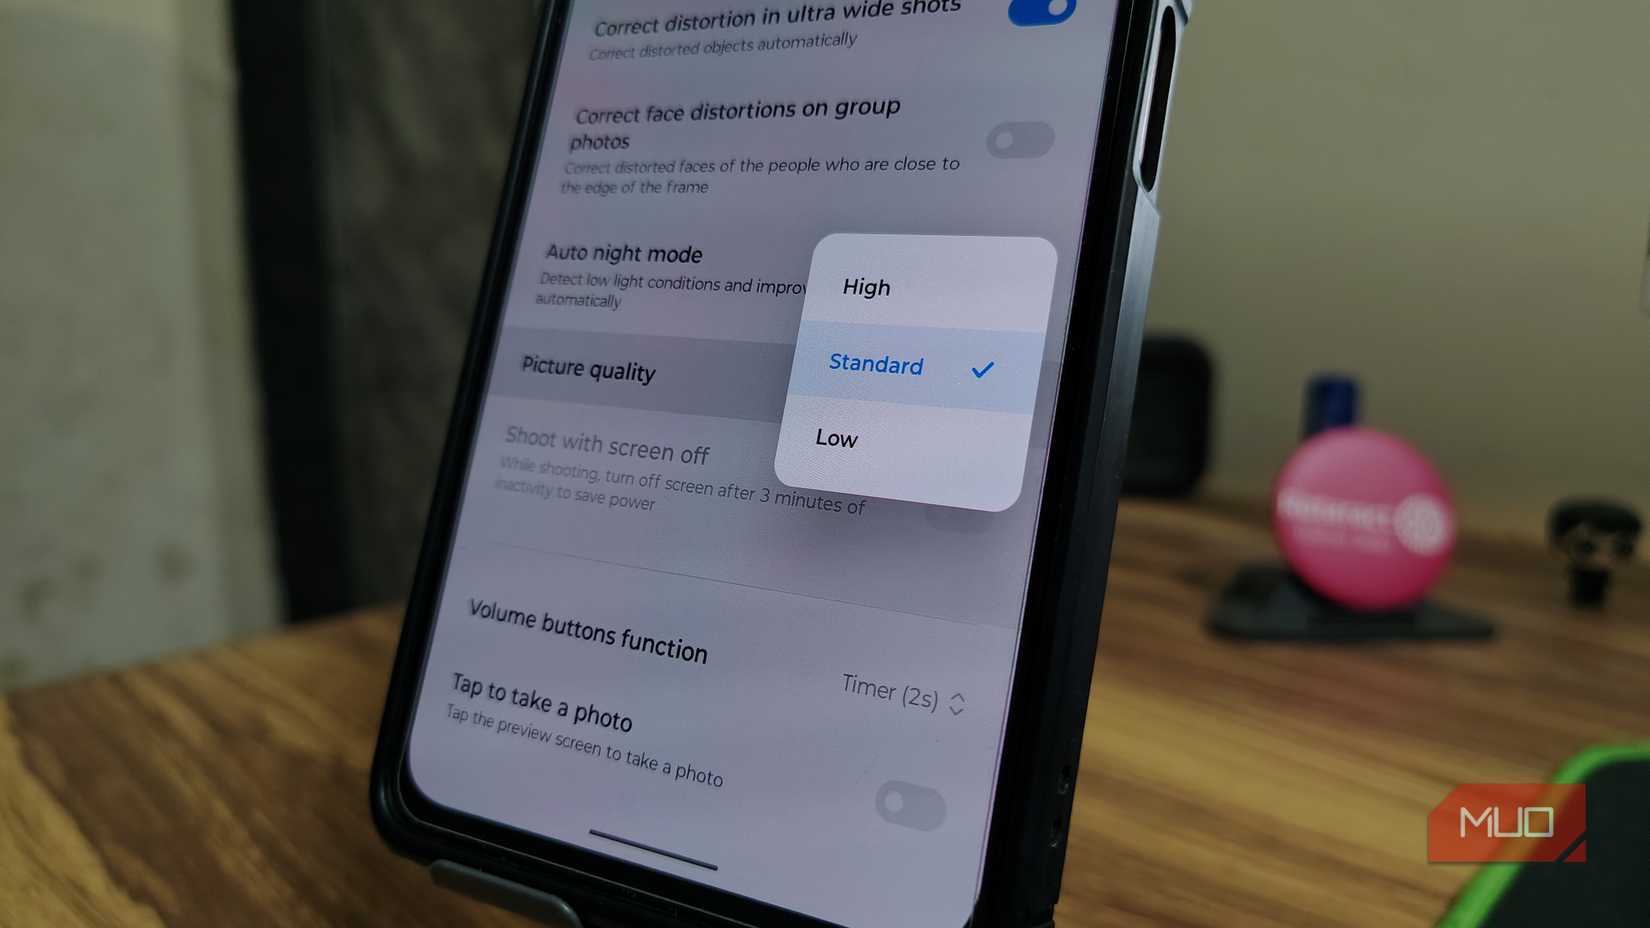
Credit: Keval Shukla / MUO
Smartphones these days come equipped with 108MP or even 200MP camera sensors. So it’s naturally tempting to always be in “High” quality, and that’s why most manufacturers ship the phone with picture quality set to higher by default. But that is not the right choice for every picture you take.
Modern smartphone camera sensors use a technology called Pixel Binning. They group adjacent pixels (usually four or nine at once) into a single Super Pixel. This allows the sensor to absorb significantly more light and achieve a wider dynamic range, which is great for low-light situations and contrast-y scenes.

Related
10 Smartphone Photography Mistakes That Held Me Back for Years
These mistakes kept me stuck—don’t let them stop you.
But if you keep the photo resolution at higher settings, you either disable the binning process or let the processor bin fewer pixels to churn out higher-quality pictures. You get more detail, yes, but you often get more noise, worse dynamic range, and massive file sizes that eat up your storage.
Retaining the highest quality also leads to shutter lag. The processor takes longer to process the details, so there is a chance of missing important moments, such as your pet doing tricks or your child smiling at you. That’s why I set the picture qualityto Standard in the camera settings. I can always switch to High-Res mode for scenic pictures, but for regular use, the standard picture quality offers more benefits.
Secret to the quick composition upgrade
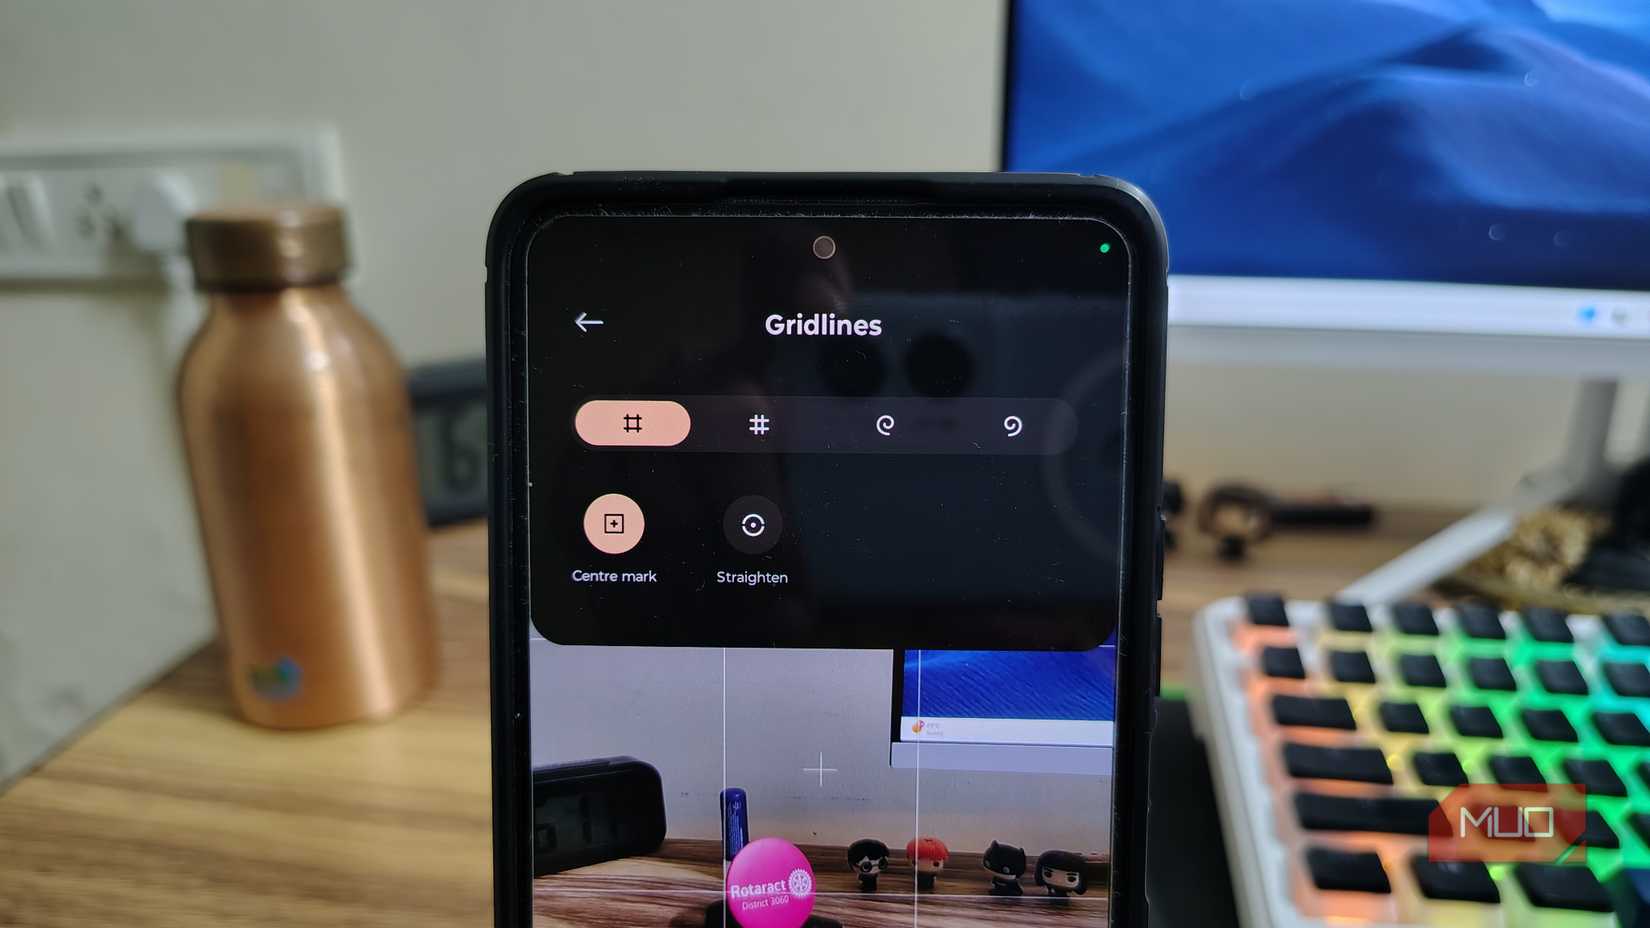
Credit: Keval Shukla / MUO
Nothing screams amateur photography quite like a tilted horizon and completely off-center portraits. While you can fix a crooked photo in editing, every rotation and crop throws away valuable pixels and reduces resolution. That’s why I immediately hunted down the Leveling Tool and Grid line. It provides a gyroscope-assisted visual cue, forcing you to slow down and get the alignment right in-camera.
Grid lines are also important since a straight photo isn’t enough; it’s boring. New photographers and senior people often put subjects right in the center, which makes the photo look flat. Grid lines help you see the Rule of Thirds. This teaches you to place subjects along the lines rather than in the middle. It makes arranging your photos easier and helps your pictures look lively and professional without needing to edit them later.
These settings aren’t science; they are a simple helping hand
Honestly, I am surprised these settings aren’t shipped with the default toggled on. These small settings help new and regular users alike take almost-perfect pictures quickly, almost every time. Enabling these settings shows that you don’t need to be a pro to make the most of your camera every day. These are the trial wheels I intend to keep using. I encourage you to spend just 60 seconds before taking that next picture and turn these settings on to take better pictures every time moving forward.