

You’ve likely been sitting on automation potential right in your pocket or attached to your keys. While Apple AirTags started out as a way to find lost luggage or misplaced wallets, they’ve quietly evolved into the coolest and most versatile Home Assistant accessory out there right now. They are devices that give you precise locations, but they can easily be used in a smart home. Location tracking doesn’t have to be as simple as we make it. Using just a cheap tag, you add more features to your home without much effort.
The “last person out” security sweep
You don’t need to double-check anything
A lot of us already use our phones for geofencing, but phones can lose battery, get left behind, or just have GPS drift. By attaching a regular Apple AirTag to your main set of house or car keys, you create a physical item that shows your presence. Through clever integrations, like setting up an Apple Shortcut that sends the tracker’s info to a helper entity in Home Assistant to create a reliable device tracker, your smart home can accurately watch when this specific AirTag leaves your defined home zone.
The real good part happens the second the AirTag’s state officially changes to “away.” Instead of you checking if you locked the front door or worrying halfway to work about whether you left a dangerous appliance on, Home Assistant takes over completely and starts a full house lockdown.
The automation can be set up to systematically turn off power to specific smart plugs all over the house. This makes sure that dangerous, heat-making appliances like the curling iron in the bathroom or the coffee maker in the kitchen are instantly turned off for safety, getting rid of that nagging feeling of doubt that bothers so many morning commutes.
To make this work, you’ll first create an input boolean helper in Home Assistant called “Keys at Home,” or whatever you want. You then use the HomeKit Bridge integration to expose this toggle to the Apple Home app on your iPhone. In the Apple Home app, you create a leave automation that flips this toggle off whenever you move out of your home’s geofence.
Since your keys are the physical anchor for your presence, Home Assistant can then use that toggle’s state change as a trigger to run your Full House Lockdown script, making sure everything is powered down the moment you drive away.
Automated welcome lighting
Make sure your house is ready for you
Coming home after a long day should feel good. However, pulling into a pitch-black driveway when your arms are loaded with heavy grocery bags can quickly make a comforting arrival into a dark obstacle course. Regular motion sensors can be really unreliable, either turning on too late, shutting off while you are still trying to open your door, or activating for every neighborhood cat that walks by.
By putting an AirTag permanently in your car’s glove box or center console, you can make it a vehicle presence sensor for your outdoor smart lights. You can set up a precise automation so that when your car enters the specific driveway zone, Home Assistant instantly gets to work.
By adding a simple time condition to this routine, you can make sure the automation only runs when it is actually needed, specifically, after sunset. As you put your car in park, Home Assistant can automatically turn on the outside path lights leading directly from the garage to the front door, lighting your walkway with bright, welcoming light.
This routine relies on the Home Assistant Companion App and a simple Zone entity defined for your driveway. You’ll set up an automation that monitors your iPhone’s location, but with a specific condition. It only triggers if your phone is currently connected to your car’s Bluetooth or CarPlay.
This makes sure a casual walk past your driveway doesn’t trip the lights. When the app reports you’ve entered the Driveway Zone while connected to the car, it sends a Webhook to Home Assistant, which immediately turns on your path lights, provided the sun has already set.
Trash day reminder
Never miss a garbage truck again
Forgetting to haul the garbage to the curb is frustrating, but it’s a problem you can easily solve. Attach an AirTag to the underside of your heavy outdoor trash bin. Since AirTags are built with an IP67 rating for water and dust resistance, they can easily handle harsh outdoor elements, including rain, splashes from puddles, and dirt.
Since they’re powered by a standard, user-replaceable CR2032 coin cell battery, they will last for over a year with everyday use. There’s no need to constantly worry about retrieving and recharging the tracker hidden underneath your dirty bin.
Using zone-based tracking, Home Assistant can check if the Trash Bin tracker is still in the Side Yard zone on Tuesday mornings. If it hasn’t moved to the street zone by 8:00 AM, your smart speakers can announce a reminder to take the bins out.
This setup creates a contextually aware alert system that only triggers an audio interruption if the chore actually remains undone.
Since the trash bin stays home when you leave, you need a stationary listener to track its location. The most reliable method is using a Mac at home to run a script that pulls data from the local Find My Items.data cache. This script pushes the AirTag’s coordinates to Home Assistant using MQTT.
Once the data is in your system, you can create two distinct zones: Side Yard and Curb. On Tuesday mornings, Home Assistant checks if the AirTag’s state is still Side Yard at 8:00 AM; if it is, the system sends a notification to your smart speakers to remind you that the bin is still tucked away.
The backpack arrival
Your kids won’t need to text you that they are home

Credit: Belkin
For families with kids, putting an AirTag in a backpack offers a gentle way to keep tabs on school arrivals. You can basically turn a regular AirTag into a working device tracker right in your home automation dashboard. This connection lets you set up specific areas and show the backpack’s location right on your system’s map.
With this arrangement, you can set up an automation that tells you when the backpack gets to the “School” zone and, even better, starts a “Welcome Home” scene when it returns, maybe warming up a snack or announcing their arrival over the intercom.
This gives you a great, hands-off way to check for a safe arrival without a young child needing a phone or a more expensive GPS smartwatch that requires a monthly cellular plan. As the backpack’s AirTag crosses back into your home’s boundary, this custom routine could also be set to turn on entryway lights and adjust the thermostat to a comfortable after-school temperature.
For this hands-off tracking, you’ll use the same MQTT bridge method to feed the backpack’s location into a Device Tracker entity in Home Assistant. You don’t need a cellular plan for your kid, just define the School address as a specific Zone in your HA Map.
You can then build an automation that triggers when the Backpack Tracker enters the School zone. This lets Home Assistant send a Safe Arrival notification to your phone the moment the Apple network updates the backpack’s position, giving you peace of mind without needing a separate GPS device.
Pet escape protocol
Your pet won’t get away easily
Danny Chadwick / Review Geek
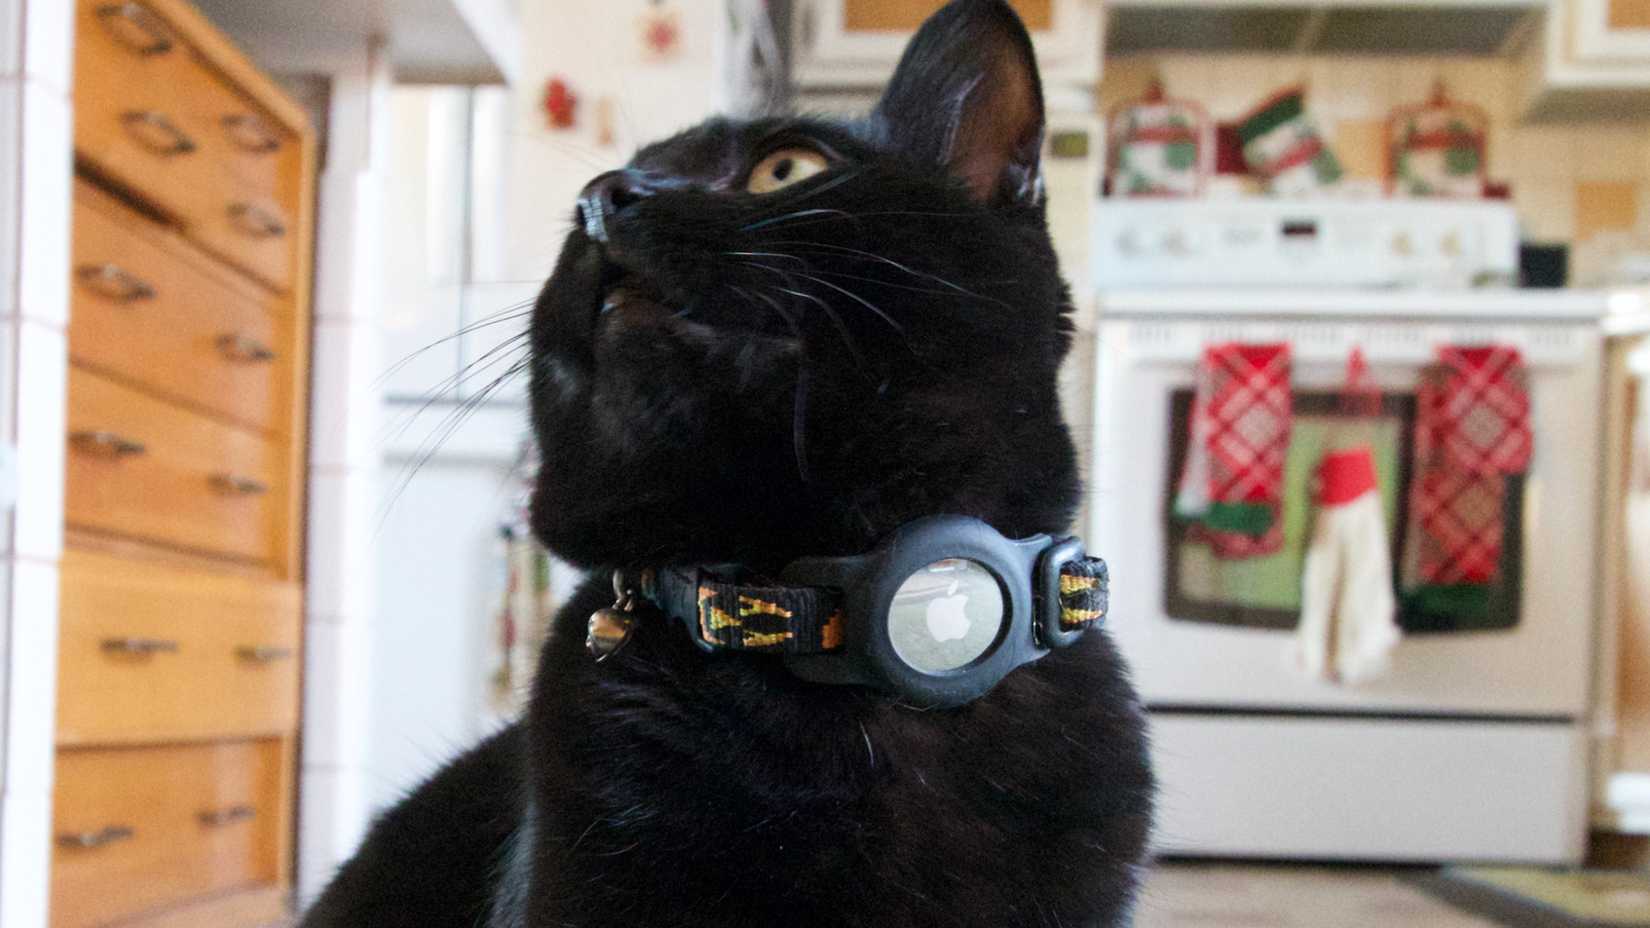
If you’ve got an AirTag attached to your pet’s collar, you can turn this common little tracker into a really responsive safety net by setting up a strict Property zone within your Home Assistant dashboard. Once this device tracker is set up on your Home Assistant map, you can draw a precise geofenced boundary around your home and yard. The real magic of this integration happens the moment your furry friend decides to go on an unauthorized adventure.
If the AirTag is detected outside this predefined Property zone, Home Assistant immediately starts the Pet Escape Protocol. The system can send a critical, high-priority alert directly to your smartphone, making sure you’re notified the second your pet breaches the perimeter. At the same time, Home Assistant can automate your home’s exterior to help with the search, like flashing the outdoor lights to urgently get your attention or to alert your neighbors that something is wrong.
In a really clever use of home automation logic, this protocol can even automatically pause your robot vacuum so it doesn’t accidentally let the pet out a propped-over door.
To get the fastest possible response for a pet escape, you’ll want to combine your Mac-based tracker with a local Bluetooth Low Energy (BLE) monitor like an ESP32 running ESPHome. By placing these small, inexpensive sensors around your yard, they can listen for the AirTag’s specific signal.
You’ll set up an automation that triggers the moment the BLE signal strength drops below a certain threshold or the Find My coordinates show the pet has left your Property Zone. This instantly fires off a High-Priority Notification to your phone and starts flashing your outdoor lights to alert you and your neighbors.
The true power of presence
Air Tags are more than just “find-my-things” gadgets. They miss their real potential as a really reliable and creative part of a modern smart home. They’re affordable, work for a year on a standard battery, and have an IP67 rating, which makes them perfect for tough spots like the bottom of a trash bin or a pet’s collar. The cool thing isn’t just knowing where your belongings are, it’s what your home learns about your routines and when it can actively look out for you. That simple, little AirTag is more than just a neat accessory; it’s the often-missed and crucial foundation for getting real, dependable automation.
Connectivity
Bluetooth 5.0, Ultra Wideband
Battery
1 CR2032 battery
Water Resistance
IP67
Dimensions
3.25 x 3.25 x 0.5 inches