
Ever since Apple rearranged the iPhone’s Settings menu, making changes to apps requires a laborious series of taps and swipes. But it doesn’t have to be that way, thanks to a workflow that makes excellent use of Apple’s Shortcuts app.
The Problem With App Settings
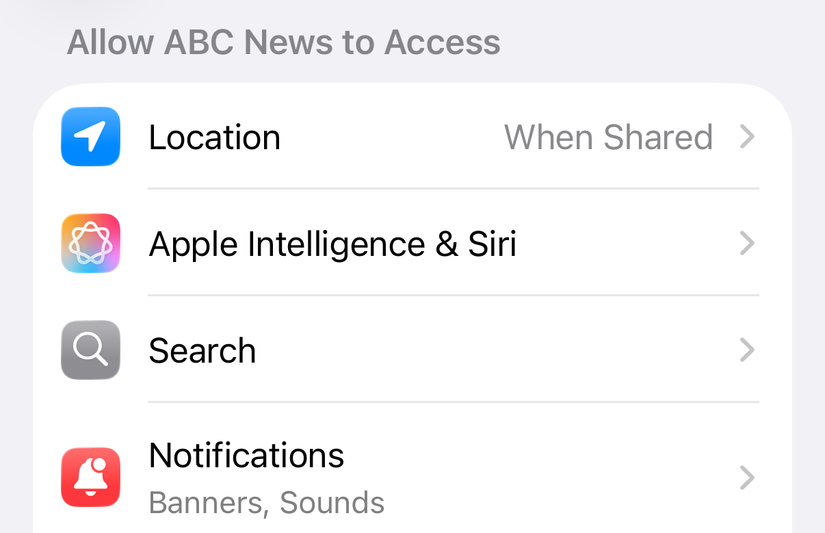
Every installed app on your iPhone has a system-level settings panel that allows you to quickly review an app’s privileges, notification settings, and more, all from a single interface. You can use this screen to quickly enable or disable location services, access to your camera and microphone, bar an app from using mobile data, and much more without diving into each relevant menu separately.
Some apps even use this menu to define app-specific settings, or hide troubleshooting settings here (Slack for iPhone buries the cache reset and login feedback toggles here, for example).
You can access these preferences under Settings > Apps (at the bottom of the menu), where you’ll be presented with a long list of every app that’s installed on your iPhone. Apple has even moved its first-party apps to this menu in an attempt to clean up the iOS and iPadOS Settings menu (except for Camera and Wallet, it seems).
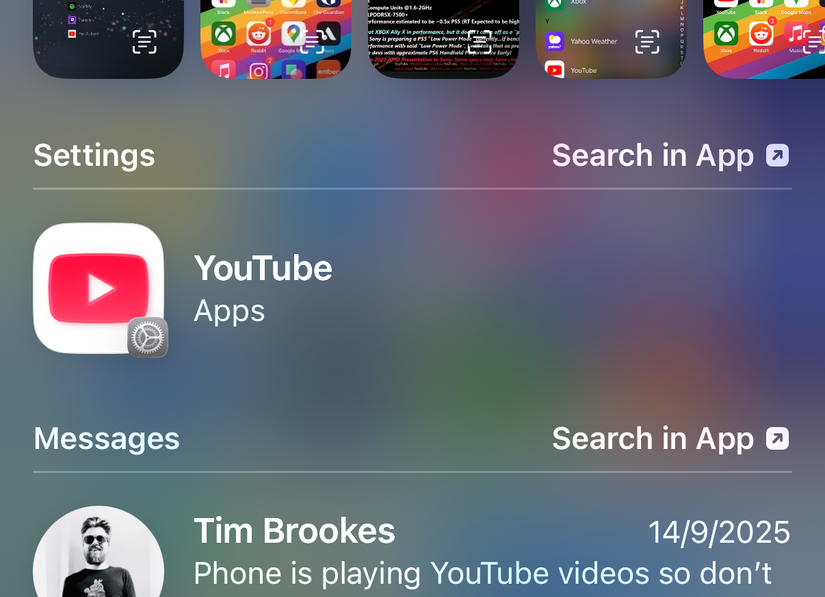
The only problem is that getting to this menu for each installed app seems to take forever. You could search with Spotlight, but you’ll have to scroll since Settings results appear fairly low down the list.
How this Shortcut Fixes the Problem
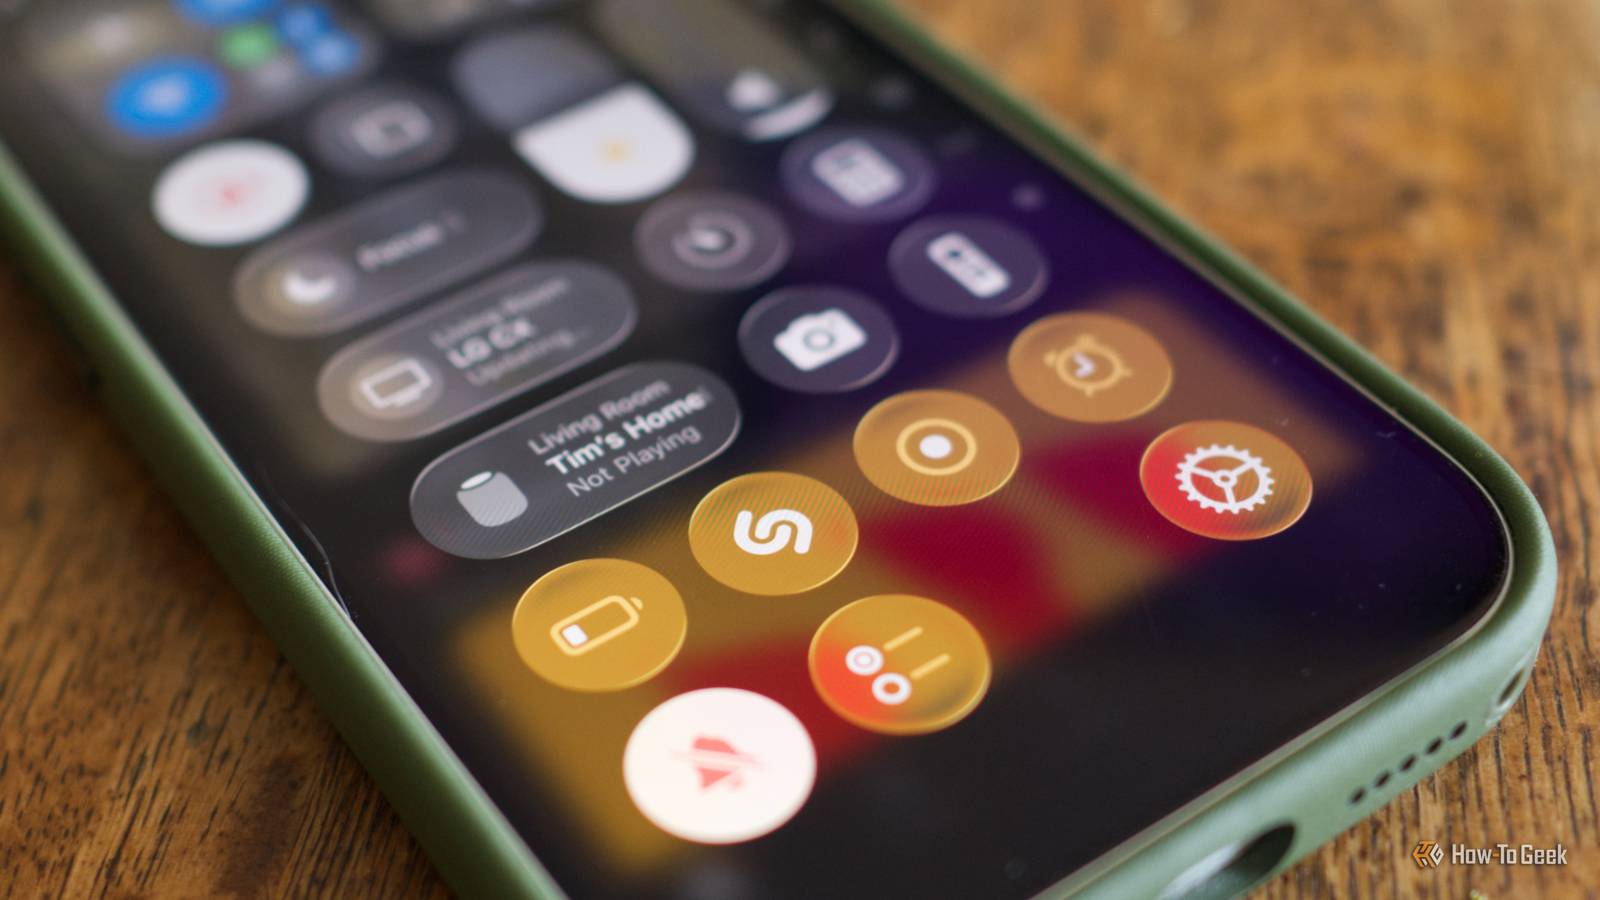
Much of the time, you’ll want to access the relevant app settings panel while you’re using the app in question. That’s what makes this shortcut so clever. By adding the workflow as a Control Center shortcut, you can swipe down from the top of the screen and tap an icon to immediately be taken to the running app’s settings panel.
So if you’ve got the Music app open and you want to quickly make changes to the audio quality, you can swipe down from the top of the screen, tap an icon, and make any changes you like—all without having to exit the app or thumb through the Settings menu.
The only app that this doesn’t seem to work for is the Camera app, but that’s not a huge issue since Camera preferences are in the root Settings menu anyway.
Download or Create the Shortcut
I can’t say for certain where this shortcut originated, but Reddit user u/grillinmuffins shared it in a post on the r/Shortcuts subreddit shortly after iOS 26 entered beta. It’s not clear if this is where the idea originated, but it’s the first place I saw it so credit where it’s due.
You can download the original shortcut and add it to your Shortcuts app by clicking here. Though this is the easiest way to get it working, you might prefer to create the shortcut yourself from scratch. This will help you understand what’s happening, and maybe even spur you on to create your own in the future.
To get started, open the Shortcuts app on your iPhone. Tap the “+” plus icon to create a new workflow. Use the “Search Actions” box, find the “Get Current App” action, and add it to your shortcut. This identifies which app is running when you trigger the shortcut.

Now search for and add the “Text” action to your workflow. You’ll need to type “App-prefs:” (without quotations) into this box, which is how we’ll be skipping to an app’s preferences pane using Apple’s iOS link feature. While your cursor is still in the box, tap the “Current App” variable that appears just above your keyboard.
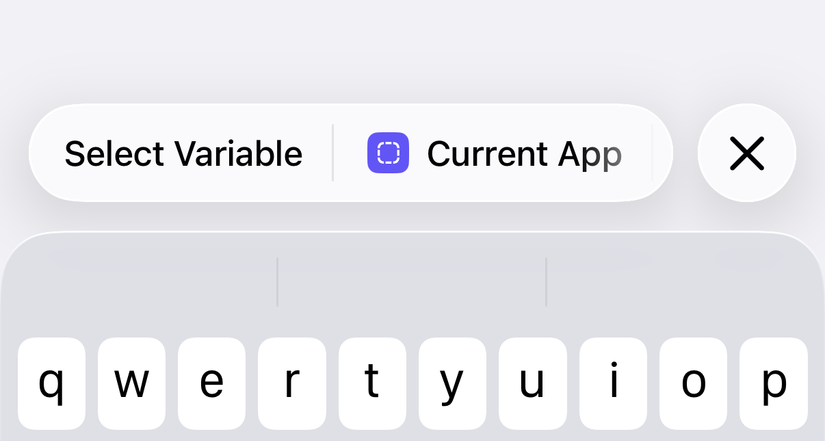
You should see a new panel appear where the keyboard was. “Name” will be checked, but we want to change this to “Bundle Identifier” which is how the operating system identifies app processes internally. Once you’ve done this, you’ll see the text change to “Bundle Identifier” instead.

The final step is to add the “Open URL” action to your workflow. This should automatically populate with the “Text” variable you just created.

You can now tap the shortcut’s name at the top of the screen and change it to something more fitting. You should also change the app’s icon (I searched for “gear” and used that). If you want to test your shortcut, hit the play button at the bottom. If you’re taken to the app settings page for the Shortcuts app, you did everything correctly. You can close the Shortcuts app now.
Now Add the Shortcut to Control Center
The final step is to add the Shortcut to Control Center so that you can trigger it at any time. To do this, swipe down from the top-right corner of the screen to reveal Control Center. Now tap the “+” plus button in the top-left corner of the screen.
You’ll need at least two spaces to add the control (but it will only take up one space once you’re done). Remove any unnecessary icons until you have space, then tap “Add Control” at the bottom of the screen. From here, find “Shortcuts” and add the “Run Shortcut” control.
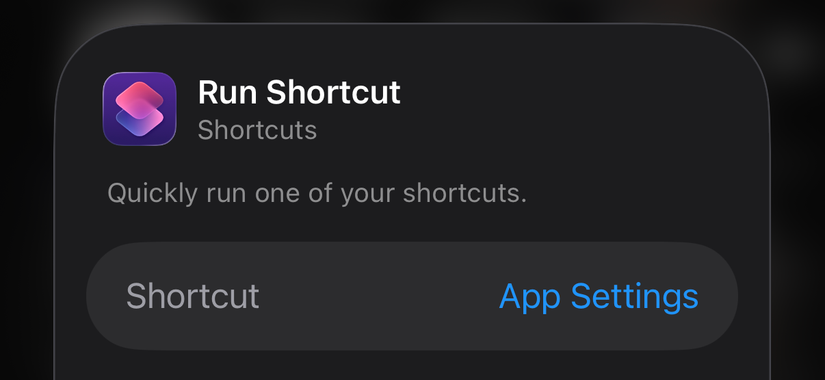
When prompted, hit “Choose” and select the shortcut you just created (or downloaded). Once added to Control Center, you can drag the bottom right corner to condense the icon so that it only takes up a single space. I’d suggest putting it somewhere like the corner of the screen so you know what it does.
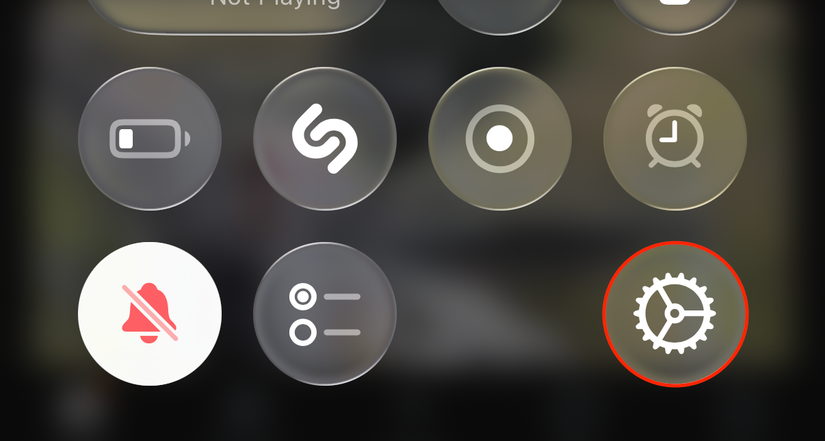
Now try opening an app, accessing Control Center, and triggering the shortcut you just added. It should take you to the relevant Settings page.
Shortcuts is an incredibly powerful app, one that’s easy to overlook. If you’re new, here are a few more iPhone shortcuts to get you started. In addition, you can use Shortcuts to run all sorts of handy automations.