
In this fourth chapter of our hands-on walkthrough with Michael Bulbenko from FUJIFILM North America, he is focusing on the monitoring and output settings of the GFX ETERNA 55. The video covers internal and external display options, SDI and HDMI output configuration, on-screen information overlays, exposure tools, framing guides, and LUT routing.
Earlier chapters on the GFX ETERNA 55 covered camera setup (Chapter 1), basic functions (Chapter 2), and project settings such as resolution, codecs, and recording formats (Chapter 3). With those foundations in place, this chapter moves into display control and signal routing.
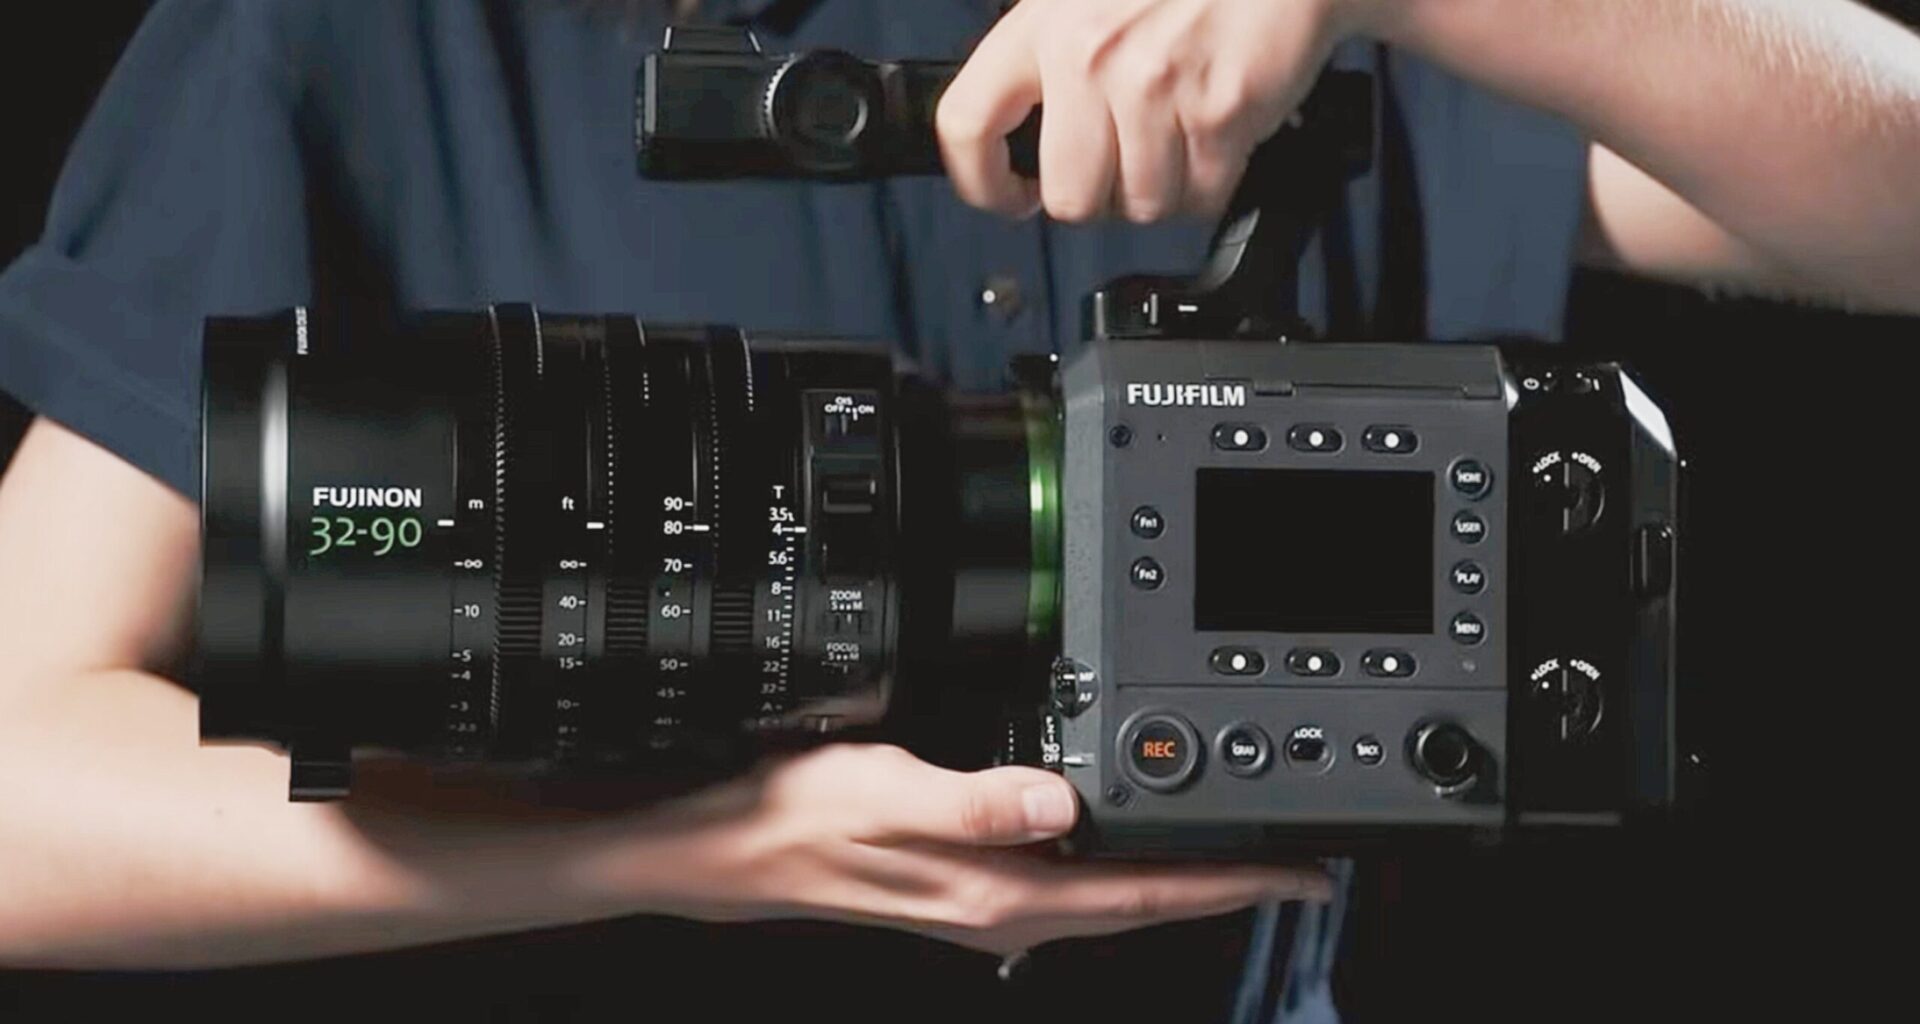
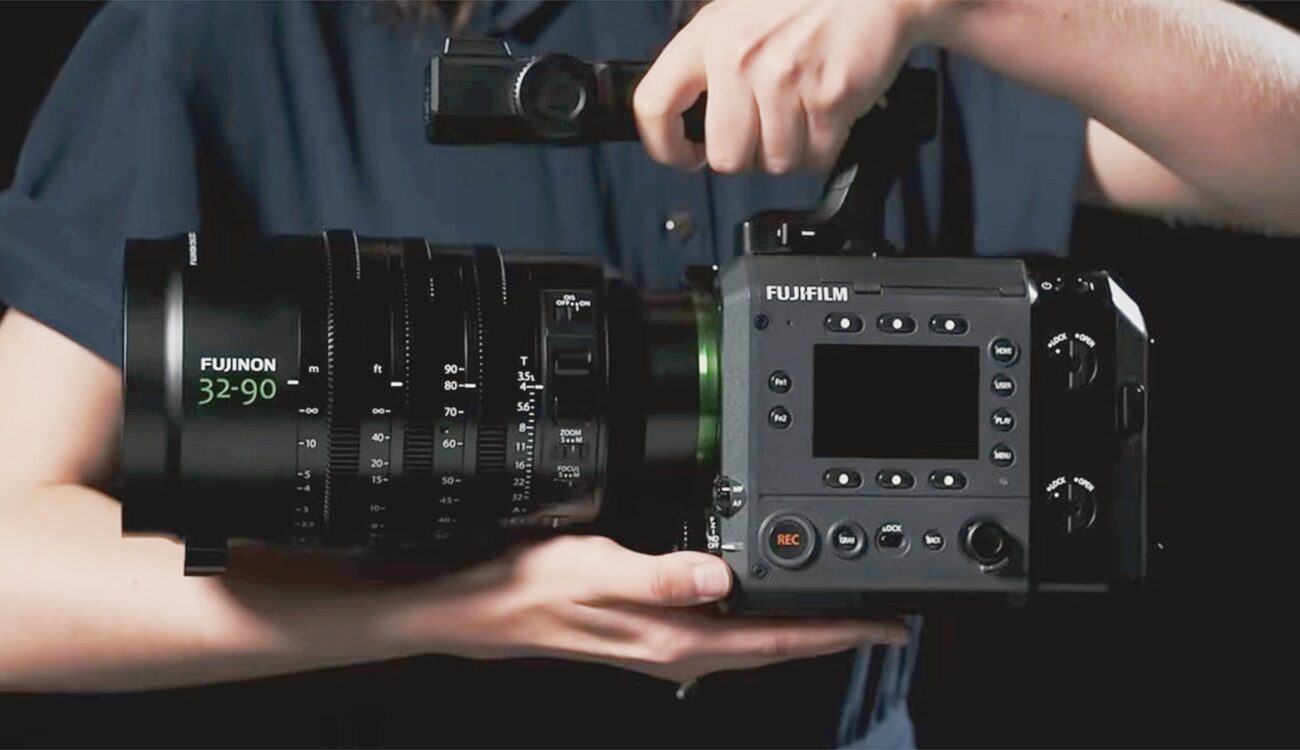
Although the camera features a 5-inch LCD with a brightness rating of up to 2000 nits, making it usable in a wide range of lighting conditions, many productions will still rely on external monitoring. Director’s monitors, video village setups, or wireless transmission systems often require routing the signal through SDI or HDMI.
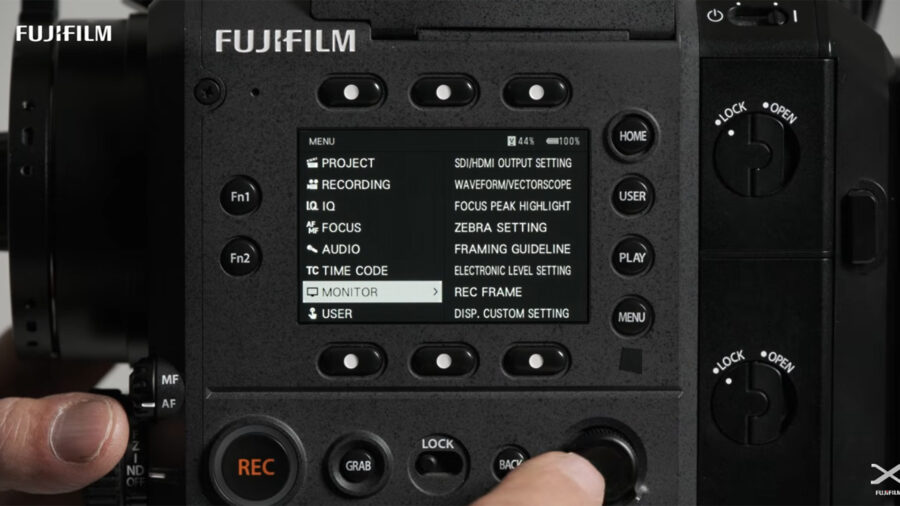 Monitoring settings are accessed under MONITOR section. Image credit: FUJIFILM
The MONITOR menu provides the necessary controls to configure these outputs and tailor the display to the needs of the set.
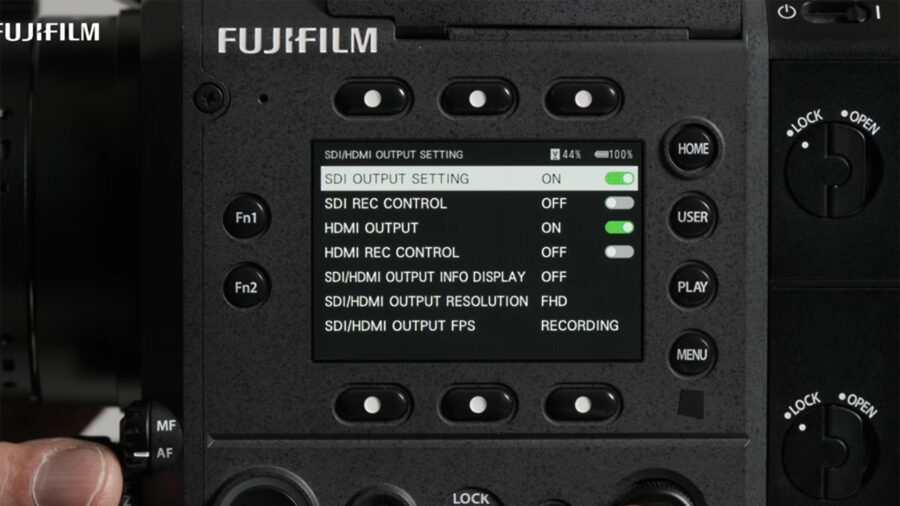 SDI/HDMI output settings. Image credit: FUJIFILMMonitor menu and SDI/HDMI output configuration
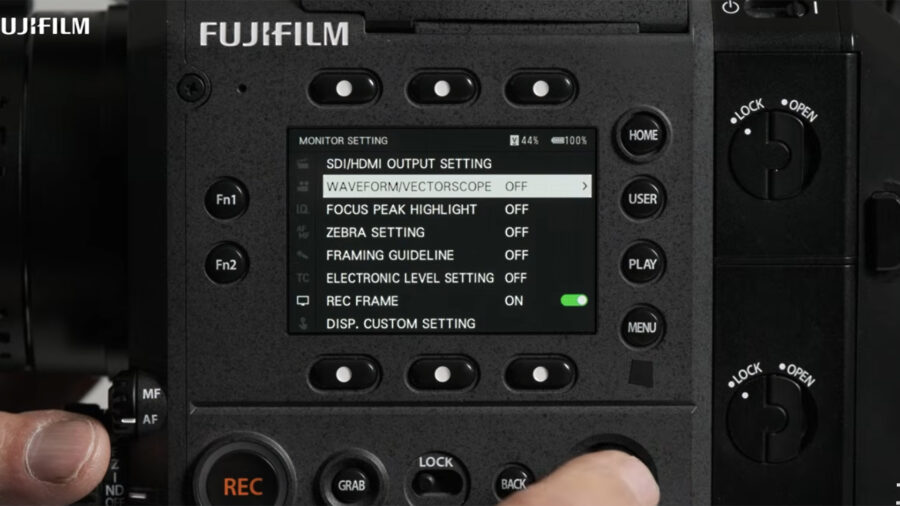
Monitoring settings are accessed through the main menu under the MONITOR section. Inside the MONITOR menu, selecting SDI/HDMI OUTPUT SETTING gives users the option to enable or disable the SDI and HDMI outputs. From here, the output resolution can be set to either 4K or HD. This is important to note if a user is working with monitors that only accept HD signals.
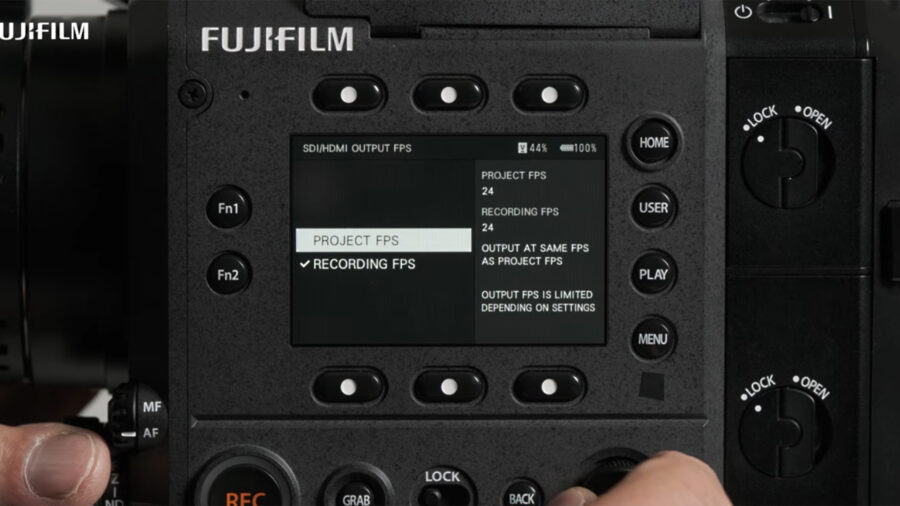 Decide whether the external signal follows Project or Recording FPS. Image credit: FUJIFILM
The SDI/HDMI OUTPUT FPS setting determines whether the external signal follows the Project frame rate or the Recording frame rate. This option becomes relevant when working with off-speed capture, as it allows the monitoring signal to reflect either the intended playback speed or the actual capture speed.
The menu also includes an option labeled SDI/HDMI OUTPUT INFO DISPLAY, which determines whether status information and monitoring overlays, such as exposure tools and frame guides, are sent to external monitors along with the image.
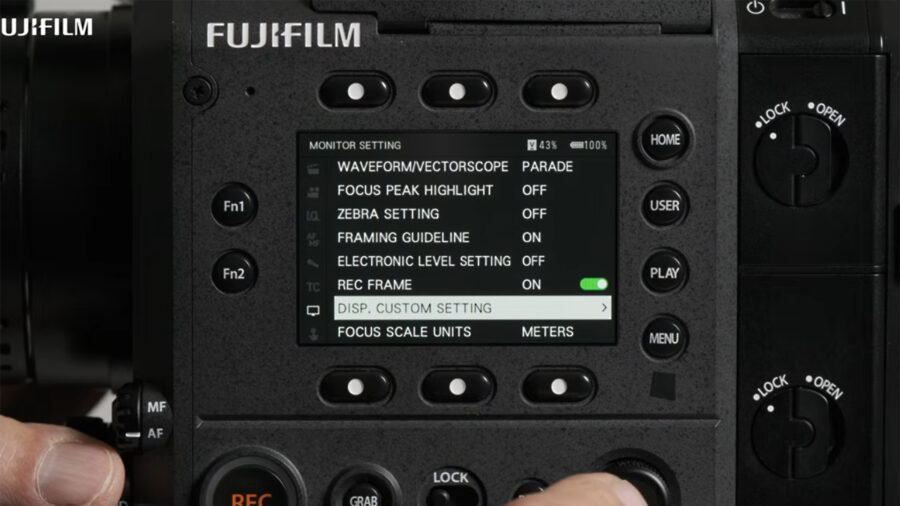
 Customize on-screen display info under DISP. CUSTOM SETTING. Image credit: FUJIFILMCustomizing on-screen display information
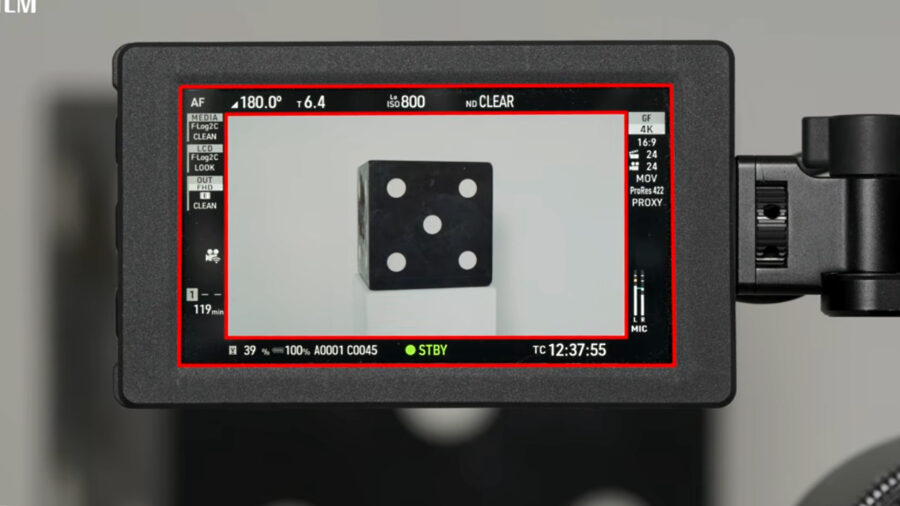
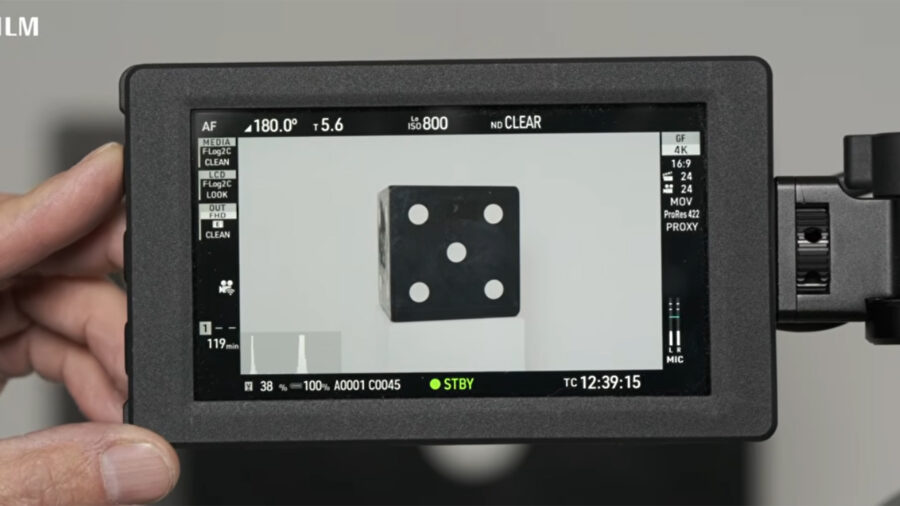
The GFX ETERNA 55 allows users to customize the information shown around the image area on the LCD. Inside the MONITOR menu, selecting DISP. CUSTOM SETTING opens a list of display elements that can be enabled or disabled individually. This includes status information such as recording settings, frame rate, exposure indicators, and other operational data.
 DISP. CUSTOM SETTING opens a list of display elements. Image credit: FUJIFILM
Items are activated by checking the corresponding box in the list. Once selected, the chosen information appears on the LCD during monitoring.
If SDI/HDMI OUTPUT INFO DISPLAY is enabled in the output settings, the same overlays and status information can also be mirrored to external monitors. This allows operators to decide whether a clean image or a fully overlaid display is sent to video village or other on-set monitors.
 Built-in monitoring tools. Image credit: FUJIFILMMonitoring tools: waveform, vectorscope, RGB parade, and histogram
The GFX ETERNA 55 provides several built-in monitoring tools for exposure and color evaluation. In the MONITOR menu, users can activate the waveform, vectorscope, RGB parade, and histogram. Once enabled, these tools appear on the LCD display.
The waveform allows for precise exposure monitoring across the image, while the vectorscope and RGB parade provide insight into color balance and channel separation. The histogram offers a general overview of tonal distribution.
The position and size of these monitoring tools can be adjusted under the SCREEN SET-UP function. This allows operators to reposition scopes and overlays to avoid covering critical areas of the frame.
 Function buttons are on the side of the monitor. Image credit: FUJIFILM
A display toggle button, typically assigned to one of the function buttons on the side of the monitor, allows users to quickly show or hide monitoring overlays during operation. When toggled off, the scopes and other display elements are hidden from view.
 Set up framing guidelines. Image credit: FUJIFILMFraming guidelines and masking
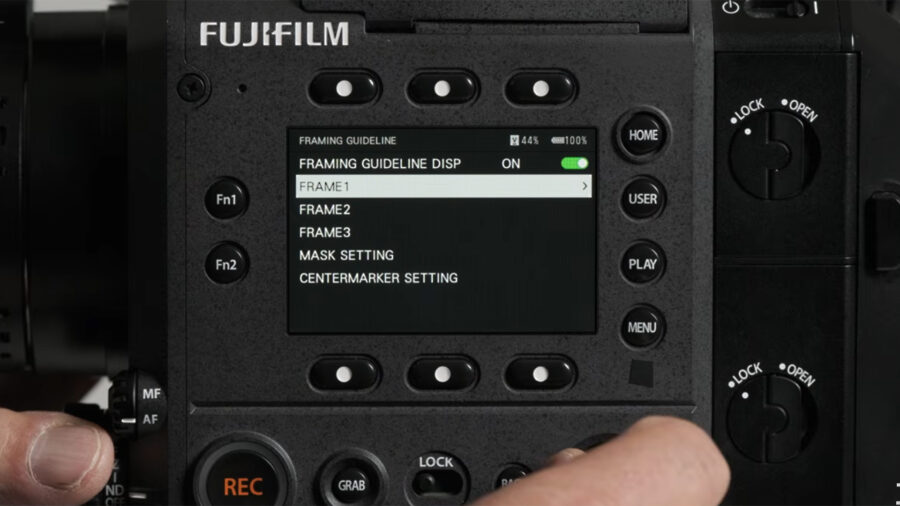
Framing guides are configured within the MONITOR menu under FRAMING GUIDELINE. Up to three framing guidelines can be activated simultaneously. Each guideline allows users to select from preset aspect ratios or define a custom aspect ratio. For each guideline, the following parameters can be adjusted:
Line colorLine thicknessMask settingCenter marker
The mask setting darkens the areas outside the selected frame lines, helping to visualize the intended composition within the active sensor area.
Framing guides are also controlled by the display toggle button. When overlays are hidden using the toggle function, the framing guides will disappear along with other on-screen information.
 Look management via Button 5 will open configuration screen. Image credit: FUJIFILMLook management and LUT configuration
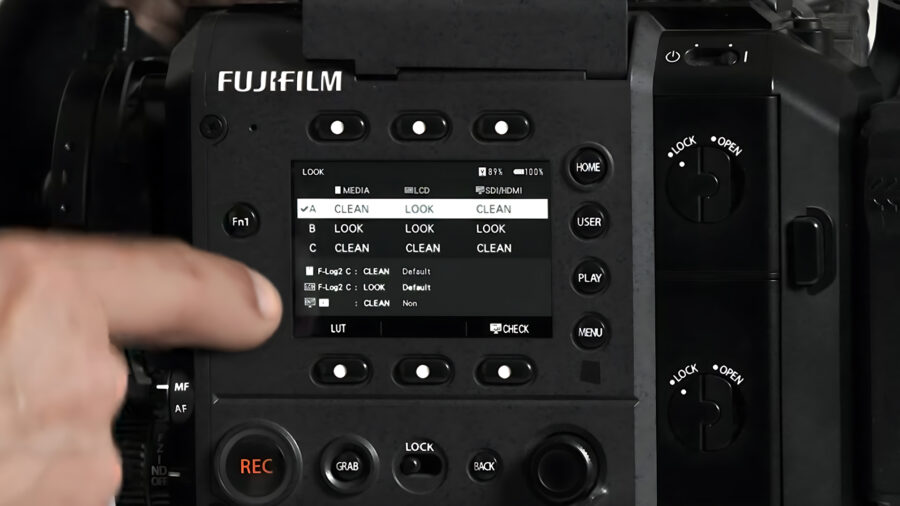
Look management is accessed via the bottom center sub-monitor button (Button 5), which opens the look configuration screen. This screen displays three vertical columns labeled:
Each column controls how the image is processed and displayed.
The MEDIA column affects the recorded file. Any selection made here will influence the image that is actually written to the card. The LCD column determines how the image appears on the camera’s internal display. The SDI/HDMI column controls how the image is sent to external monitors. Selecting CLEAN means that no LUT is applied. The signal will follow the tone curve defined in the project settings, such as F-Log2, HLG, or a film simulation.
If a LUT is selected in the MEDIA column, it will be baked into the recorded file. For this reason, the video recommends keeping the MEDIA column set to CLEAN when recording in log, and applying LUTs only to the LCD or SDI/HDMI columns for monitoring purposes.
 Once the LUT files are uploaded, press the LUT button for film simulations. Image credit: FUJIFILMImporting and assigning LUTs
The GFX ETERNA 55 can store up to 16 LUTs internally. Supported LUT formats include 3D LUT cube files in 17, 33, and 65 cube sizes.
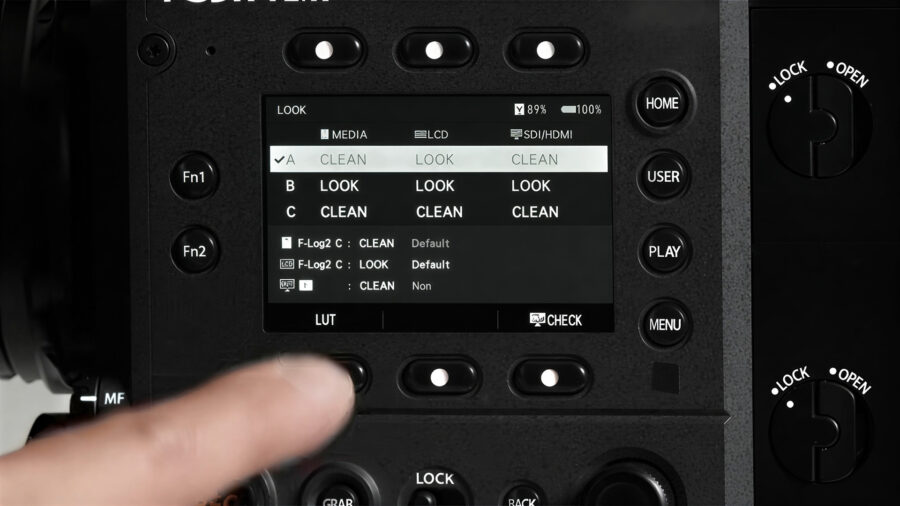
To import a LUT, the file must first be on a CFexpress or SD card. In the LOOK management screen, pressing the LUT button opens the LUT selection window. From here, users can view available film simulations as well as any custom LUTs that have been uploaded to the camera.
LUT files can then be loaded from the card into one of the available internal slots. Once registered, they appear in the LUT selection list and can be assigned to the LCD or SDI/HDMI columns.
LUTs are linked to the selected tone curve. For example, when recording in F-Log2 C, a corresponding LUT can be selected for monitoring. If the MEDIA column remains set to CLEAN, the recorded file retains the original log signal, even when a LUT is applied to the LCD. As demonstrated in the video, the LCD can display a LUT-applied image while the SDI output continues to send a clean F-Log2 C signal.
Price and availability
The FUJIFILM GFX ETERNA 55 is available to order for $16,499.95 / €13,450. For more information about the camera, there is a consolidated technical overview, and for other details, please refer to the FUJIFILM website.
Have you already worked with the GFX ETERNA 55 in a monitoring-heavy setup? Do you prefer keeping recording strictly clean and applying LUTs only for monitoring? Let us know your thoughts in the comments below.