
Editing Slide Decks in NotebookLM has always felt like a two-step process for me: generate the deck, then manually fix whatever didn’t quite work.
Sometimes there were typos, the diagrams needed polishing, and refining slides meant more hands-on editing than I expected.
Recently, I found a Gemini image-generation tool that completely changed how I approach it.
Here’s how I use Nano Banana Pro to enhance visuals and improve text within images before adding them back into the presentation.

Related
I can’t stop thinking about how much easier college would’ve been with NotebookLM
NotebookLM is the best study partner you could have
![]()
Credit: Lucas Gouveia / Android Police
NotebookLM does an impressive job turning source material into structured slide decks. The outline is usually logical, the sections flow well, and the key points are pulled directly from your documents.
However, the generated slides often feel like a first draft. Another limitation is flexibility. If something feels off, your options are usually to rewrite sections manually, regenerate parts of the deck, or export and redesign elsewhere.
Without better ways to refine slides after generation, you’re doing more cleanup than you expect.
That said, things are starting to improve. Google has started rolling out the ability to modify individual slides using prompts directly inside a deck. The customization tools are currently available to users on the Google AI Pro and Ultra tiers, with free users expected to gain access soon.
Even better, Google is adding the ability to export Slide Decks as PPTX files. That means you’ll be able to download and open them directly in Microsoft PowerPoint without conversion. Google Slides export support is also in the works.
Until those features are fully available, here’s my workaround.
Trying to fix it the ‘normal’ way with Canva and Photoshop
Before I changed my workflow, I exported the Slide Deck and tried to fix it manually.
That usually meant pulling visuals into Canva to clean up layouts, adjust spacing, or recreate diagrams. For more precise edits, especially when text inside images needs correction, I’d open them in Adobe Photoshop.
Although the process worked, it was slow. If a diagram generated in NotebookLM had a typo, I couldn’t just tweak the text. I had to recreate the visual. If the layout felt cramped, I had to reposition it. If I wanted a cleaner infographic, that meant rebuilding it from scratch.
That’s fine for high-stakes presentations. But for study decks, internal briefings, or quick explainers, it feels excessive.
The whole point of generating Slide Decks with AI is speed. Transferring everything to Canva or Photoshop quickly diminishes that advantage.
The accidental workaround that fixed my slides
While working with NotebookLM, I wanted to change an image inside a generated slide. Normally, that would mean recreating the graphic in Canva or fixing it manually elsewhere.
Instead, I tried something different.
In the Studio panel, I clicked into the Slide Deck, right-clicked the slide, and selected Save image as. Then I went to the Gemini website, started a new chat, clicked Tools, and selected Create images.
From there, I clicked the + icon (Add files) and uploaded the saved image. I wrote a prompt explaining the corrections. Gemini regenerated the slide image with the new image.
When editing slide images in Gemini, make sure you select the Thinking model instead of the Fast option.
In my testing, the Fast version was inconsistent. The Thinking model takes slightly longer, but it follows instructions more accurately.
Instead of rebuilding the graphic manually, I used Gemini to edit the image while preserving the structure. It was faster than recreating the slide in a design tool and more precise than regenerating the entire deck inside NotebookLM.
Rebuilding the Slide Deck
After correcting the slide image, the next challenge was reintroducing it into the deck.
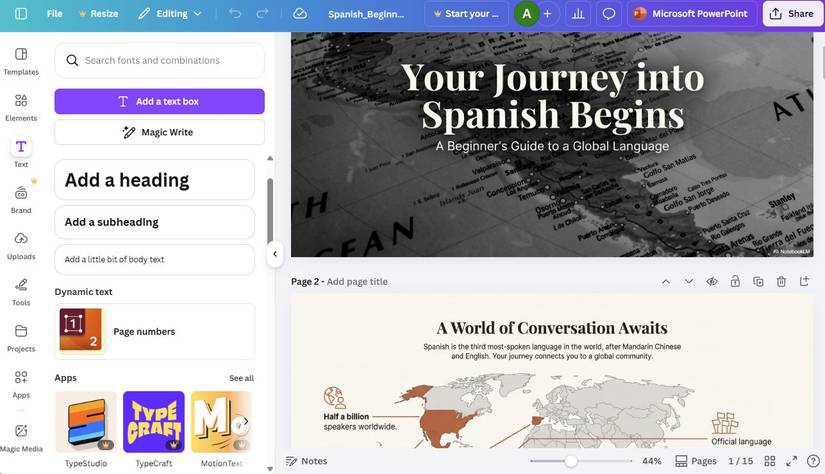
As of this writing, NotebookLM only lets you save a Slide Deck as a PDF. If you want to replace individual slides or tweak the layout, you need the file in PowerPoint or Google Slides format.
My workaround was straightforward, although it may sound like a lot of steps. I save the Slide Deck as a PDF and convert it to PPT using an online tool (I used Canva). Then, I open the converted PPT and paste the corrected slide generated in Gemini over the original slide.
![]()
Related
NotebookLM and Gemini are great together, but unstoppable with this app
The final layer in my productivity setup
NotebookLM and Gemini work better together
NotebookLM is already one of the fastest ways to turn research into structured Slide Decks. However, editing options are lacking.
Combining NotebookLM with Gemini is currently the easiest way to bridge the gap until more advanced editing and export tools become widely available.
After the tool gets full slide-level editing and native PPTX or Google Slides export for everyone, this process will get even smoother.