
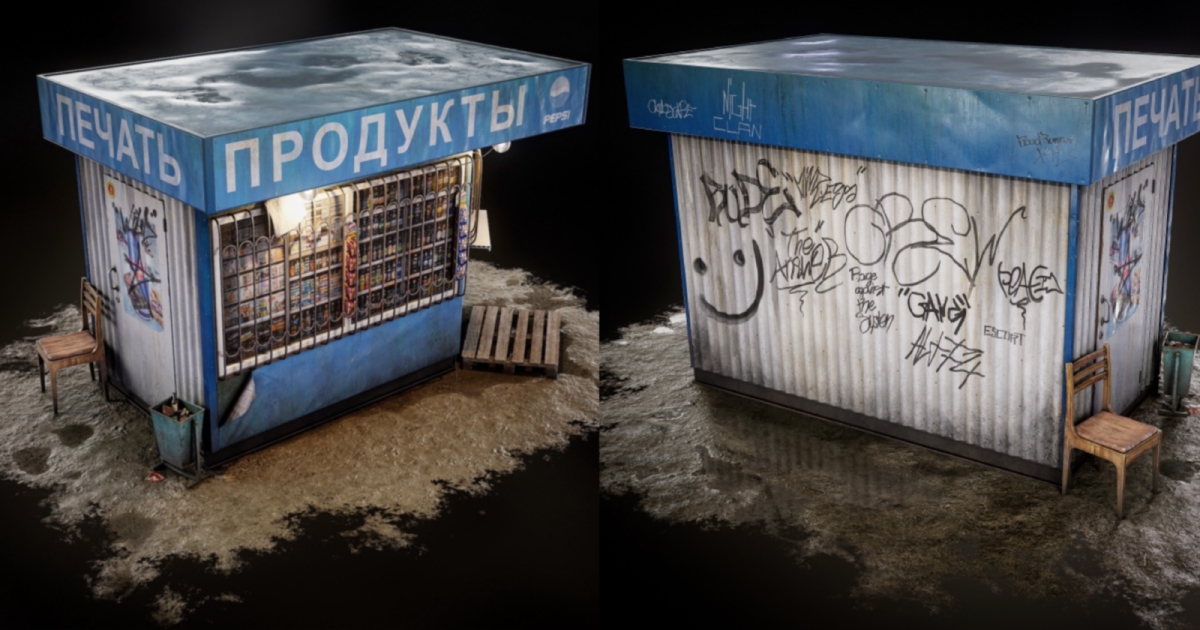
The scene uses two 4K textures. To optimize texel density, invisible polygons were removed, and some UV overlaps were used, for example, on the chair legs or the cigarette packs hanging in the window. Additionally, I added some ready-made photogrammetry trash assets from Quixel, which I’ll show later during the texturing stage.
Texturing
Next, let’s take a look at the texturing process. I’ll show the material setups mostly through video. It’s simply easier that way. I won’t go into extremely detailed explanations, but you’ll still be able to see what layers are being added. I’ll start with the kiosk itself. All materials begin with base colors, followed by surface irregularities and a base Normal. After that, I add details such as wear and scratches on the wooden door, darkening on protruding elements, and different color variations on vertical and horizontal surfaces.
These variations resemble sun fading or discoloration. On vertical surfaces, they behave more like streaks, while on horizontal surfaces, they appear as a combination of various stains. Next, I add Roughness variation to break up specular highlights and create more interesting reflections under lighting. Finally, I added a few dark and bright scratches to finish the material. I use a similar approach for the blue faсade covering.
The metal material was intended to look dark and dirty, with mold, rust, and grime appearing together, while keeping the rust relatively subtle. After that, I add set-dressing details such as posters, graffiti, and notices. I won’t go into much detail about how I create paper and sticker materials, since it’s a workflow I often use in my projects. However, one small detail worth mentioning is the black fill layer used underneath the notices.
Without it, a white outline would appear along the paper edges due to the underlying base color. Next, I add nails, leaks, different types of dirt, and of course, the water puddles. I really like the highlights they create. To finish the kiosk material, I add the Curvature Map to the Base Color in Overlay mode. This slightly mutes the overall color while adding a bit of cavity shading, which helps accentuate small surface details. I will use this trick again later as well.