
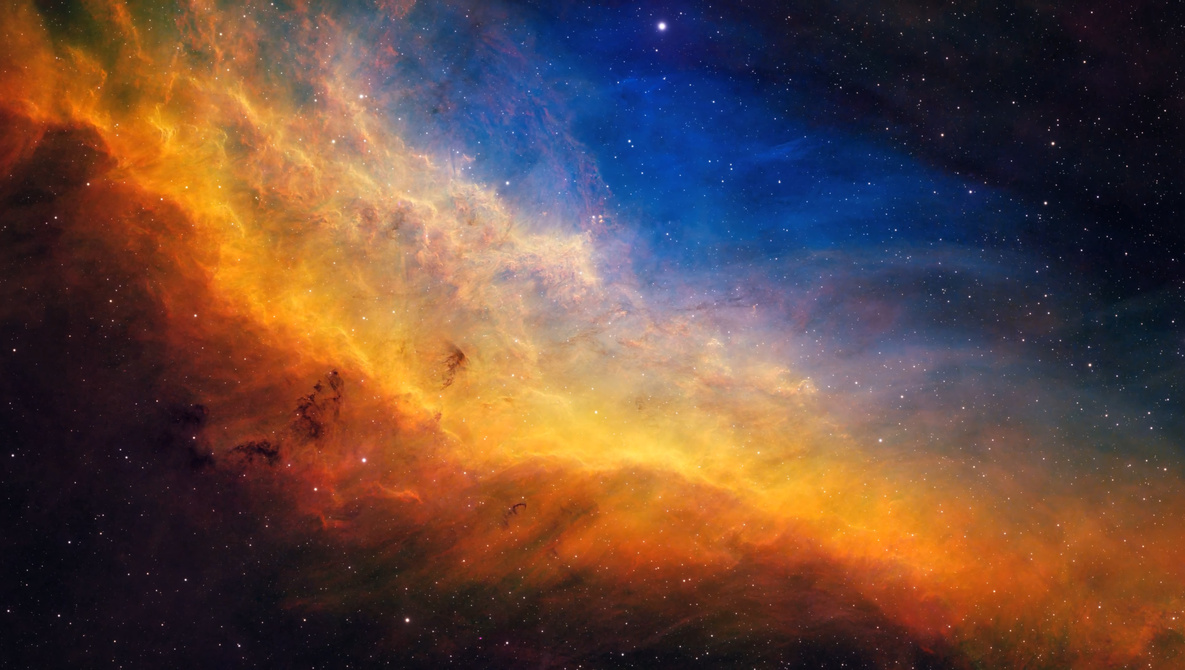
Astrophotography gets frustrating fast when your target is in the wrong place, your gear is mismatched, or your files become chaos by the end of the season. Dialing in a few core habits around planning, hardware choices, filters, and focus lets you spend more time gathering good data instead of fighting problems at 2:00 a.m.
Coming to you from Peter Zelinka, this practical video starts with planning, not gear, and that choice matters. You see how a quick check in Stellarium, Telescopius, and AstroBin answers key questions before you even step outside: is the object actually above your horizon, is it a seasonal target, and does your focal length frame it well or leave it tiny in the corner? Zelinka suggests treating Telescopius almost like a simulator, feeding it your sensor size, pixel size, and telescope focal length so you can preview how things will really look. AstroBin then becomes your reference library, where exposure times, filters, and telescope choices are often listed right under finished images. The result is a simple note on your phone with a shortlist of targets, required filters, and rough exposure goals that you can keep refining rather than improvising every clear night.
From there, the video pushes you to be honest about your telescope and camera, instead of assuming “better sensor” automatically means better results. Zelinka explains why something like a William Optics RedCat can be easier to live with than a more demanding, expensive refractor that needs perfect backfocus spacing. He shows how a small error that you could correct with an Askar Backfocus Adjuster can wreck star shapes across a full frame sensor, which is part of why he advises against jumping straight to full frame bodies for deep sky work. Instead, he focuses on APS-C astro cams like the ZWO ASI 2600, where around 26 megapixels, moderate file sizes, and a smaller sensor that crops out edge problems make more sense than 60-megapixel monsters. You see how that combination reduces vignetting and distortion headaches while still leaving room for prints and cropping when a composition needs a little trimming.
Filters and focus get a lot of attention as well, and this is where the video starts to pull away from casual advice you might have heard elsewhere. Zelinka makes a strong case for investing in a high quality 3 nm dual band filter like the Optolong L-Ultimate if you shoot nebula under light pollution, and compares it directly with a more affordable option like the Optolong L-eNhance. He then walks through the Askar Color Magic system, using an Askar Color Magic D1 (H-alpha and oxygen) and Askar Color Magic D2 (sulfur and oxygen) to build an SHO Hubble palette with a color camera instead of a full monochrome rig and filter wheel. Focus control stays grounded in real-world behavior rather than theory: acclimating your gear outside, watching temperature trends, deciding whether you really want an autofocuser, and learning how different filter sets, like premium Astronomik filters versus cheaper ZWO filters, can shift focus positions between channels.
What the video does not give away in a single tip list is just how these pieces stack together across a full night and a full project. Zelinka spends time on the practical risks of unattended meridian flips and bad cable management, including a close call that left a ZWO ASIAIR hanging by its cords. He talks about dither settings that balance cleaner stacks with wasted time, how much to move in pixels at 200 mm versus 600 mm, and when to ease off dithering every single frame. He stresses sensor cleanliness and simple tools like a rocket blower so you do not spend hours cloning out dust that never needed to be there. He finishes by tying it into naming conventions, ASIAIR file options, and a habit of stacking data every morning so you can spot problems quickly and decide whether a channel already has enough signal to move on to the next target or filter. Check out the video above for the full rundown from Zelinka.