
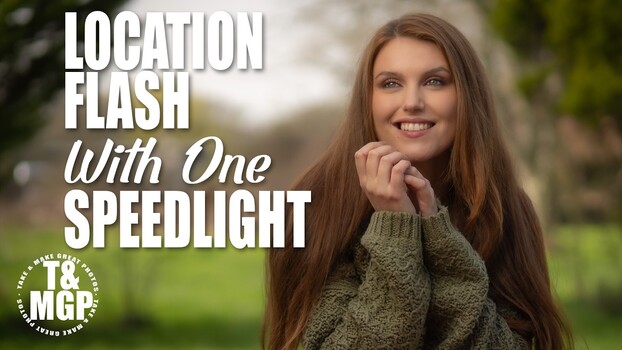
Outdoor portraits in flat, lifeless light are one of the most common problems to solve, and a speedlight is often all it takes to fix them.
Coming to you from Adorama, this practical video from Gavin Hoey walks through a complete outdoor flash setup, starting from scratch. Hoey begins by breaking down why location choice matters before a single shot is taken: a textured background placed far from the subject, combined with open shade on the model, gives him the control he needs. Shade is doing real work here. Direct sun makes it much harder to impose your own lighting on a subject, while shade gives you a neutral base to build on. He shoots a test frame in aperture priority first, not because it looks good, but because it sets a baseline to beat.
From there, Hoey switches to manual mode and does something most people skip: he deliberately underexposes the background by one to two stops before the flash is even on. The logic is clean. Your shutter speed, aperture, and ISO control the background exposure. Your speedlight controls how bright your subject looks. These are two separate problems, and treating them that way gives you full creative control over both. He tests on-camera flash first to show that it works, then moves on to the off-camera setup he actually prefers, using an S bracket, a light stand, a sandbag for stability, and a radio transmitter matched to his Flashpoint flash system. High-speed sync keeps his fast shutter speed in play without hitting the camera’s sync limit.
The softbox section is where the setup really comes together, and Hoey makes a point worth internalizing: always mount the flash into the softbox, not the other way around. He also keeps the light close to his subject on purpose. A larger light source relative to your subject produces softer shadows, and moving it closer amplifies that effect. The tradeoff is that it also cuts into the flash power reaching the subject after passing through the softbox’s diffusion layers, which means dialing up the flash power slightly. He ends up at quarter power after moving the light in a bit, and the resulting image sits right at that balance point where flash-lit looks like natural light.
There’s also a smart detail in how he uses a table as a prop during the actual shoot. It gives the model something to lean against for a more natural pose, acts as a subtle reflector bouncing warm fill light under the chin, and keeps the distance between the flash and subject consistent, which means the flash exposure stays locked in without constant recalculation. Check out the video above for the full breakdown from Hoey, including the actual shooting session and how the final images come together.