
The right focal length decides whether a scene feels flat or alive. It is a key choice for photographers who want clear subjects instead of cluttered, distant chaos.
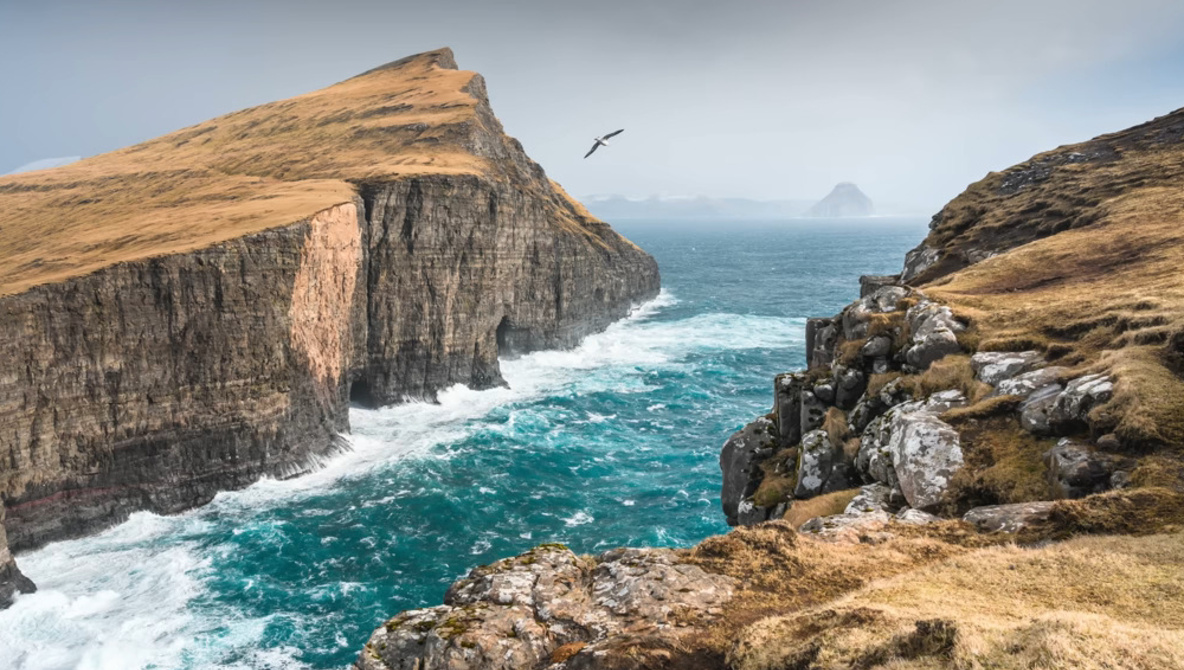
Coming to you from Nigel Danson, this thoughtful video walks you through how focal length shapes every part of a landscape frame. Danson begins with ultra-wide focal lengths around 14–20mm, using a lens like the NIKKOR Z 14-24mm f/2.8 S to show why they are both exciting and difficult. When you stand back at 14mm, it is easy to end up with dead space, tiny mountains, and no obvious focal point. Danson shows how that changes when you move right up to strong foregrounds in places like the Faroe Islands and Madeira, almost standing over rocks so the foreground, midground, and background link together. He also uses skies and simple, bold shapes to fill the frame so the wide view feels intentional instead of scattered.
Danson then shifts to wider but more forgiving focal lengths around 24mm, which often feel more natural for open scenes. At 24mm you can still include foreground detail, but you can stand back enough to hide messy midground areas and keep distant peaks from shrinking away. Coastal cliffs and towering sea stacks keep their impact instead of becoming tiny shapes at the edge of the frame. From there he moves into a mid-range band of roughly 30–70mm. That range gives a bit of compression while keeping a wide feel, which works well for cabins at the end of leading lines, sweeping beaches, and simple mountain ridges. Danson also talks about staying in moderate focal lengths like 30–40mm to keep depth of field manageable instead of having to push apertures to f/16 or f/22, which risks softening detail through diffraction.
The video spends a good amount of time on how these mid-range focal lengths transform woodlands, which many people find overwhelming. Danson explains that he rarely goes wider than about 30mm in the trees, preferring the 40–70mm zone to trim away chaos and build cleaner layers. He shows winter scenes, snowy paths, and summer foliage where a small shift from 24mm to something like 36mm suddenly pulls branches and trunks into a simpler structure. He also shows how a modest telephoto view keeps the sense of place while tightening up spacing between trees and fog, which is hard to judge until you see it done in real time. At the same time, he hints at how he decides when to leave the mid-range and jump to longer focal lengths without spelling out every rule.
Later in the video, Danson moves into the longer ranges that many landscape shooters ignore. In the 70–120mm “mid-long” area, he often works near the short end of a lens, trimming away distracting paths while keeping some foreground and a full mountain backdrop. As he pushes toward 200mm and beyond, he uses compression to stack waves against sea stacks, carve out graphic details in Patagonia and Antarctica, and pull patterns out of waterfalls and mountain faces. He also shows how shooting at wide apertures on a long lens turns backlit grass and spray into glowing, semi-abstract scenes. Near the end, Danson shares that he leans heavily on the NIKKOR Z 24-120mm f/4 S for about half of his images and explains why a simple 40mm prime would probably be his one-lens choice, while keeping some of his real-time decision making in the field for the video itself. Check out the video above for the full rundown from Danson.
And if you really want to dive into landscape photography, check out our latest tutorial, “Photographing the World: Japan II – Discovering Hidden Gems with Elia Locardi!”