
 Image: Nintendo Life
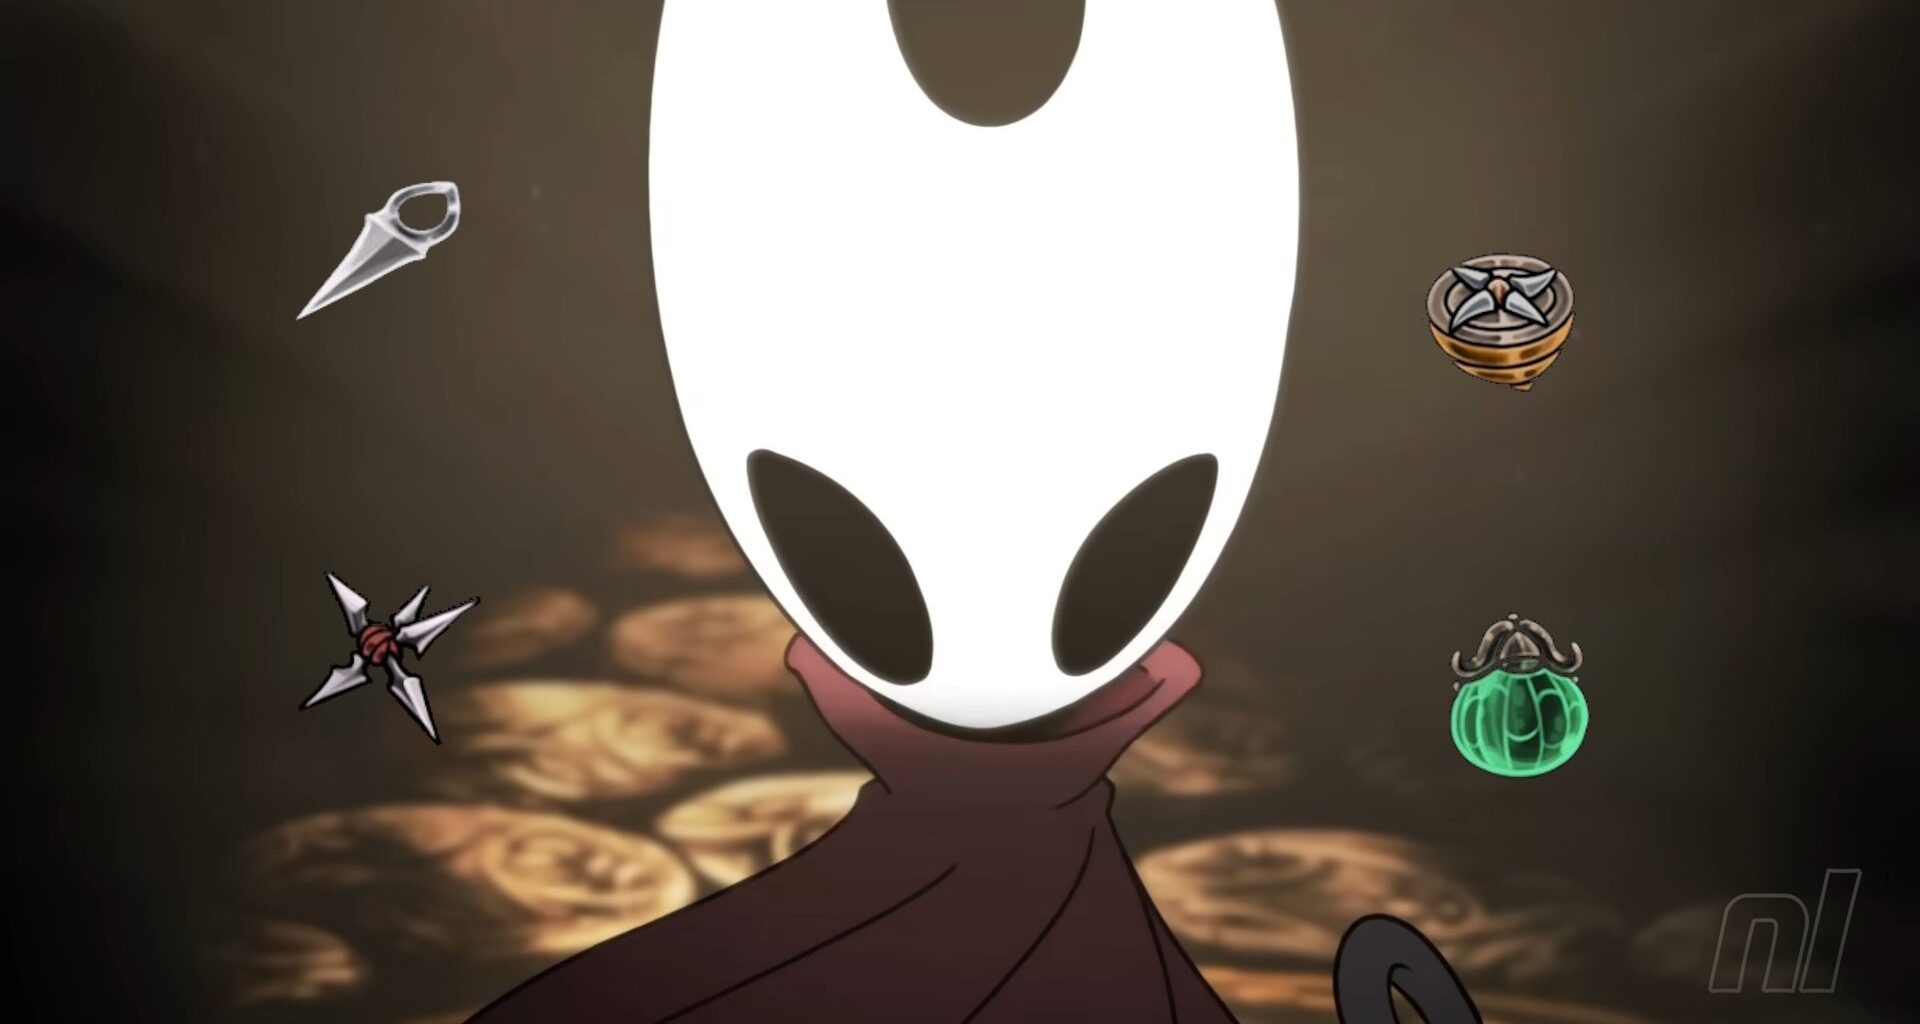
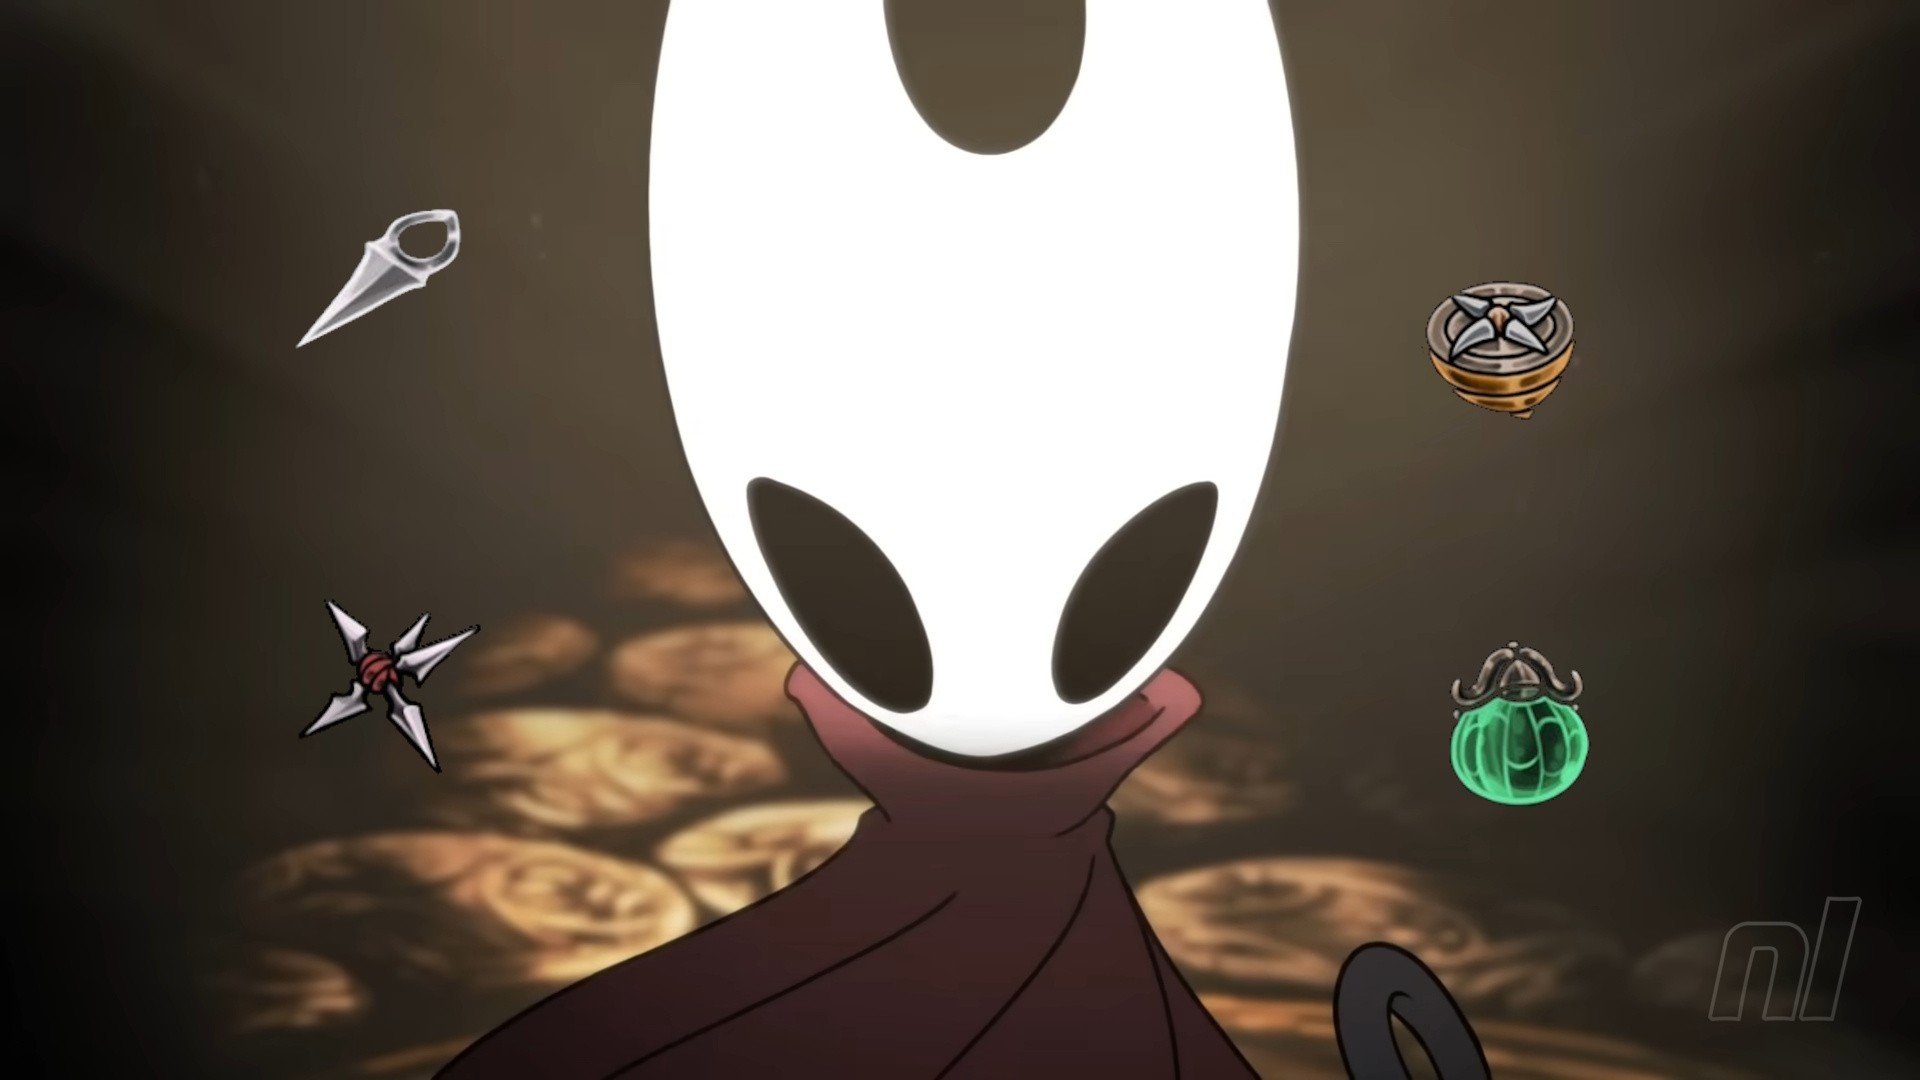
Tools are a new part of Hornet’s kit in Silksong. These come in many different forms, from additional weapons to use against foes to defensive effects to help Hornet when she’s in a pinch.
You can craft more tools at benches, increase the number of tools you can carry, and also upgrade Crests to unlock additional Tool Slots. This is your one-stop shop for everything Tool related in Hollow Knight: Silksong.
We’re currently working on this guide as we make our way through Silksong, so this is currently a work-in-progress!
On this page: Hollow Knight: Silksong: All Tools List & Locations – How To Craft & Unlock Tool Slots
1.All Tools & Tool Locations in Hollow Knight: Silksong1.1.Red Tools1.1.1.Straight Pin1.1.2.Threefold Pin1.1.3.Sting Shard1.1.4.Longpin1.1.5.Curveclaw1.1.6.Flea Brew1.1.7.Plasmium Phial
1.2.Blue Tools1.2.1.Druid’s Eye1.2.2.Magma Bell1.2.3.Warding Bell1.2.4.Pollip Pouch1.2.5.Multibinder1.2.6.Weavelight
1.3.Yellow Tools1.3.1.Compass1.3.2.Shard Pendant1.3.3.Magnetite Brooch1.3.4.Weighted Belt1.3.5.Dead Bug’s Purse1.3.6.Silkspeed Anklets
2.What are the best Tools?3.How to craft Tools3.1.How do you get more Shell Shards?
4.What are Crafting Kits and Tool Pouches?5.How to unlock more Tool slots6.Can you equip Tools elsewhere?
Below is an in-progress list of every single Tool you’ll find in Silksong. These effectively replace Charms from Hollow Knight, but are much more varied. These are broken down into three separate categories — Red Tools, Blue Tools, and Yellow Tools — with each offering different kinds of support. So we’ve split them up the same way!
We’ve got details on what each Tool does and where to find them in Pharloom, so dive in. Note that we’re working on getting all of these, so this guide is currently being updated as we progress through the game.
Red Tools
Red Tools are essentially subweapons — think Holy Water, the Cross, and Knives from Castlevania, and you’re basically there.
These can be used a limited number of times before resting at a bench and crafting more using Shell Shards.
Straight Pin
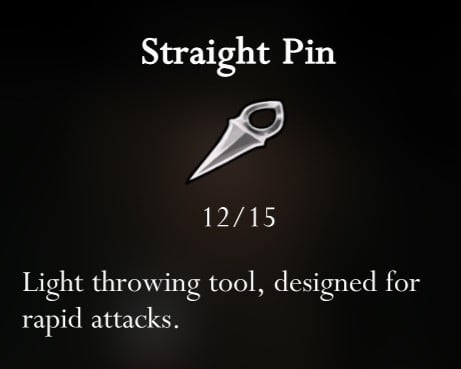 Image: Nintendo Life
Where to findRescue Grindle from jail in The Marrow — it’s the tall room to the far right of the areaWhat it doesLike a fast throwing knife, you can throw pins at enemies from a distance quickly, doing decent damage
Threefold Pin
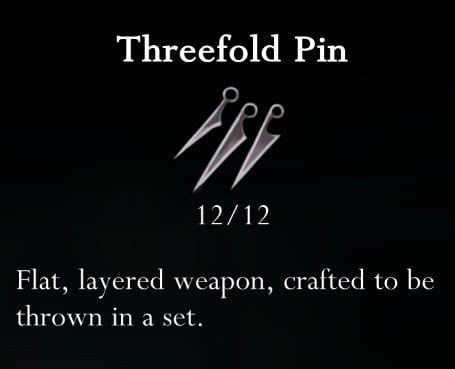 Image: Nintendo Life
Where to findIn the large room on the east side of Greymoor. You need to unlock the balloons here by completing the combat trial in the house. Then use the balloons and platforms to land on the upper right of the area, where there’s a hidden room behind a large craw enemyWhat it doesHornet can throw three knives at an upward 45-degree angle in a fan shape
Sting Shard
 Image: Nintendo Life
Where to findBuy it from the Forge Daughter in Deep Docks for 140 Rosaries and 1 CraftmetalWhat it doesThrows a spiny ball in the air that expands and deals damage in the area for a short while
Longpin
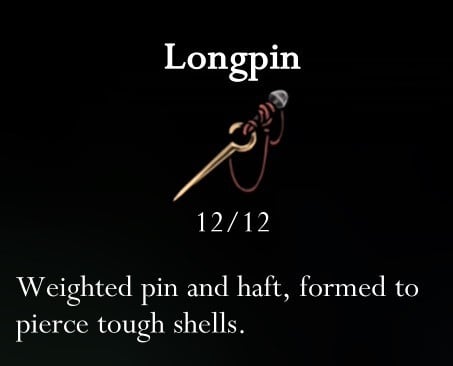 Image: Nintendo Life
Where to findTucked in a hidden room in the northeast corner of the first large area of ShellwoodWhat it doesEssentially the Javelin from Castlevania, Hornet will throw a long pun in front of her in a long, low arc
Curveclaw
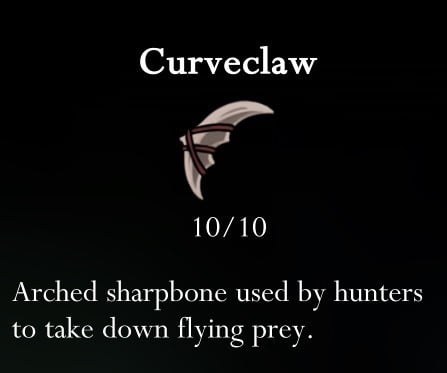 Image: Nintendo Life
Where to findBuy from the hidden ant merchant in Hunter’s March for 140 Rosaries. He’s west of the boss room in a hidden corridor filled with traps.What it doesIt’s a boomerang! Hornet throws it ahead of her and it will curve back round and above her in a sweeping arc.
Flea Brew
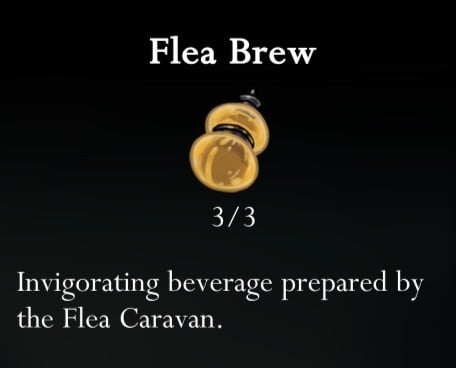 Image: Nintendo Life
Where to findFind five Fleas and then talk to Fleamaster Mooshka at the caravan in The Marrow, travel with them to Greymoor, and speak to Grishkin to get this new ToolWhat it doesDrinking this will boost Hornet’s attack speed. You also don’t need to fix this tool – every time you hit a bench, Hornet will refill the drink with reserves. When those reserves run out, head back to the caravan to refill
Plasmium Phial
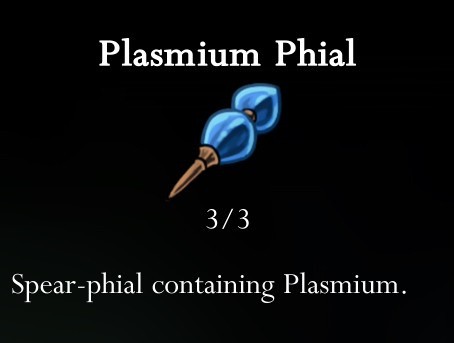 Image: Nintendo Life
Where to findThe Alchemist Zylotol will give this after completing the ‘Alchemist’s Assistant’ Quest.What it doesHornet will stab herself and temporarily increase her max health. It doesn’t need repairing, but after 20 uses, Zylotol will need to refill it – for a price!
Blue Tools
Blue Tools provide passive effects that help boost Hornet’s defensive capabilities by providing healing and silk fail-safes.
You don’t need to do anything with these — just equip them and they’ll work their magic!
Druid’s Eye
 Image: Nintendo Life
Where to findComplete the Berry Picking Quest, given to you by the Moss Druid in The MarrowWhat it doesWhen you get hit, you’ll produce some green liquid which will allow you to recover some lost Silk
Magma Bell
 Image: Nintendo Life
Where to findBuy it from the Forge Daughter in Deep Docks for 140 Rosaries and 1 CraftmetalWhat it doesEquipping this means Hornet will take less damage from lava, which is helpful in Deep Docks
Warding Bell
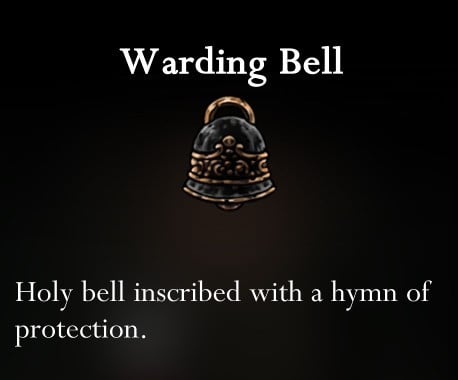 Image: Nintendo Life
Where to findHidden inside a secret room in Far Fields. In the tall room with the gusts of winds, drop all the way to the bottom and head through a door on the left. The room appears to be a dead end, but jump and you’ll find a hidden path leading to the Tool.What it doesIt prevents you from taking more damage while healing once per encounter. You’ll still lose your Silk, but it will repel enemies.
Pollip Pouch
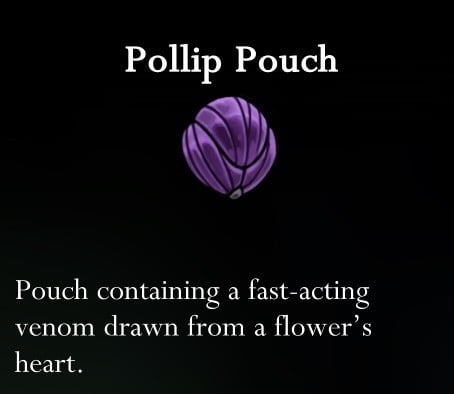 Image: Nintendo Life
Where to findComplete the Rite of the Pollip questWhat it doesApplies poison to all of your tools. Extremely valuable – this even works on the Flea Brew, turning Hornet into a poisonous cloud (she doesn’t take damage from this!)
Multibinder
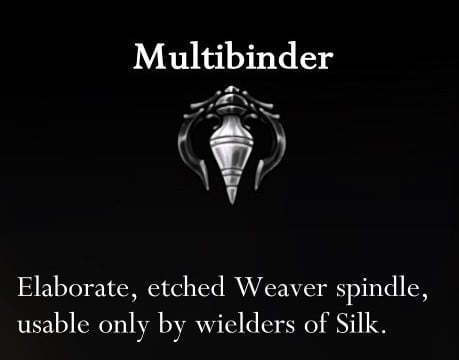 Image: Nintendo Life
Where to findPurchase from the upgraded store in Bellhart for 880 RosariesWhat it doesYou can now heal for 5 Masks. However, binding now takes longer.
Weavelight
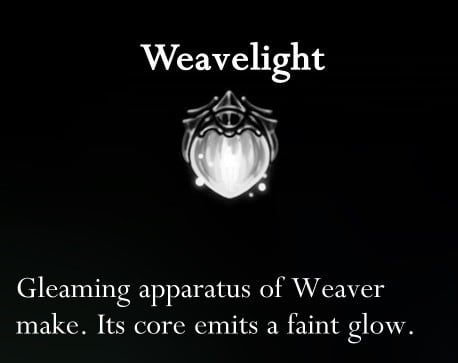 Image: Nintendo Life
Where to findIn the Weavenest Atla, as a reward for defeating the Moss Mother Duo boss fightWhat it doesWith this equipped, you’ll regenerate your Silk much faster.
Yellow Tools
Yellow Tools are all about gathering resources and helping keep track of your adventure. They’re useful for collecting money, in particular — at least in the early game.
Like Blue Tools, you don’t need to do anything with these other than equip them. We like passive skills!
Compass
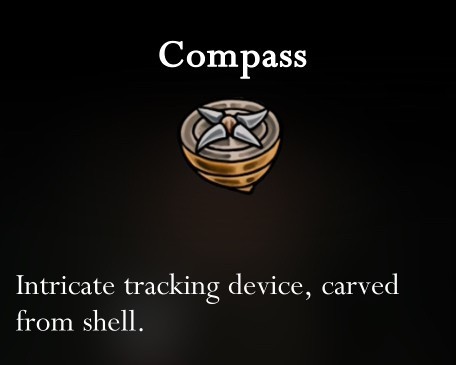 Image: Nintendo Life
Where to findBuy this from Shakra in The Marrow for 70 RosariesWhat it doesLets you see where you are on the map.
Shard Pendant
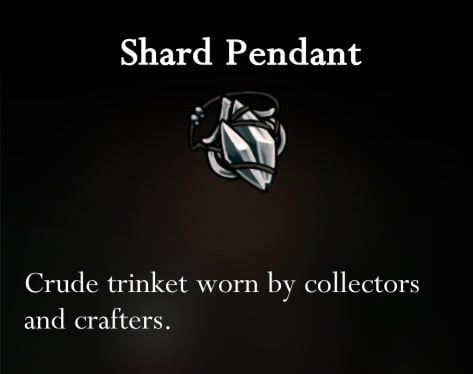 Image: Nintendo Life
Where to findTowards the end of The Marrow, when you reach a lava-filled room, climb up to reach a room with spikes and collapsible platforms. Go up halfway to a bone bridge, and then cross it and enter the room there for the Tool.What it doesMakes enemies drop more Shell Shards, which you need to repair tools and hand in for Quests.
Magnetite Brooch
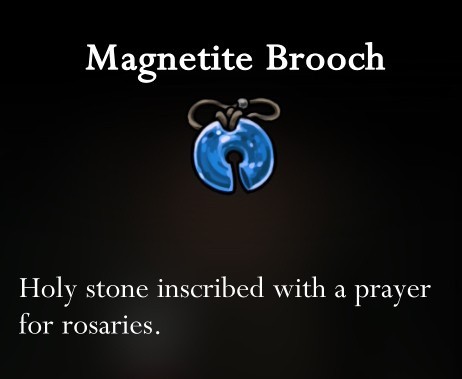 Image: Nintendo Life
Where to findBuy it from the store in Bone Bottom for 60 RosariesWhat it doesIt pulls dropped Rosaries towards you, like a magnet. Extremely useful for farming money.
Weighted Belt
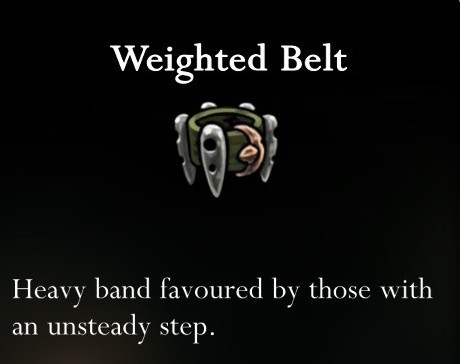 Image: Nintendo Life
Where to findBuy it from the store in Pilgrim’s Rest (Far Fields) — you’ll need 30 Rosaries to enter and 160 Rosaries to buy the ToolWhat it doesIt’s essentially Heavy Body from Hollow Knight; you can’t be knocked back and won’t knock yourself back when you hit enemies.
Dead Bug’s Purse
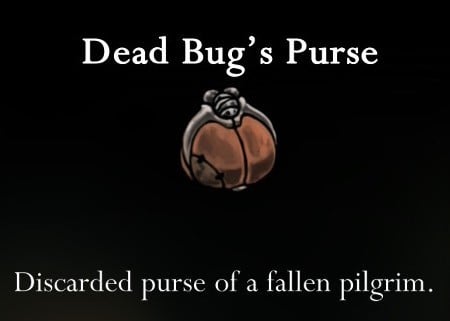 Image: Nintendo Life
Where to findOn the corpse of a dead bug in the Wormways (accessed from Shellwood)What it doesWhen you die, you don’t lose all of your Rosaries
Silkspeed Anklets
 Image: Nintendo Life
Where to findSolve the puzzle in the Weavenest Cindril, which is accessed using the Needlin at the door on the far east side of Far Fields. You simply need to dash over all the floor panels.What it doesYou can run faster, but you’ll now consume silk whenever you run.
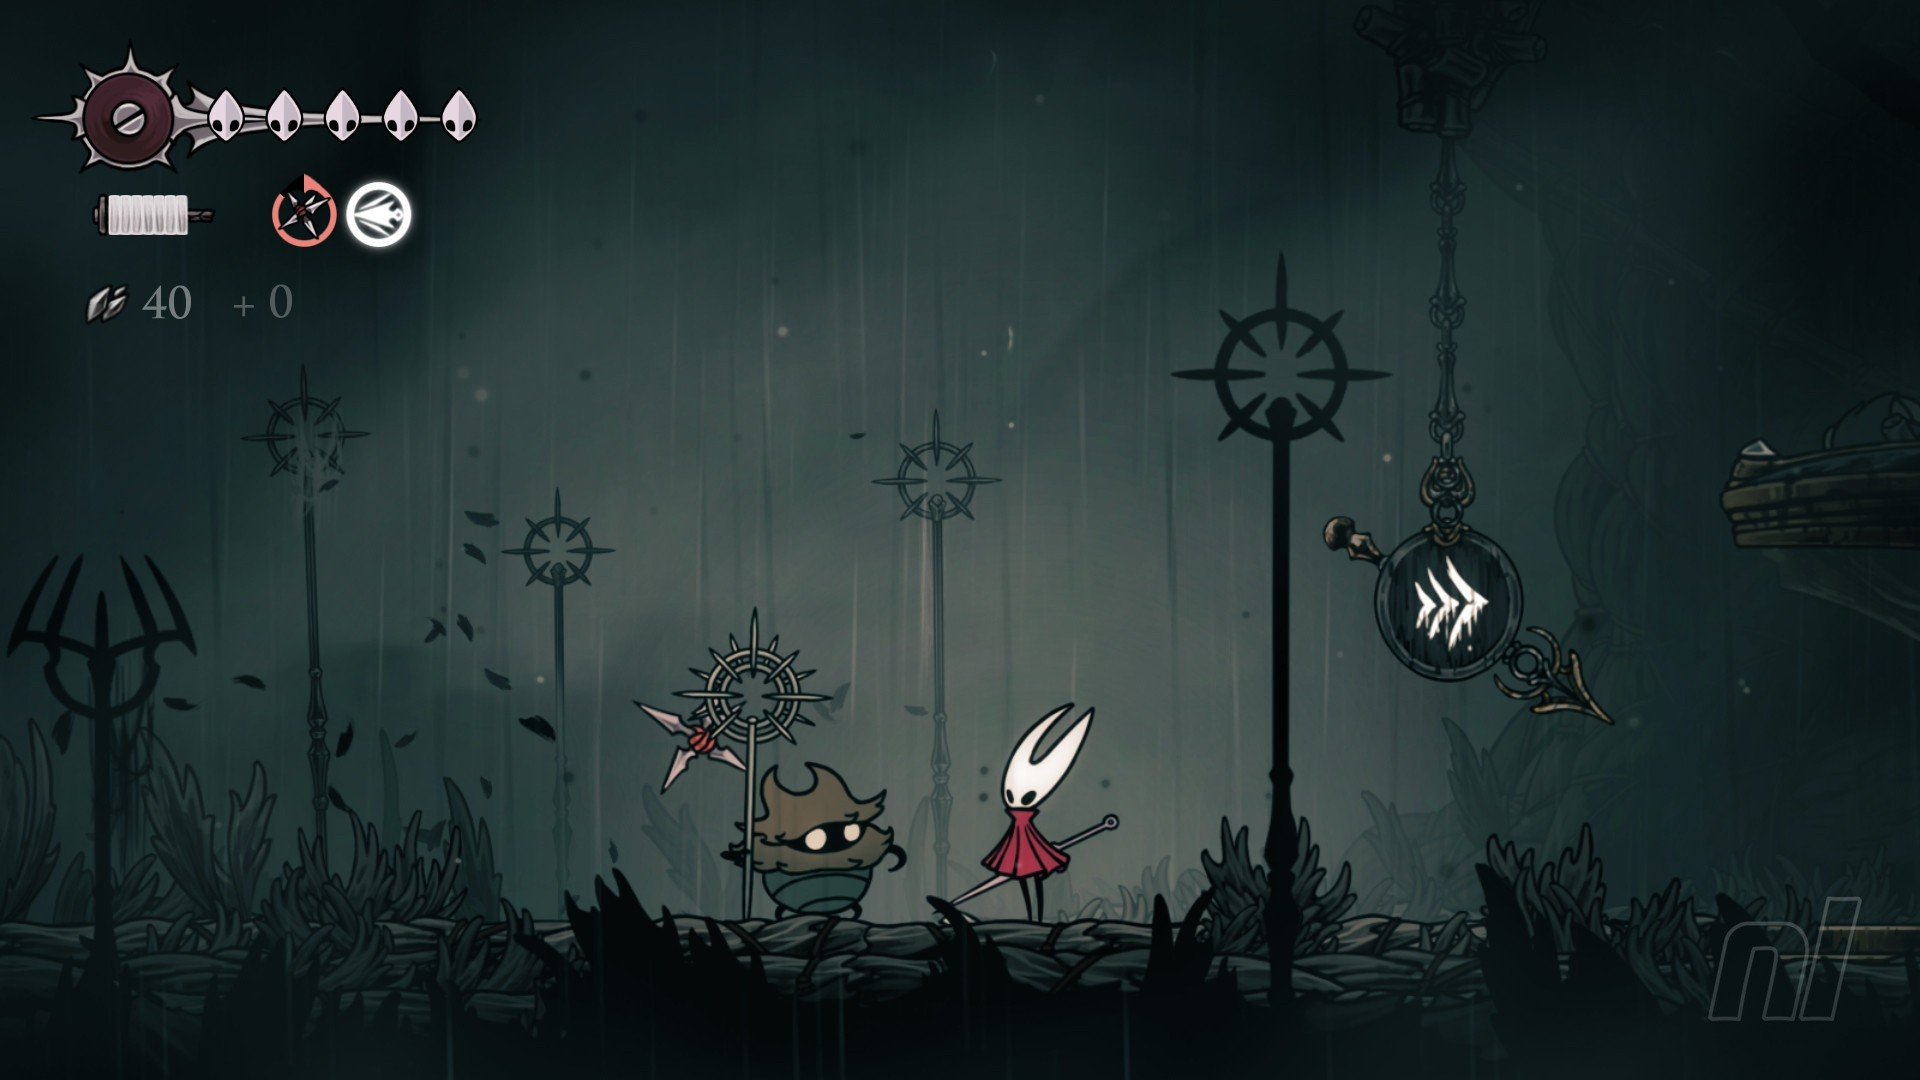 Image: Nintendo Life
The best Tools are all going to depend on your playstyle, but over halfway through the game, here’s what we’ve been having success with.
For Red Tools, the early game Sting Shard is excellent for setting up traps and baiting enemies into the spids. It’s a excellent way at dealing damage from a distance. We’re also pretty fond of the curveclaw as it can hit multiple enemies in an arc — and it’s extremely useful for those pesky flying enemies that are so common. The Flea Brew also helps for some faster boss fights, and pairs nicely with a Blue Tool below…
In terms of Blue Tools, the Pollip Pouch is by far our favourite. It applies a poison effect to every single Red Tool meaning if you hit an enemy with it, they’ll take some extra poison damage. It helps chip away at those boss health bars and has saved our hide a number of times. We’ve also been using the Weavelight; paired with the Hunter Crest, it allows for extremely fast Silk regeneration. The Druid’s Eye is also a good pairing with this.
Yellow Tools are more situational, but the Compass is the first Yellow Tool you will absolutely want. If you’re like us a die a lot, then the Dead Bug’s Purse will prevent you from losing too many Rosaries. Otherwise, the Magnetite Brooch is good for farming money.
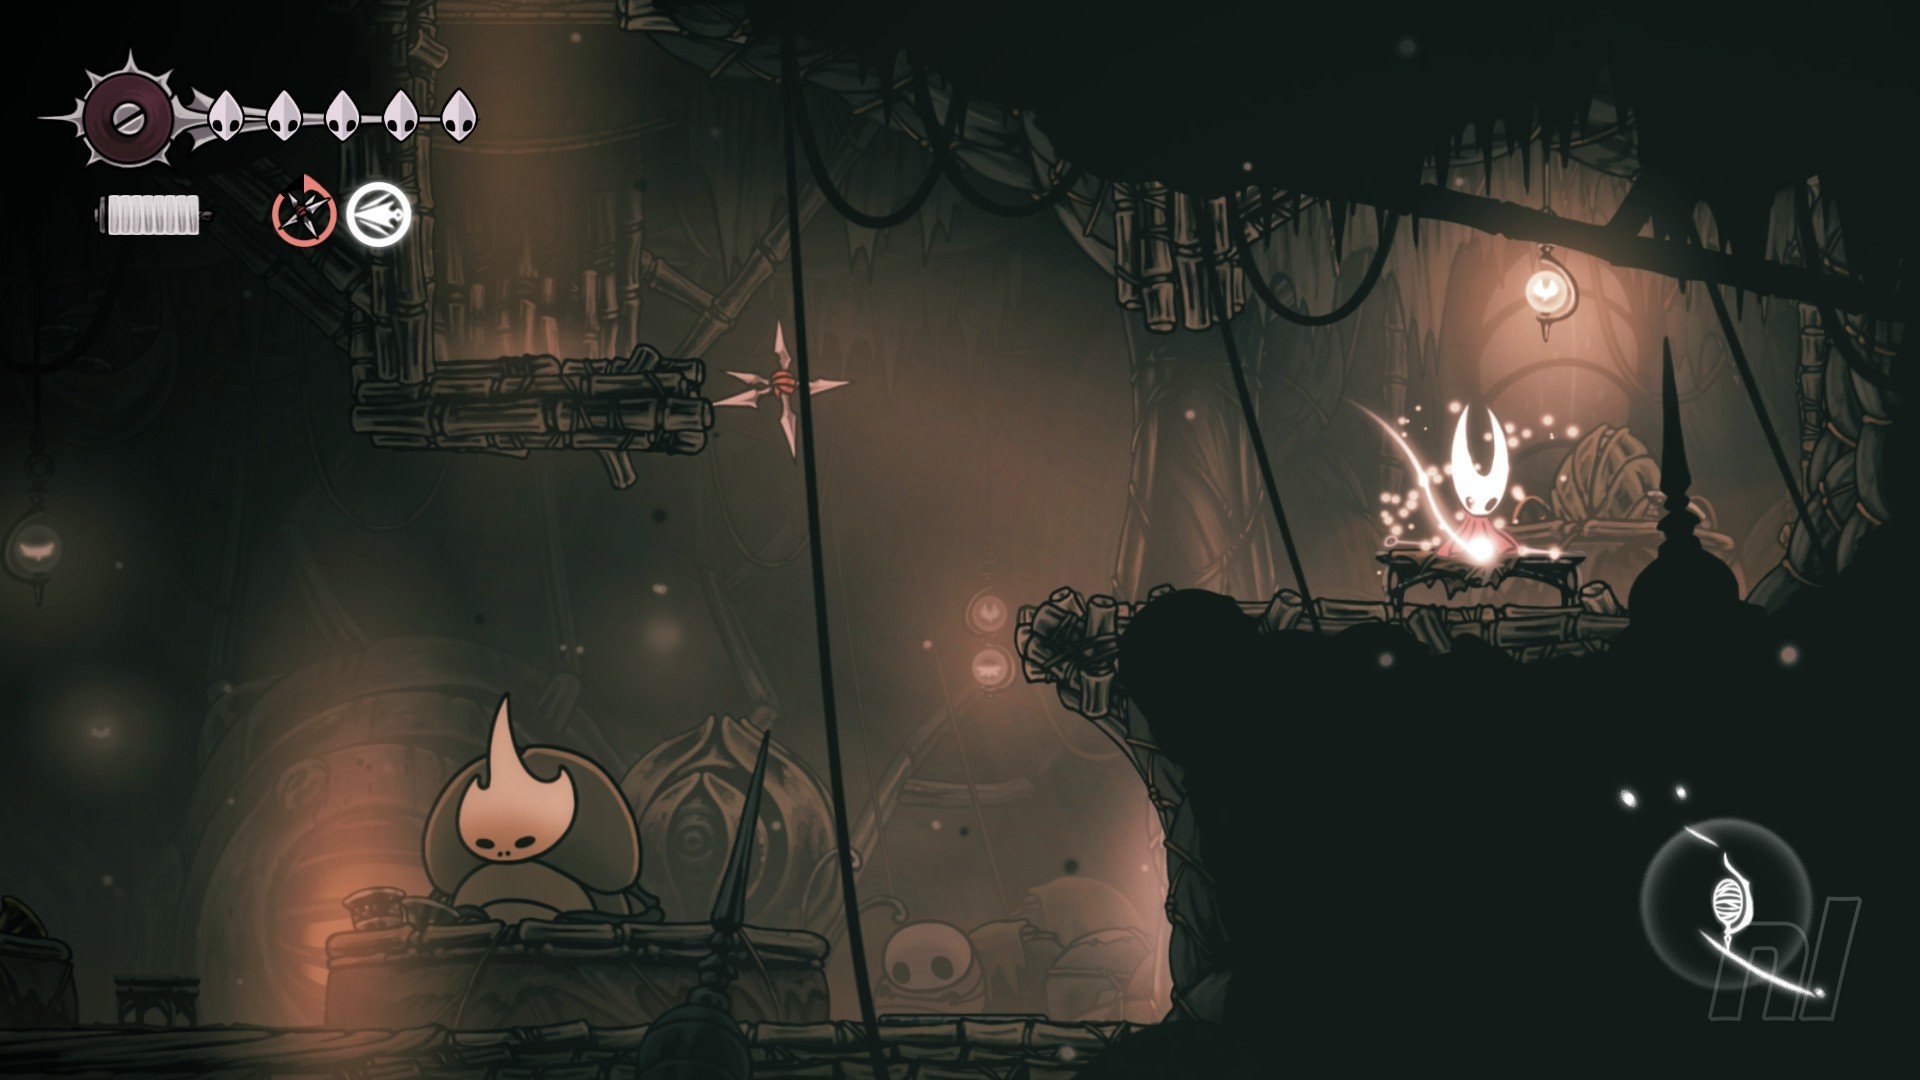 Image: Nintendo Life
Yes, crafting is a thing in Silksong — but don’t panic yet! It’s a completely passive thing that you don’t have to actively do.
Basically, crafting is how Hornet replenishes and repairs her Red Tools. That small number you see next to your subweapon? That’s how many times you can use it before you rest at a bench.
Whenever you sit at a bench and rest, Hornet will use Shell Shards to repair those Tools and bring you back to the item cap. If you don’t have enough Shell Shards to replenish all of them, Hornet will just use what’s left to repair as many as she can.
How do you get more Shell Shards?
Easy — enemies! Almost all enemies drop Shell Shards, and you can use that handy Shard Pendant to increase the amount they drop.
There are also shard deposits sitting around Pharloom, so hit those and you’ll get a few extra ones.
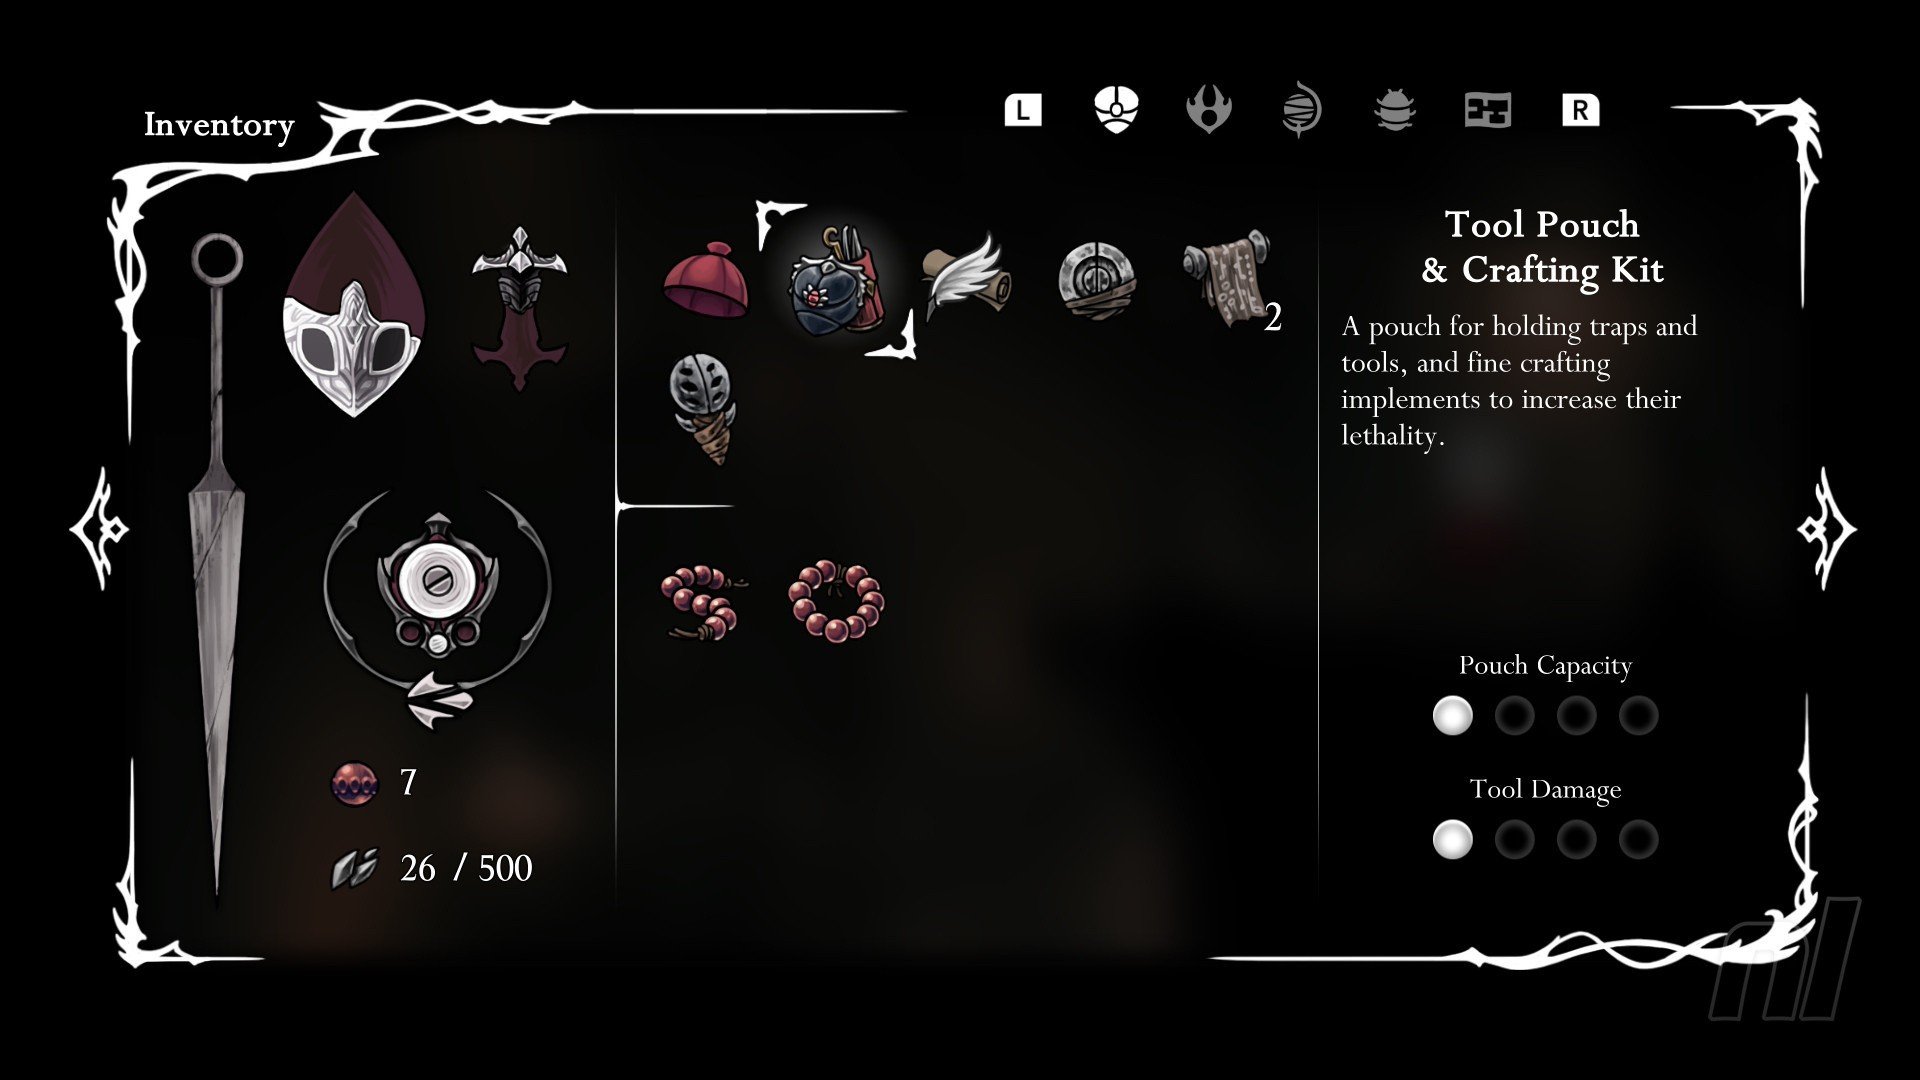 Image: Nintendo Life
Despite what they suggest, Crafting Kits are not how you craft more Tools. They’re a lot simpler.
Crafting Kits increase the effectiveness of the Tools you have equipped — so Red Tools will do more damage, while Blue Tools will provide a little extra defense.
Tool Pouches, however, do exactly what they say — they let you carry more Red Tools.
You can buy both of these items from various stores and vendors around Pharloom.
Early on, your Crest (we have a guide on these coming soon) might seem a bit limited, allowing you to equip only one tool of each type. But you can increase the number of Tool Slots you can carry.
To do this, you’ll need a Memory Locket. You can find these all throughout Pharloom, including a handful of shops and Quest rewards. This will open up an additional slot on one of your Crests.
You can choose what Crest to use this on, but as every Crest completely changes Hornet’s playstyle, make sure you save the Lockets for a Crest you like using.
 Image: Nintendo Life
You can, but you’ll need to head to the Weavenest Atla to unlock an item called a Vesticrest.
The Atla is located to the east of Moss Grotto and you’ll need the Needolin Art to get there, but once you do, talk to Eva (after the light elevator) twice she’ll give you a Yellow Vesticrest, which will let you equip an additional Yellow Tool separate from your Crest Tools.
We’ll be tooling this one together in the coming days and weeks, so stay tuned! Meanwhile, head to our Hollow Knight: Silksong walkthrough hub for more tips on exploring Pharloom!
Up Next: Crests
Related Games
See Also
![]()
Alana has been with Nintendo Life since 2022, and while RPGs are her first love, Nintendo is a close second. She enjoys nothing more than overthinking battle strategies, characters, and stories. She also wishes she was a Sega air pirate.