
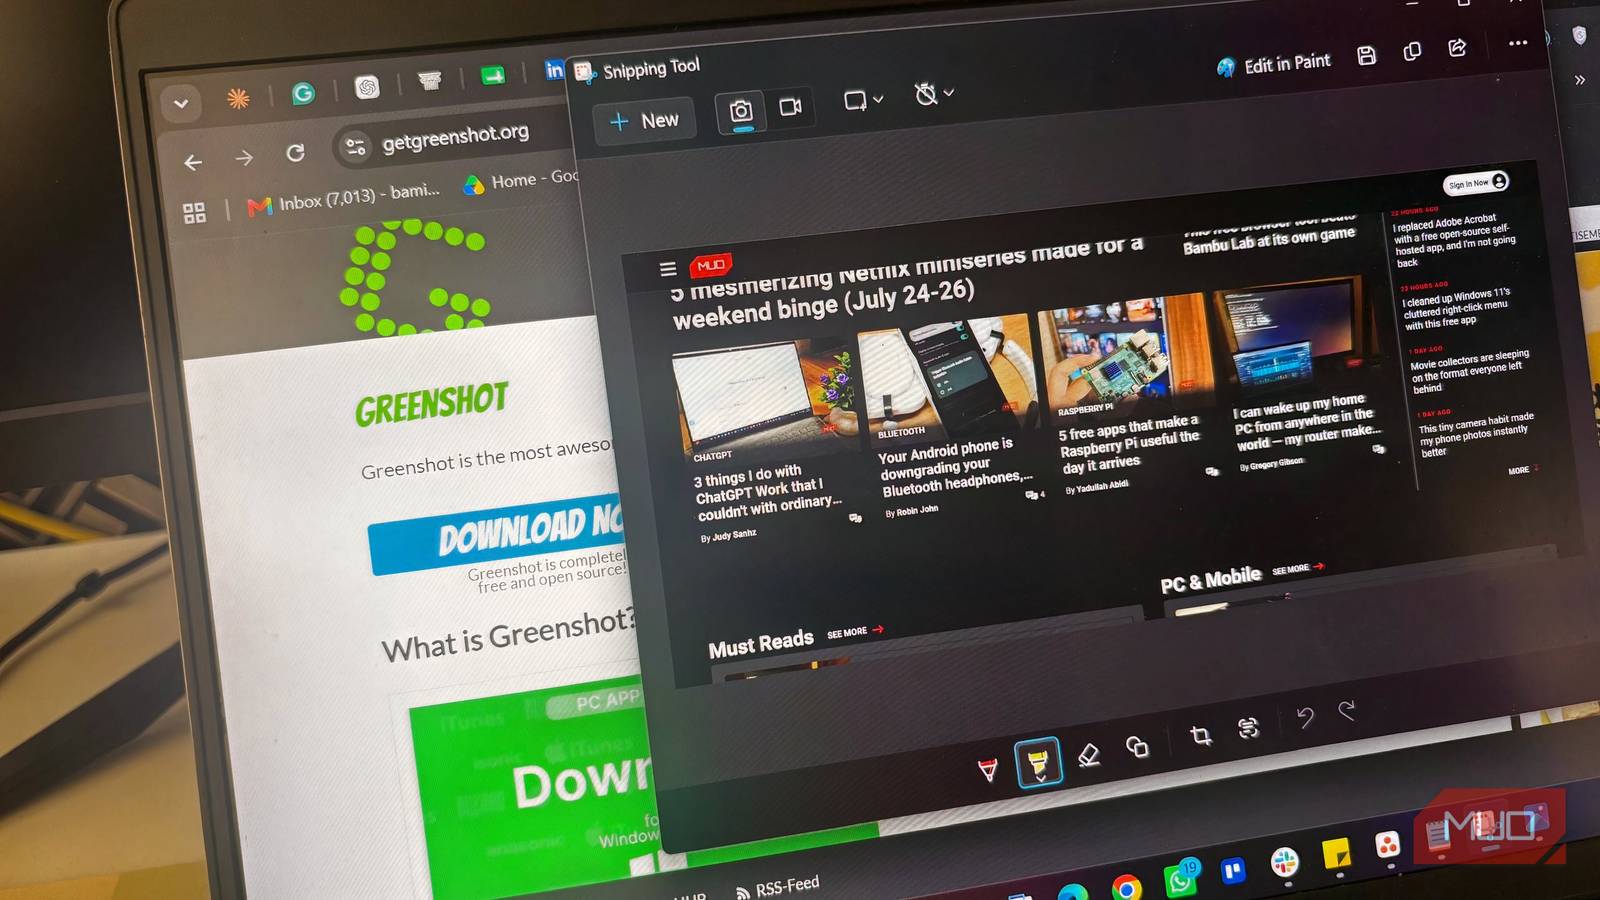
When I started writing tech how-to guides a few years ago, I was using Snipping Tool to take screenshots. It was okay for basic screenshots and annotations, but after a while, I felt I needed more. For example, I wanted to blur sensitive information and quickly add notes without opening another app.
Snipping Tool couldn’t do all that, unfortunately. So I started looking for an alternative, and that’s when I found Greenshot.
I’ve been using it ever since, and I honestly can’t imagine going back. The app runs in the background, using almost no CPU or memory. You might not even know it’s open until you need to use it. It’s one of those apps that deserves a spot in your startup apps list.
Related
5 new Snipping Tool features that make it way more useful than it used to be
Easily replaces any of your third-party screenshot tool.
Greenshot is completely free
There are no subscriptions or locked features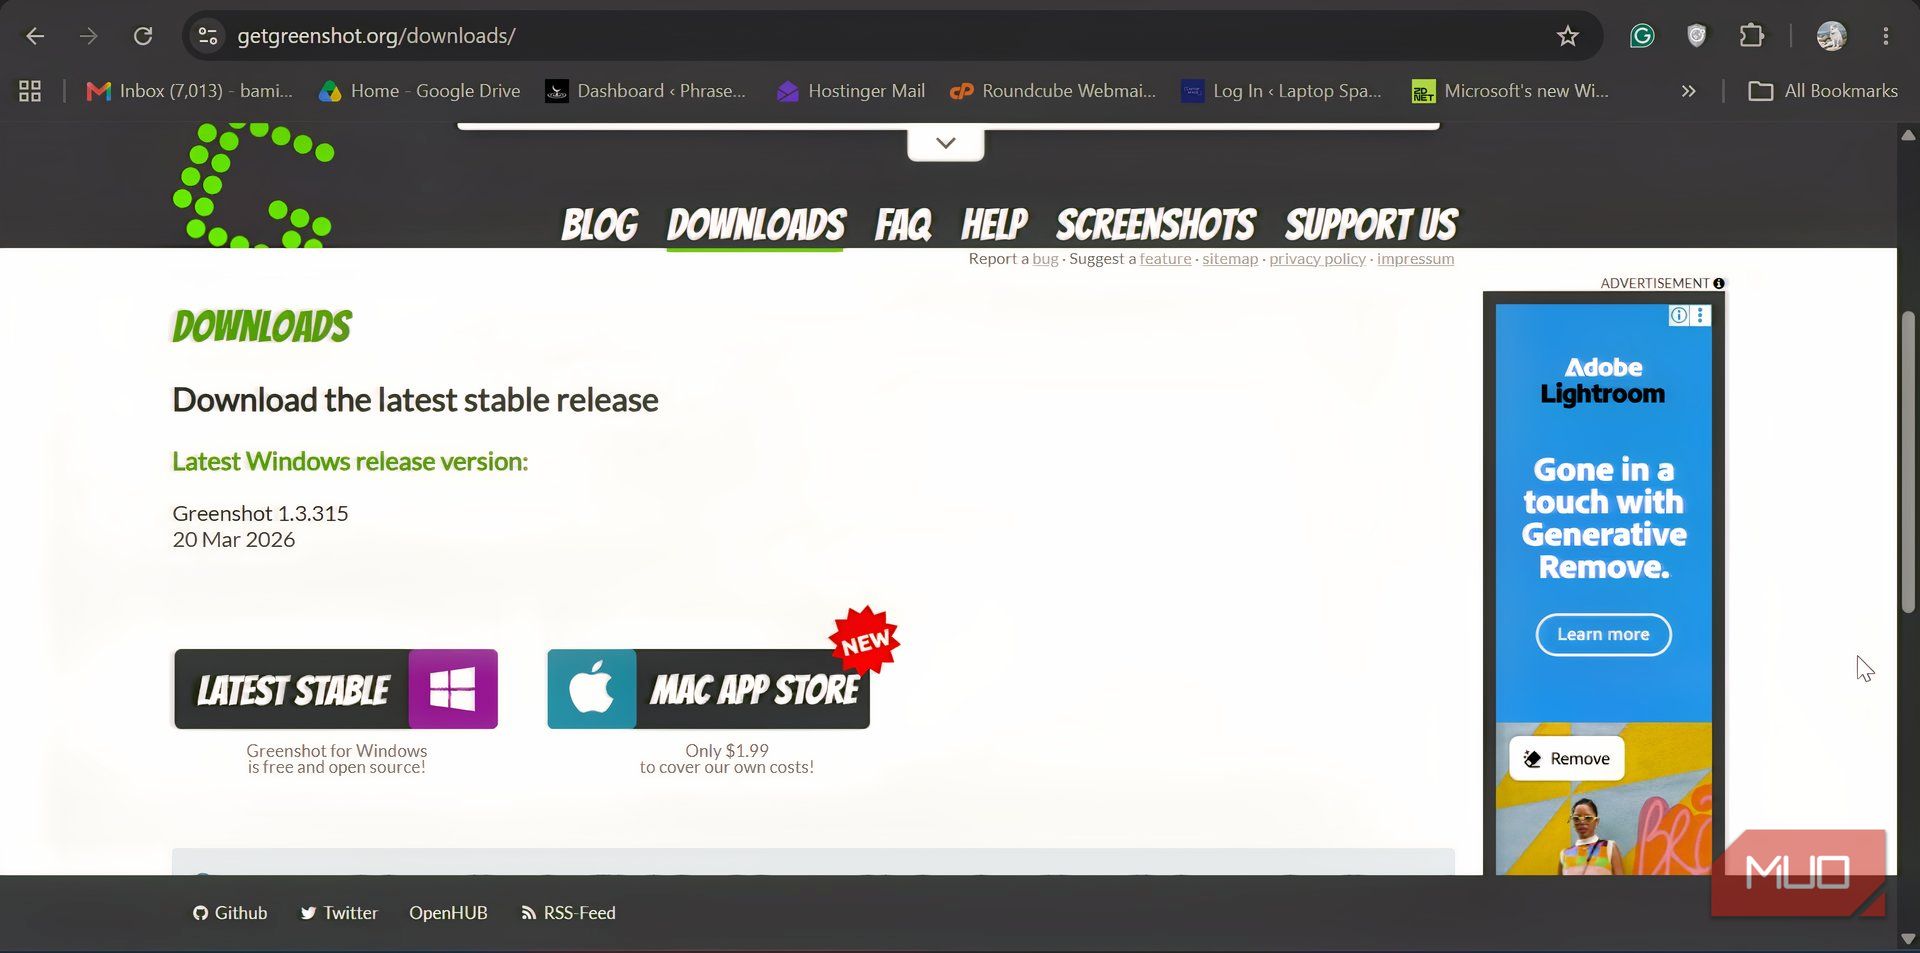
One of the first things that sold me on Greenshot was its price. Or, more accurately, the lack of one. Greenshot is totally free and open-source. I didn’t have to create an account, start a free trial, or wonder which features would disappear behind a paywall later. All I did was download the app once, install it, and I’m good to go.
A lot of screenshot tools nowadays advertise themselves as free, only for you to find some features locked behind a paywall after you’ve gotten used to using them. Greenshot doesn’t do that. Every feature I use is available from the jump, which makes it easy to recommend to anyone looking for a capable screenshot tool.
The built-in editor saves me a lot of time
Everything I need is already there
The built-in editor is the biggest reason I stopped using Snipping Tool. Most of the screenshots I take are for tutorials, so I almost always need to annotate them before they’re ready. With Greenshot, I can draw arrows, add boxes, circles, text labels, highlights, and even blur parts of an image without opening another application.
That might sound like a small improvement until you’re editing your fifteenth screenshot of the day. Before Greenshot, I had to capture the image, save it, open another editor, make whatever edits were needed, save it again, then continue writing. Those extra steps added up quickly. Now everything happens in one place. I take the screenshot, make the edits, save it, and move on to the next one. It feels much closer to the workflow I’ve always wanted.
You don’t even need to take a screenshot with Greenshot to use its built-in editor. If you already have an image saved on your PC or copied to your clipboard, you can open it directly in the Greenshot editor and make whatever edits you need. I regularly do this when I need to update an older screenshot or annotate an image someone else has sent me, and it saves me from opening a separate image editor every time.
It gives me more ways to use my screenshots
Every capture can end up in different places
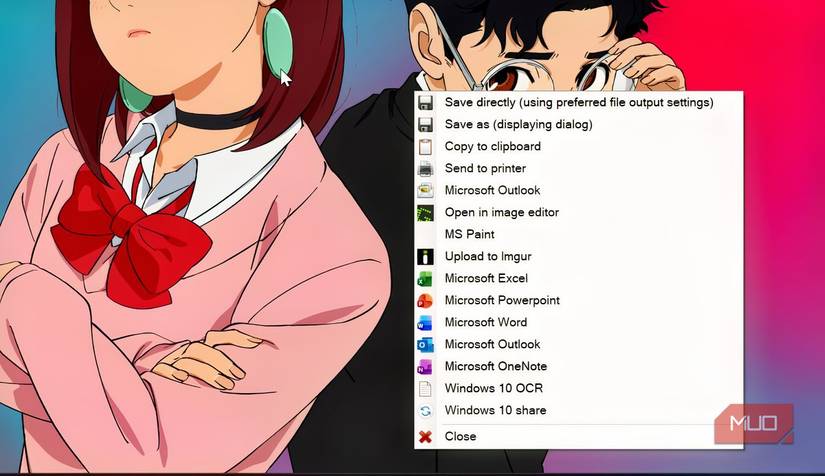
Like Snipping Tool, Greenshot covers the basics of capturing a screenshot. I can capture a selected region, recapture the last region, grab a specific window, or capture my entire screen. There’s even a dedicated mode for scrolling screenshots in Internet Explorer, which is obsolete now and makes that feature pretty pointless, but it’s a reminder of how long Greenshot has been around. Every capture mode has its own keyboard shortcut too, and you can change them in the app’s settings. I tweaked a few of mine early on, and they’ve become second nature since.
But what I appreciate the most is what happens after I take a screenshot. The app lets me open it in the built-in editor, copy it to the clipboard, save it directly to my PC, or even send it straight to a printer. You can also send screenshots directly to Microsoft Word, PowerPoint, Outlook, MS Paint, Imgur, and a handful of other applications.
By default, Greenshot asks me what I want to do with every screenshot right after I capture it. That’s the setting I stick with because my workflow changes throughout the day. Sometimes I need to edit a screenshot, sometimes I just want to save it, and other times I need it on my clipboard so I can paste it into a chat.
If you prefer the same action every time, you can set a permanent destination instead. Just right-click the Greenshot icon in the system tray, select Preferences, switch to the Destination tab, uncheck Select dynamically, and choose the destination you want. For example, if I select Open in image editor, every screenshot I take automatically opens in Greenshot’s editor without asking me first.
You can also check multiple destinations. Once you do that, Greenshot won’t automatically send your screenshots to all of them. Instead, it brings up a menu containing only those destinations and lets you choose where the screenshot should go each time you capture one.
Related
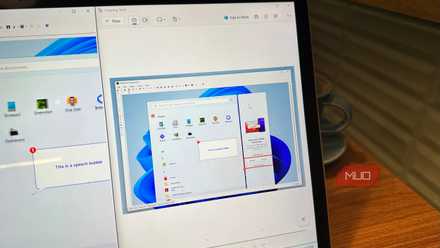
This free tool does everything Snipping Tool does and about ten things it doesn’t
Snipping Tool is good, but not good enough.
I haven’t felt the need to look for another screenshot tool
Greenshot solved the problem that originally pushed me away from Snipping Tool. I wanted a screenshot app with better built-in annotation tools that wouldn’t slow me down or ask for a subscription every few months. Years later, that’s still exactly what it does.
There are newer screenshot tools with more features, cloud integrations, and AI-powered extras. I’m sure some of them are great. But I don’t need any of that for the work I do. Greenshot is fast, lightweight, completely free, and has every annotation tool I use daily. For me, that’s more than enough reason to keep it installed and leave Snipping Tool behind.
OS
Windows, macOS
Individual Pricing
Windows (Free), macOS (Paid)
Greenshot is a free, open-source screenshot tool for Windows that captures regions, windows, or your full screen, then lets you annotate, obfuscate, and export your shots directly to Office apps, email, or the cloud.