
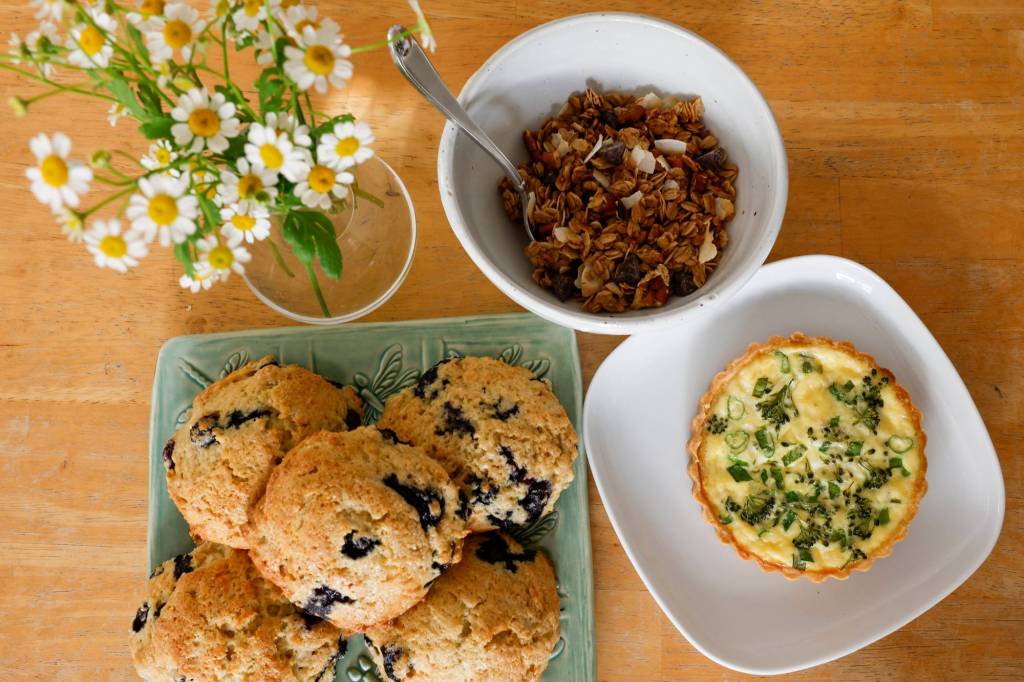
For The Union-Tribune
“Try not to put the bowls on your head,” Jessica Baldwin, cooking teacher and owner of Le Petit Pâtissier, reminded her class of eight children, ages 6 to 10. She had just handed out large white plastic bowls to her students ahead of mixing the liquid ingredients, which would join dry ingredients for a batch of blueberry-lemon drop scones.
That afternoon in Baldwin’s Carmel Valley home, the kids were set to make the scones, along with granola and mini-quiches for their moms in anticipation of Mother’s Day.
Baldwin had everything prepped for them. A long white folding table was in the living room portion of the great room, with eight black folding chairs. Aprons were folded and stacked on the cocktail table. The kitchen had a long granite countertop that held a number of trays. Some were lined with Silpat for baking. Others held empty, 5-inch round tart pans. Another held those white bowls (not intended as hats) and condiment bowls filled with dry ingredients — with even more little bowls on the trays next to them. There were scoops and plastic juicers, and pastel-colored whisks sitting in a stack of metal colanders to fit into the white bowls for sifting. A tray containing a colorful array of spatulas also had pint deli containers filled with fresh blueberries. And in the nearby dining room, there were white cake boxes, along with food containers, sheets of flowery stickers and ribbon.
In other words, Baldwin was ready to teach her two-hour class, part of the offerings at Le Petit Pâtissier, “A Culinary Arts Lab for Kids.”
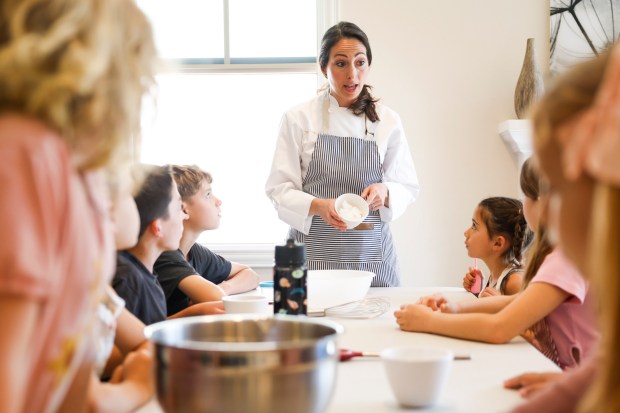 Jessica Baldwin instructs students during a class at her cooking school, Le Petit Pâtissier, which she operates from her Carmel Valley home. (Meg McLaughlin / The San Diego Union-Tribune)
The children poured in with parents — mostly moms — and got to chatting. Baldwin has been teaching kids’ cooking classes for a year and a half, and many of the kids and moms were well acquainted with each other and Baldwin.
As the parents dropped off and left, the kids washed their hands, took their seats and started with their first recipe — making granola.
Baldwin, once a patent litigation lawyer, had studied child development as an undergrad. Seven years ago she took time off from work to have her daughter.
Baldwin’s two passions in life had been working with kids and cooking. She enrolled in Grossmont College’s Culinary Arts program and got her culinary degree — and is currently completing a pastry degree.

Taylor Ward, 6, of Del Mar, smiles after successfully pouring vanilla into her bowl. (Meg McLaughlin / The San Diego Union-Tribune)
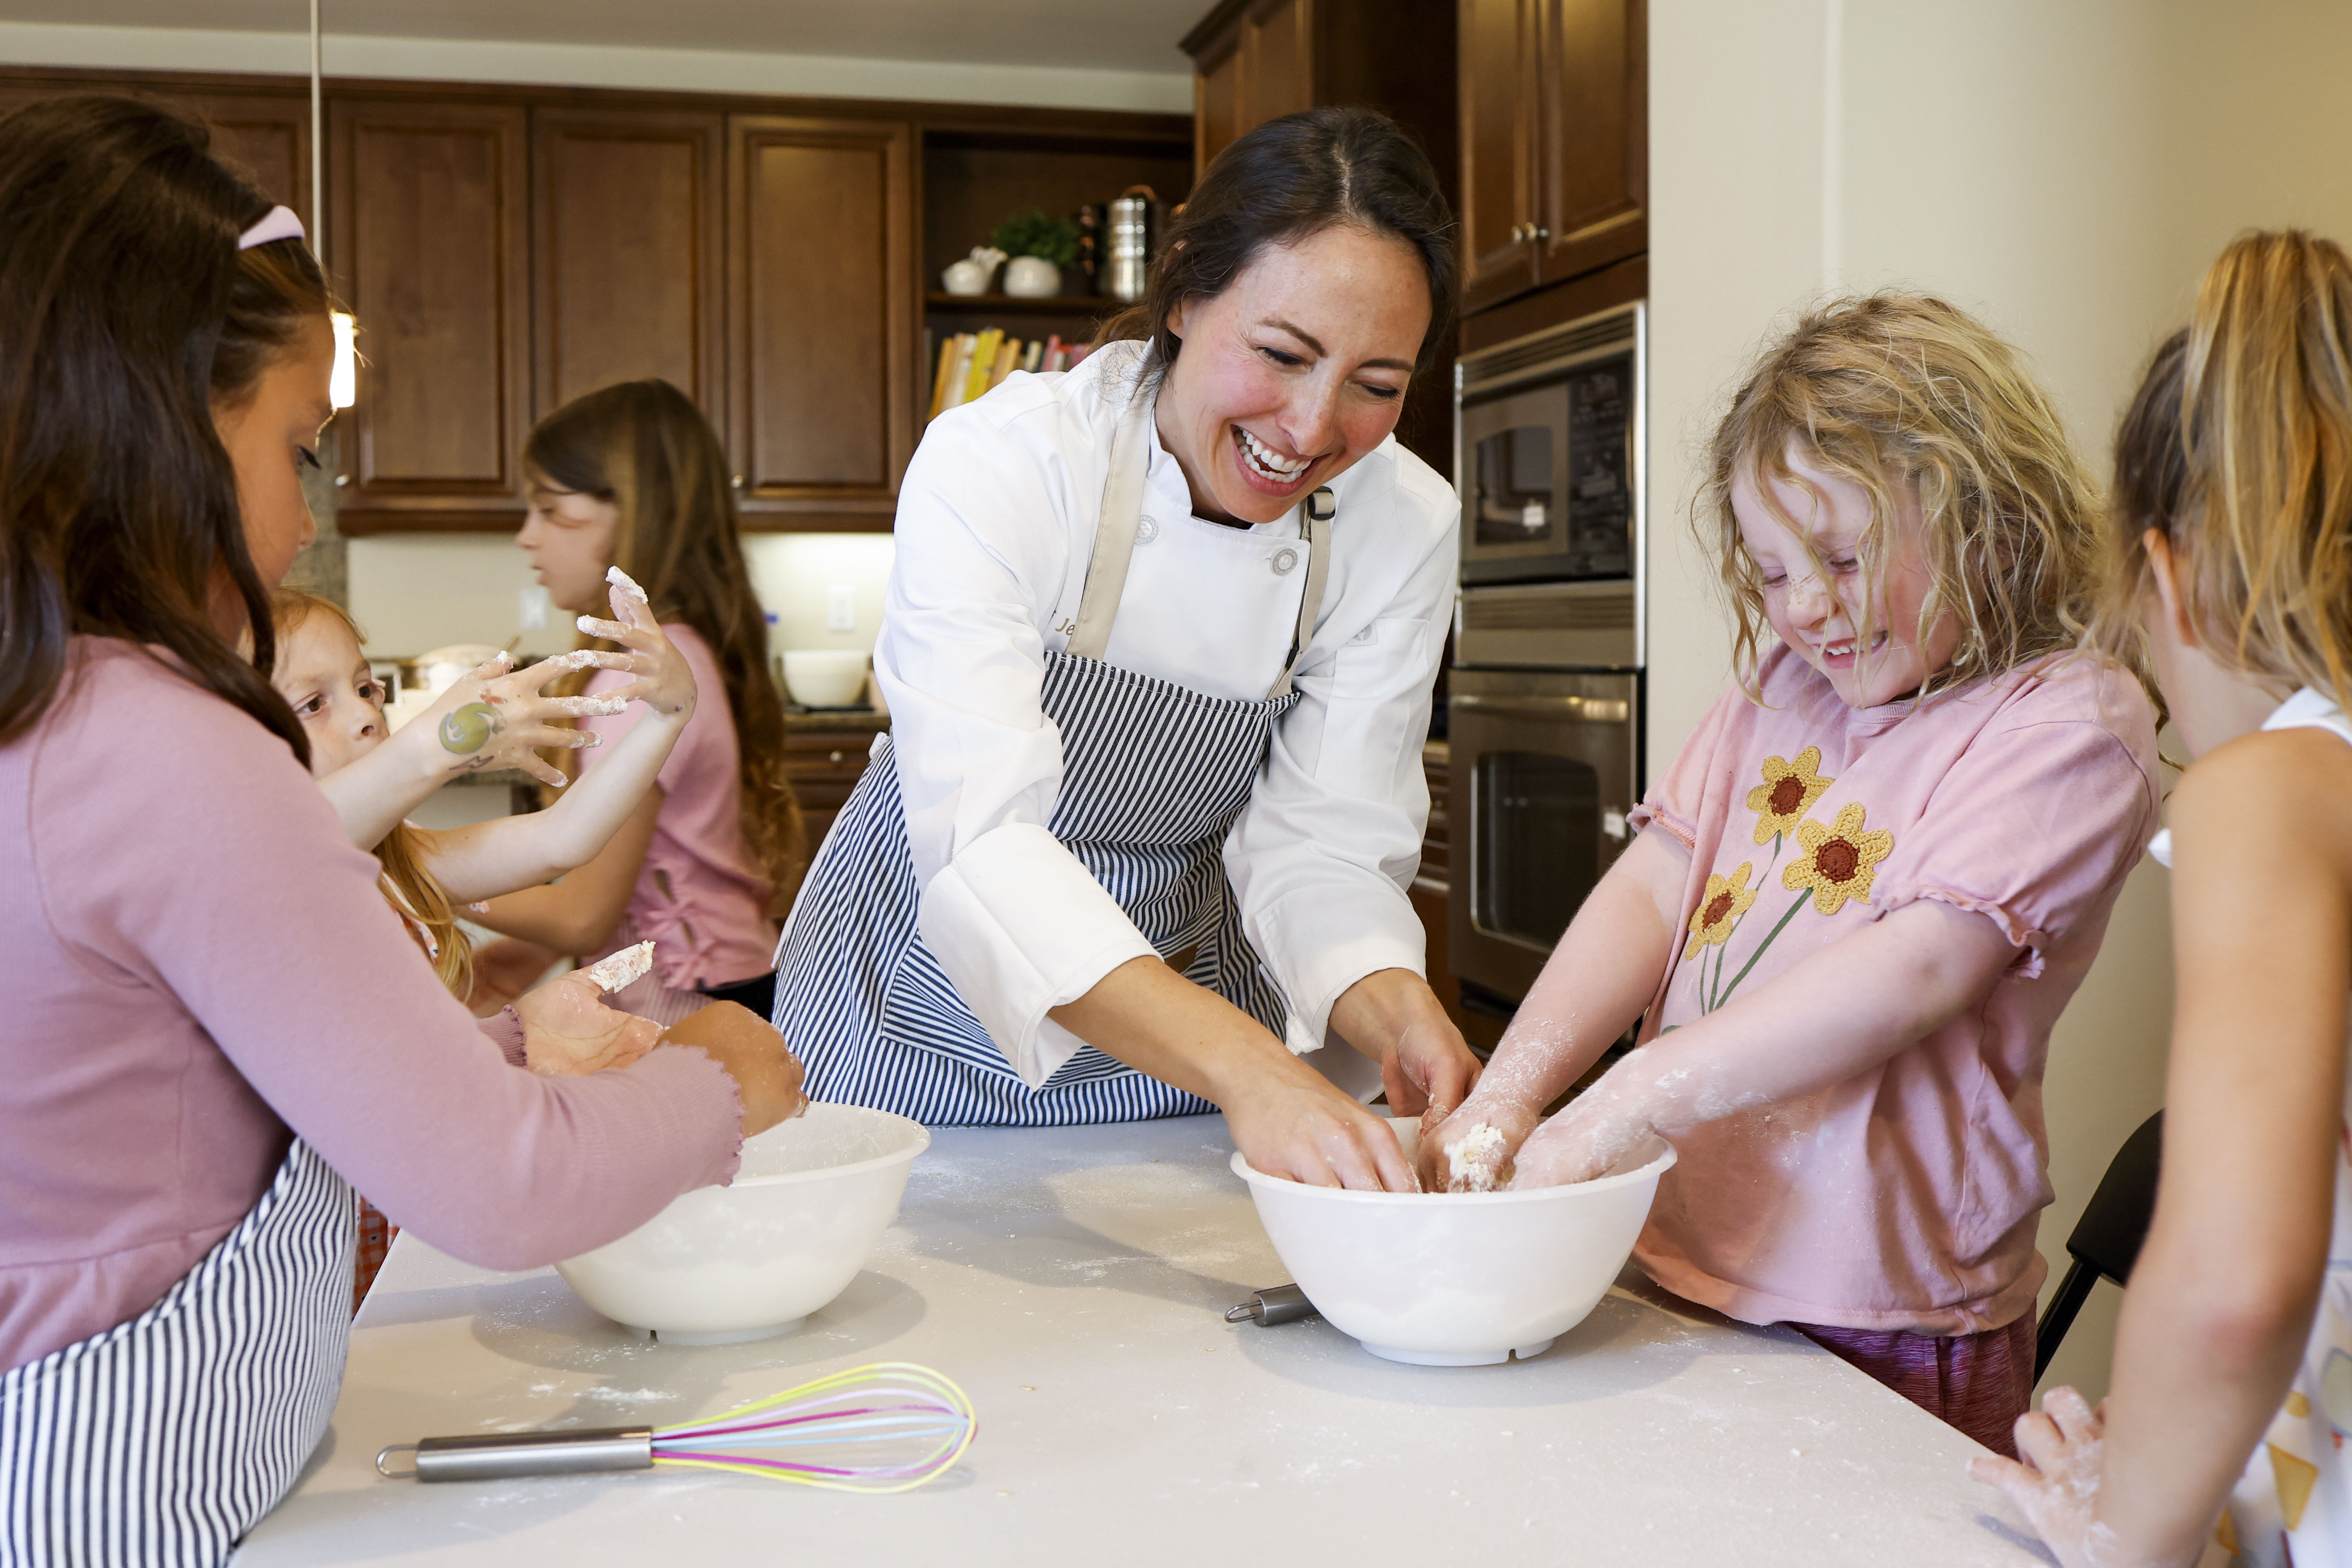
Baldwin laughs as she and Zoe Ringer, 6, get hands-on with ingredients during her cooking class. “I try to think about what skills are involved and how I can make them kid-friendly,” she said. (Meg McLaughlin / The San Diego Union-Tribune)
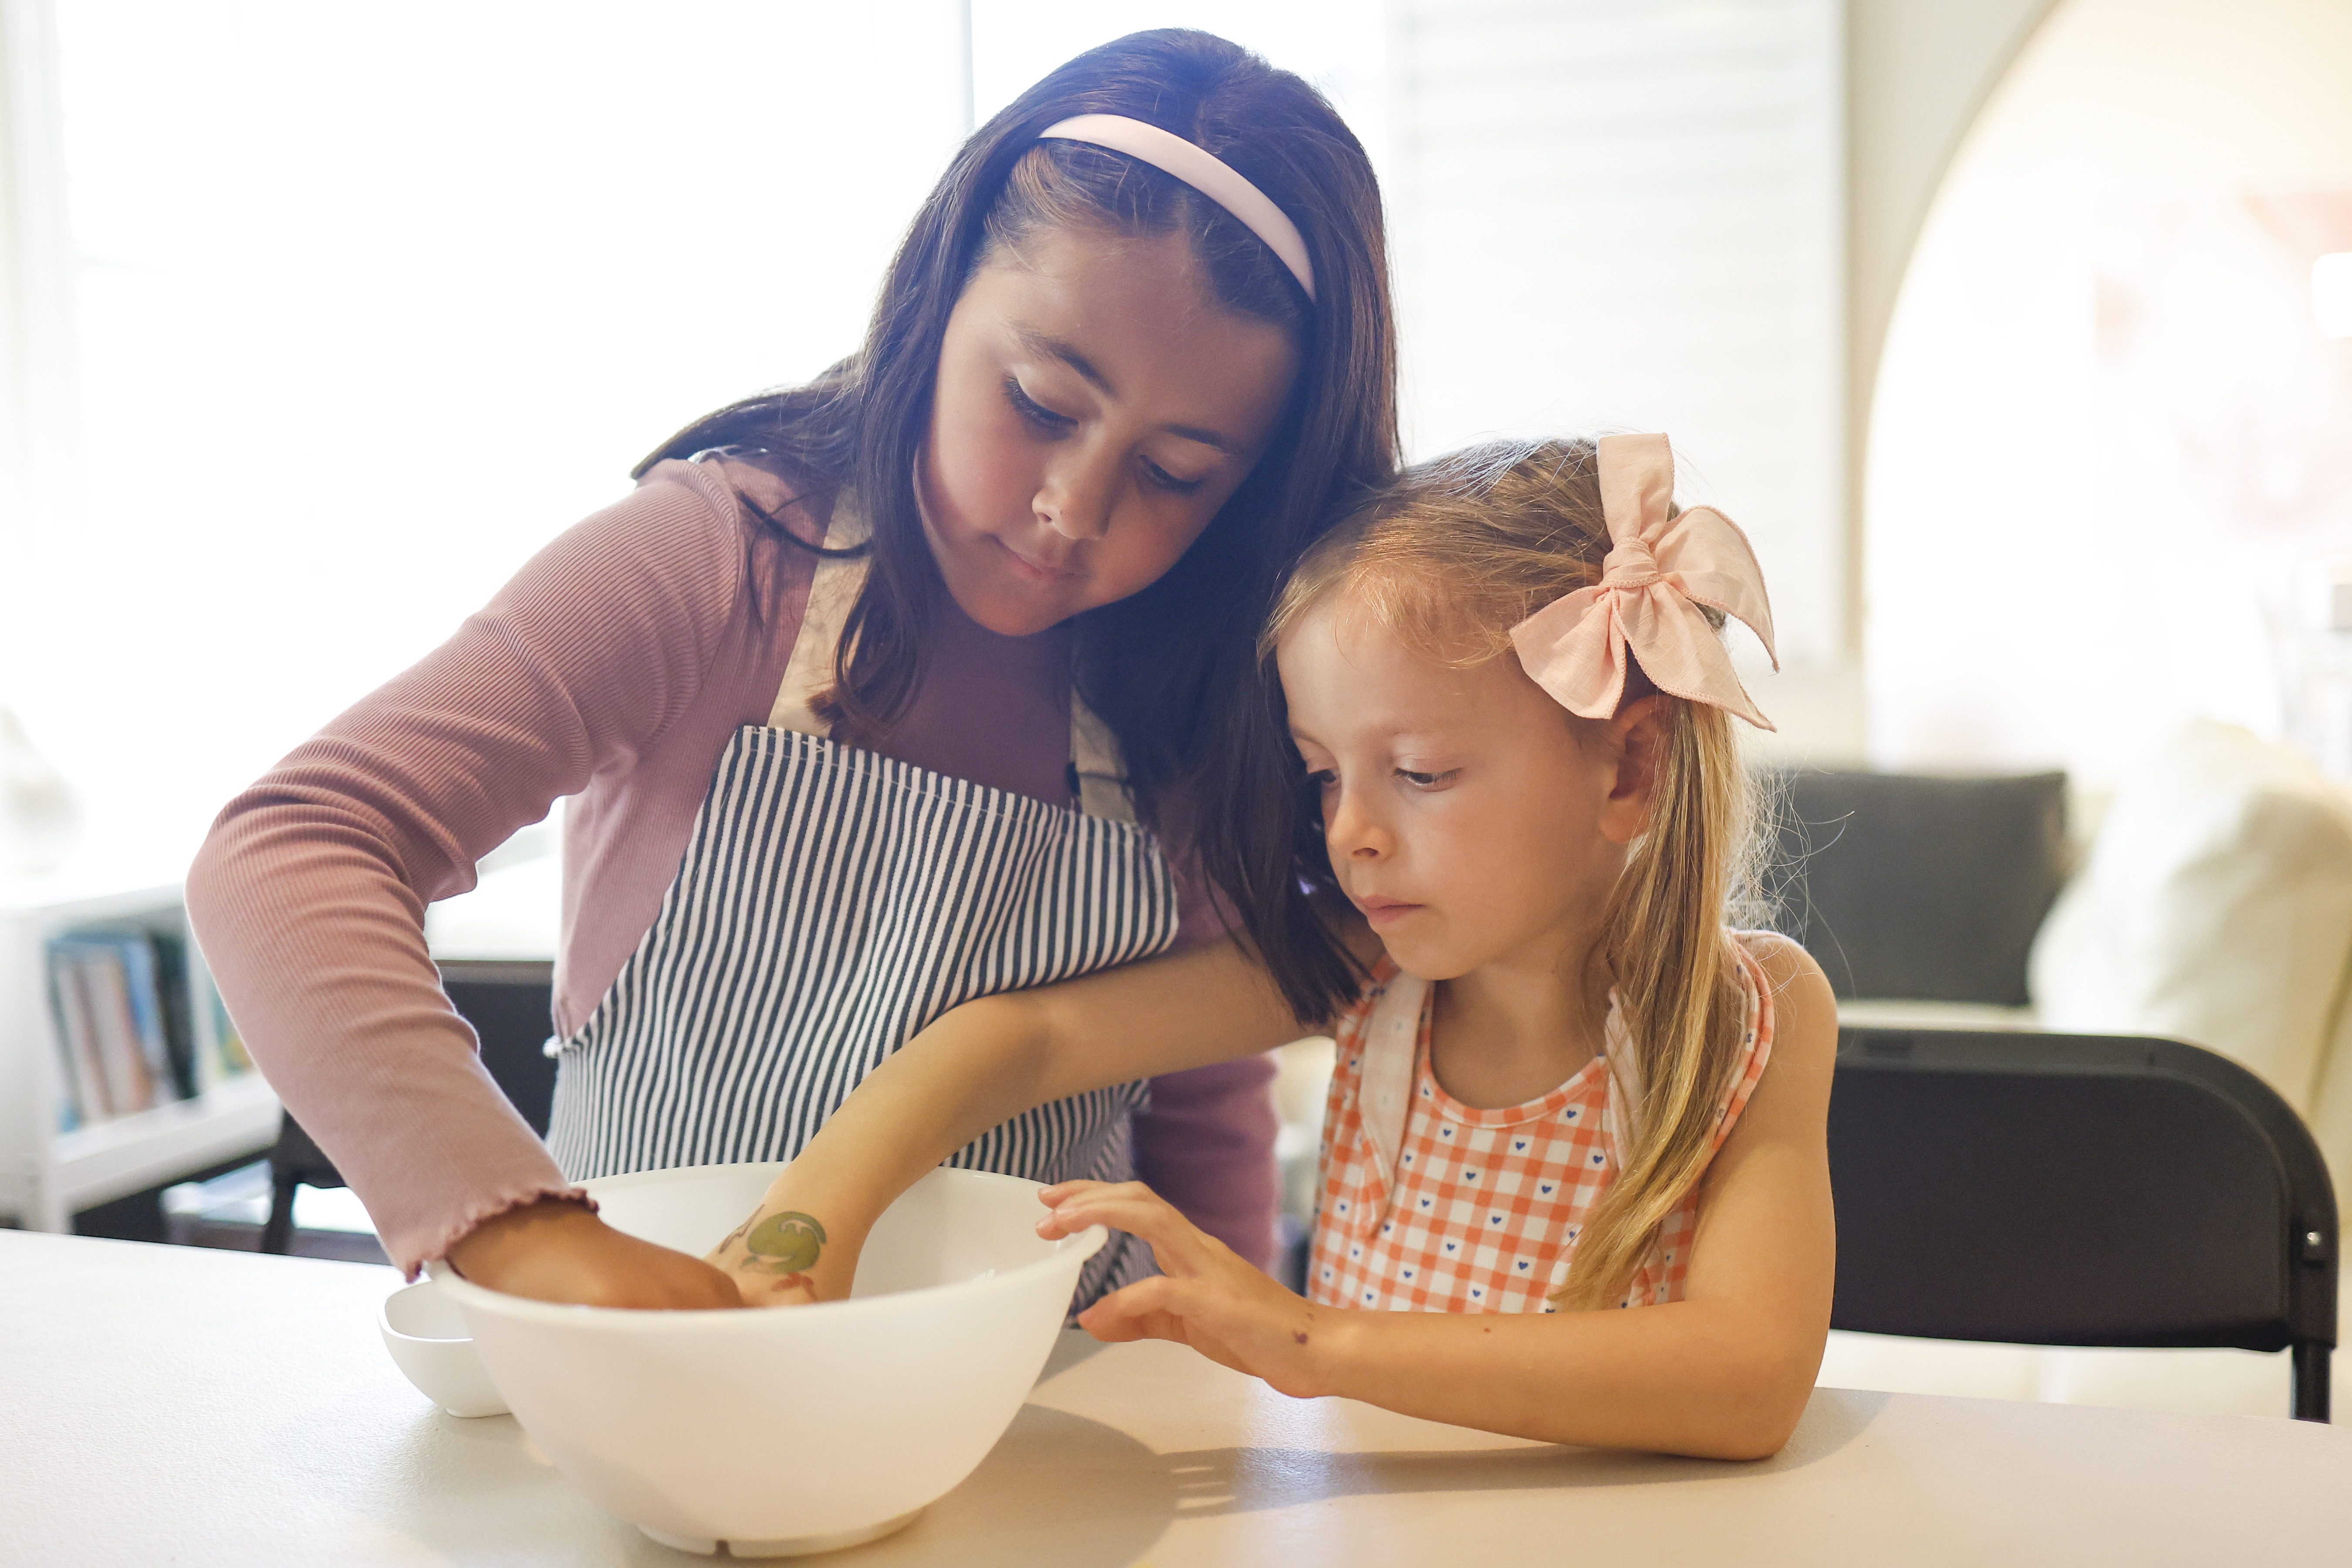
Aileen Ramos, 7, and Gina Kathman, 6, use a team approach to carefully work ingredients together in a bowl. The cooking school, described as “A Culinary Arts Lab for Kids,” enables them to dig into the process. (Meg McLaughlin / The San Diego Union-Tribune)
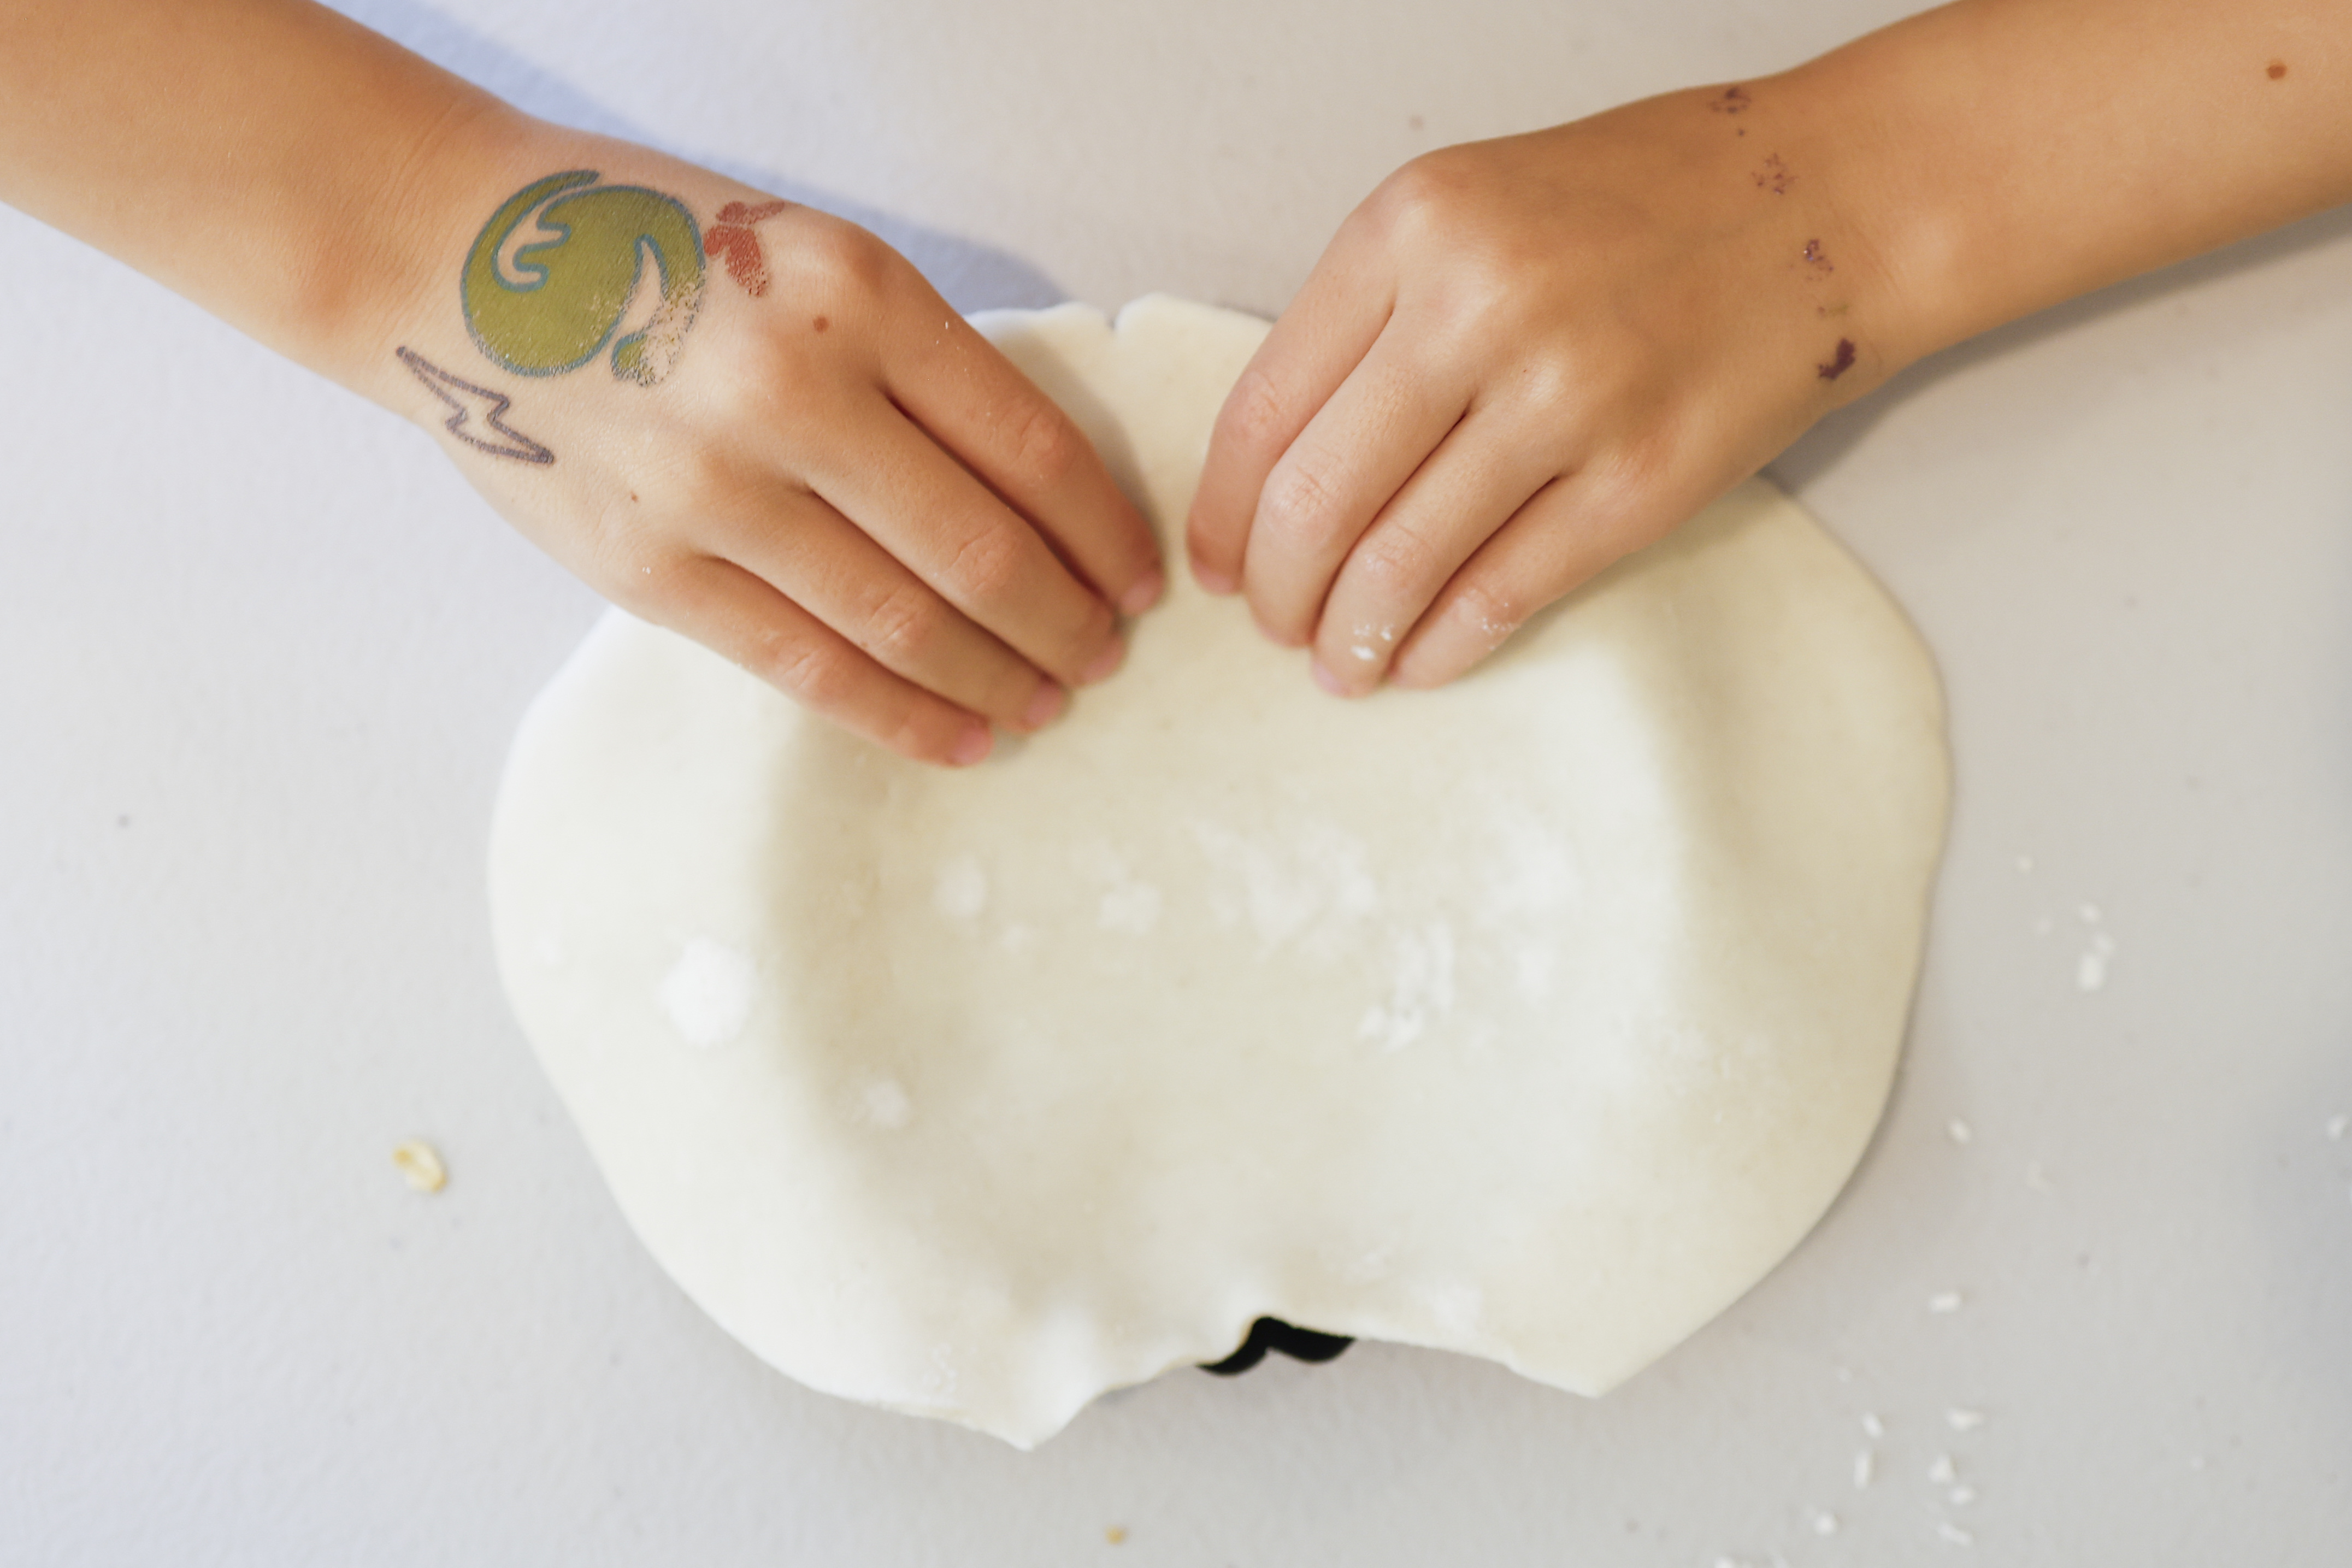
Gina Kathman, 6, of Del Mar, works the dough of her quiche at the Mother’s Day cooking class. (Meg McLaughlin / The San Diego Union-Tribune)
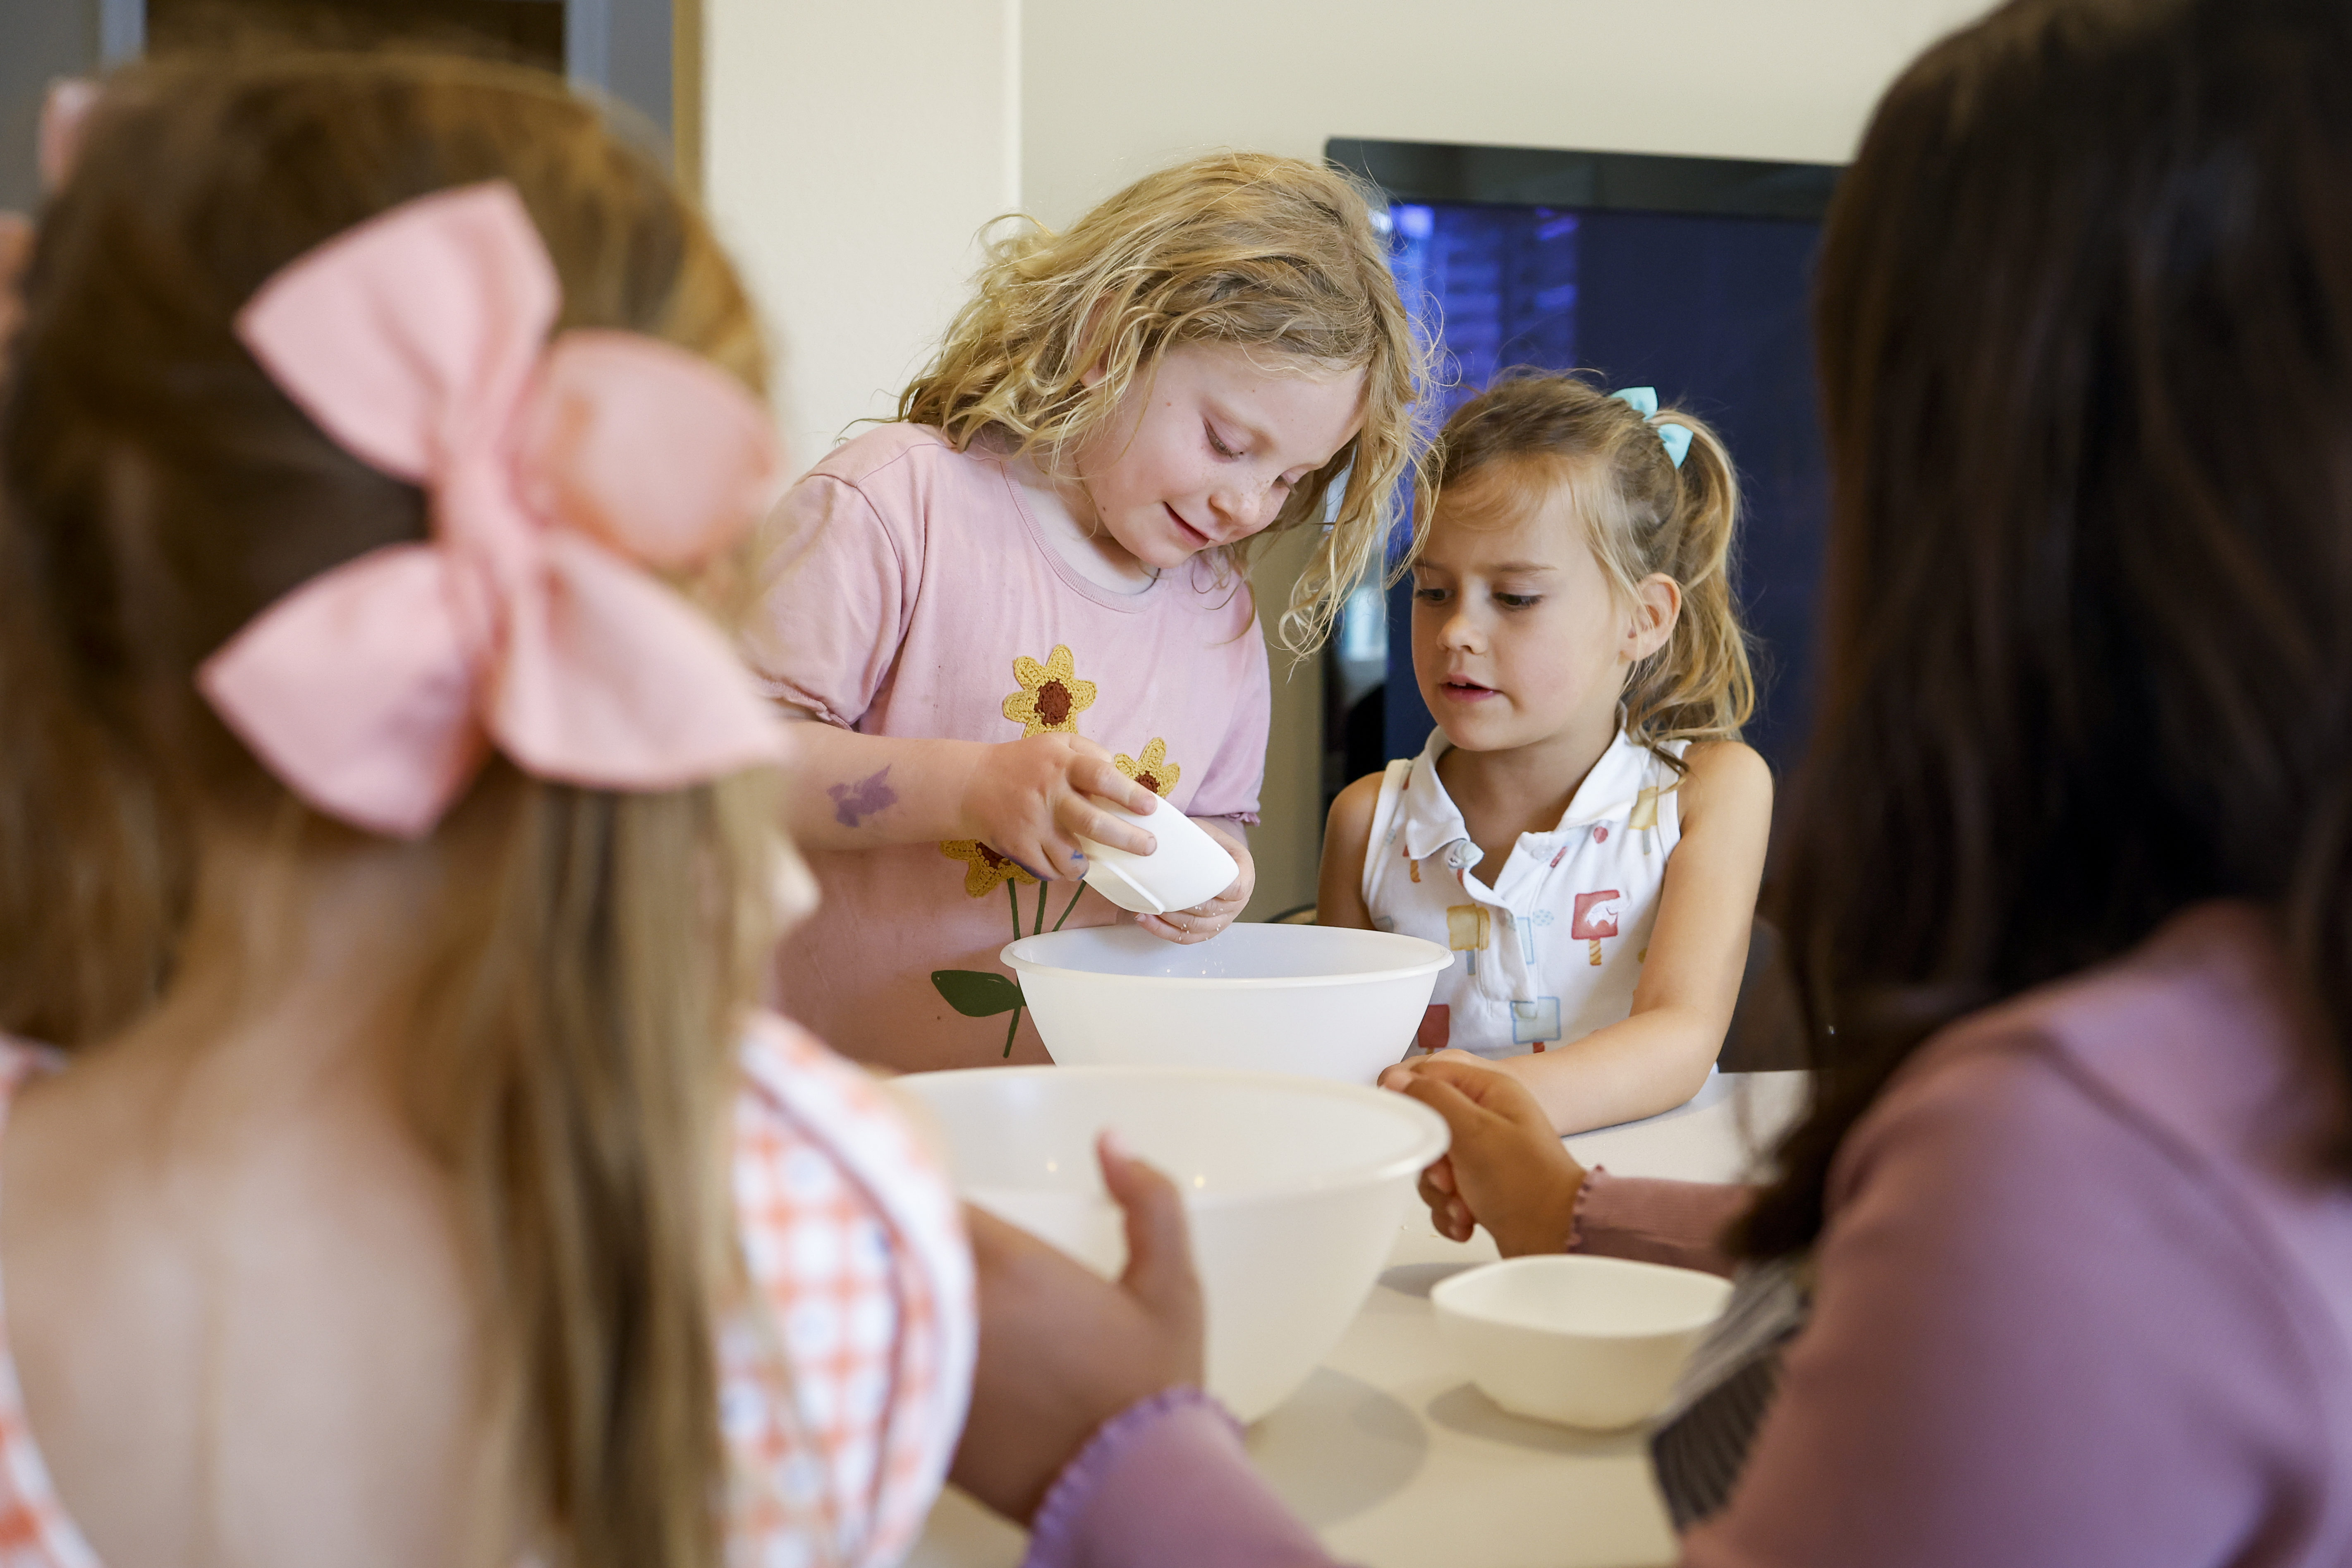
Zoe Ringer, 6, of San Diego, and Taylor Ward, 6, of Del Mar, pour ingredients into a bowl at Le Petit Pâtissier. (Meg McLaughlin / The San Diego Union-Tribune)
Show Caption
1 of 5
Taylor Ward, 6, of Del Mar, smiles after successfully pouring vanilla into her bowl. (Meg McLaughlin / The San Diego Union-Tribune)
“I went to culinary school with an eye toward combining these two things that I love,” she explained. “While I was still in culinary school, I started a neighborhood cooking club for kids. I would just have kids come in and we’d do free cooking classes here. I got some experience and figured out whether I liked it — and I did. So after that, I opened the doors.
“I cooked with my mom growing up,” Baldwin said. “I think the problem is if people don’t get in the kitchen when they’re young, they feel they can’t do it.”
And she pointed out, cooking — especially with written recipes — helps children with reading and math, science, critical thinking, collaboration, organization and patience. Her microenterprise home kitchen operation is certified by the San Diego health department.
Baldwin teaches both sweet and savory classes for children starting in preschool and going well into high school. So she has to carefully develop recipes for her students based on their abilities.
“I try to think about what skills are involved and how I can make them kid-friendly — and also which recipes will give kids the kind of experiences I want them to have,” she said. “So I’ll try to do a series of classes and pick a good mix of recipes to give them the different skills that I want them to learn in classes with me.”
The 2- to 4-year-olds will meet weekly for a month, while the children older than 5 come four times on Saturdays every few weeks to make dinner and dessert.
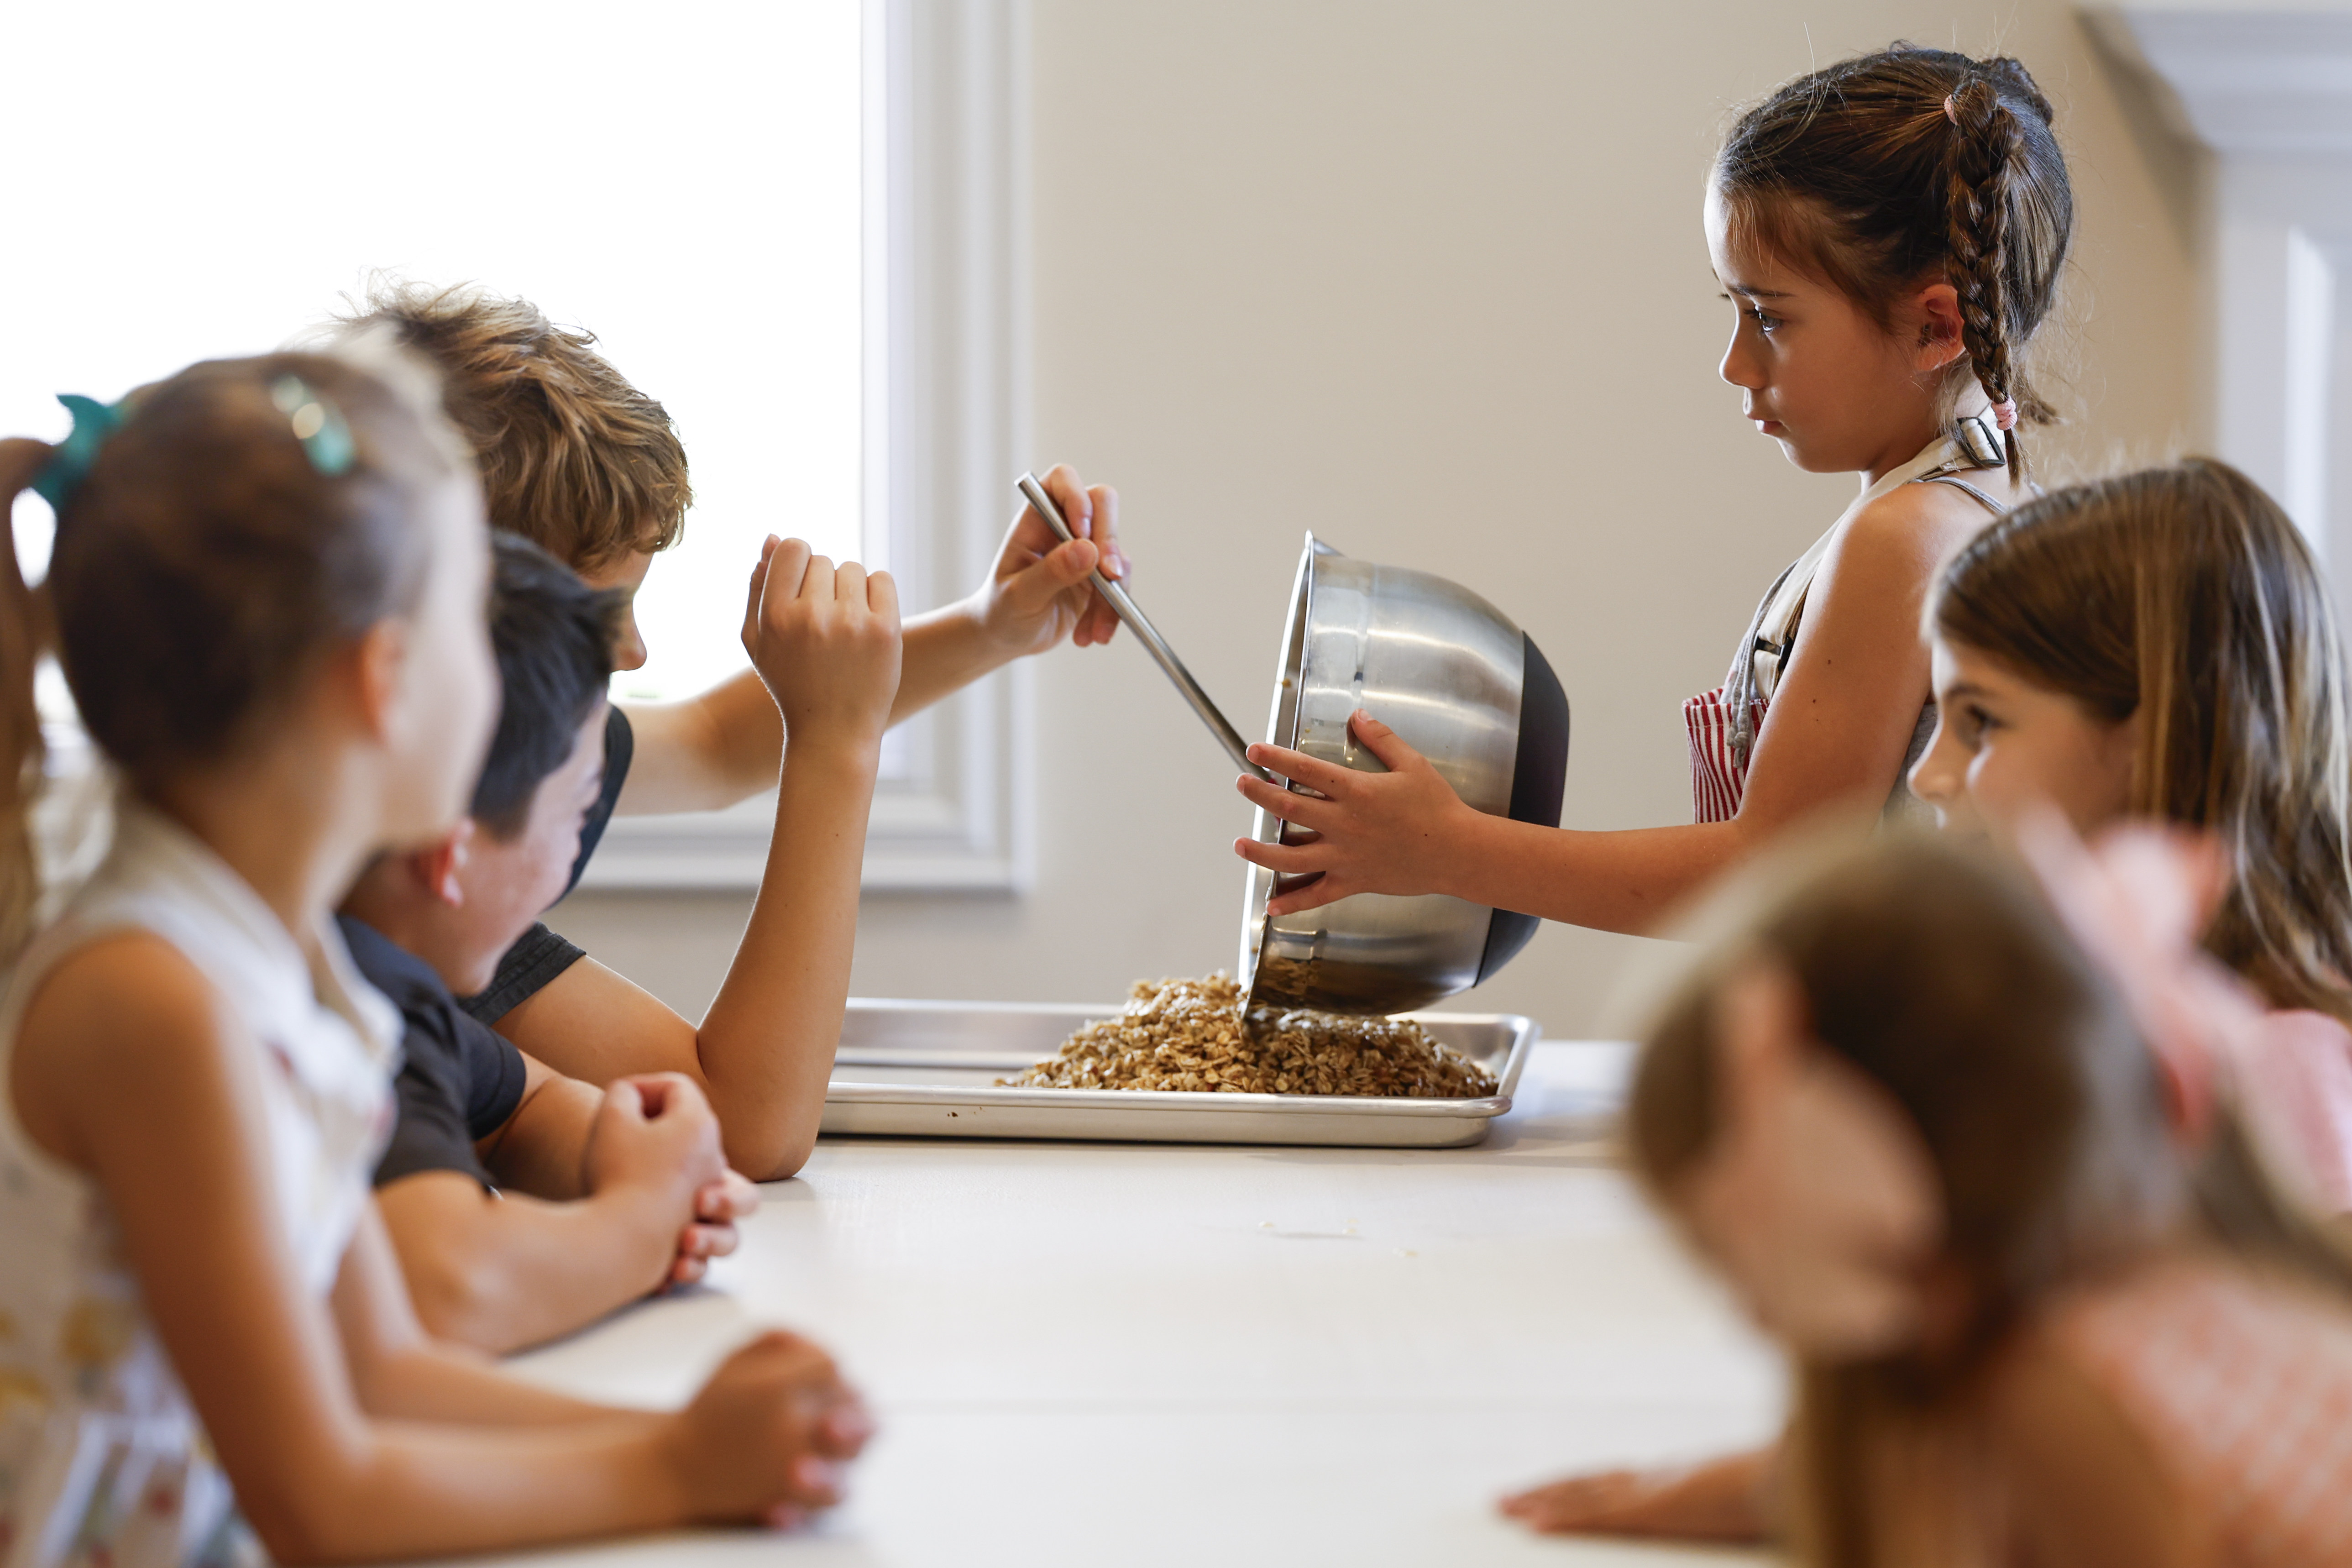
Taylor Waddon, 6, steadies the mixing bowl of granola as it’s poured onto a baking sheet. (Meg McLaughlin / The San Diego Union-Tribune)
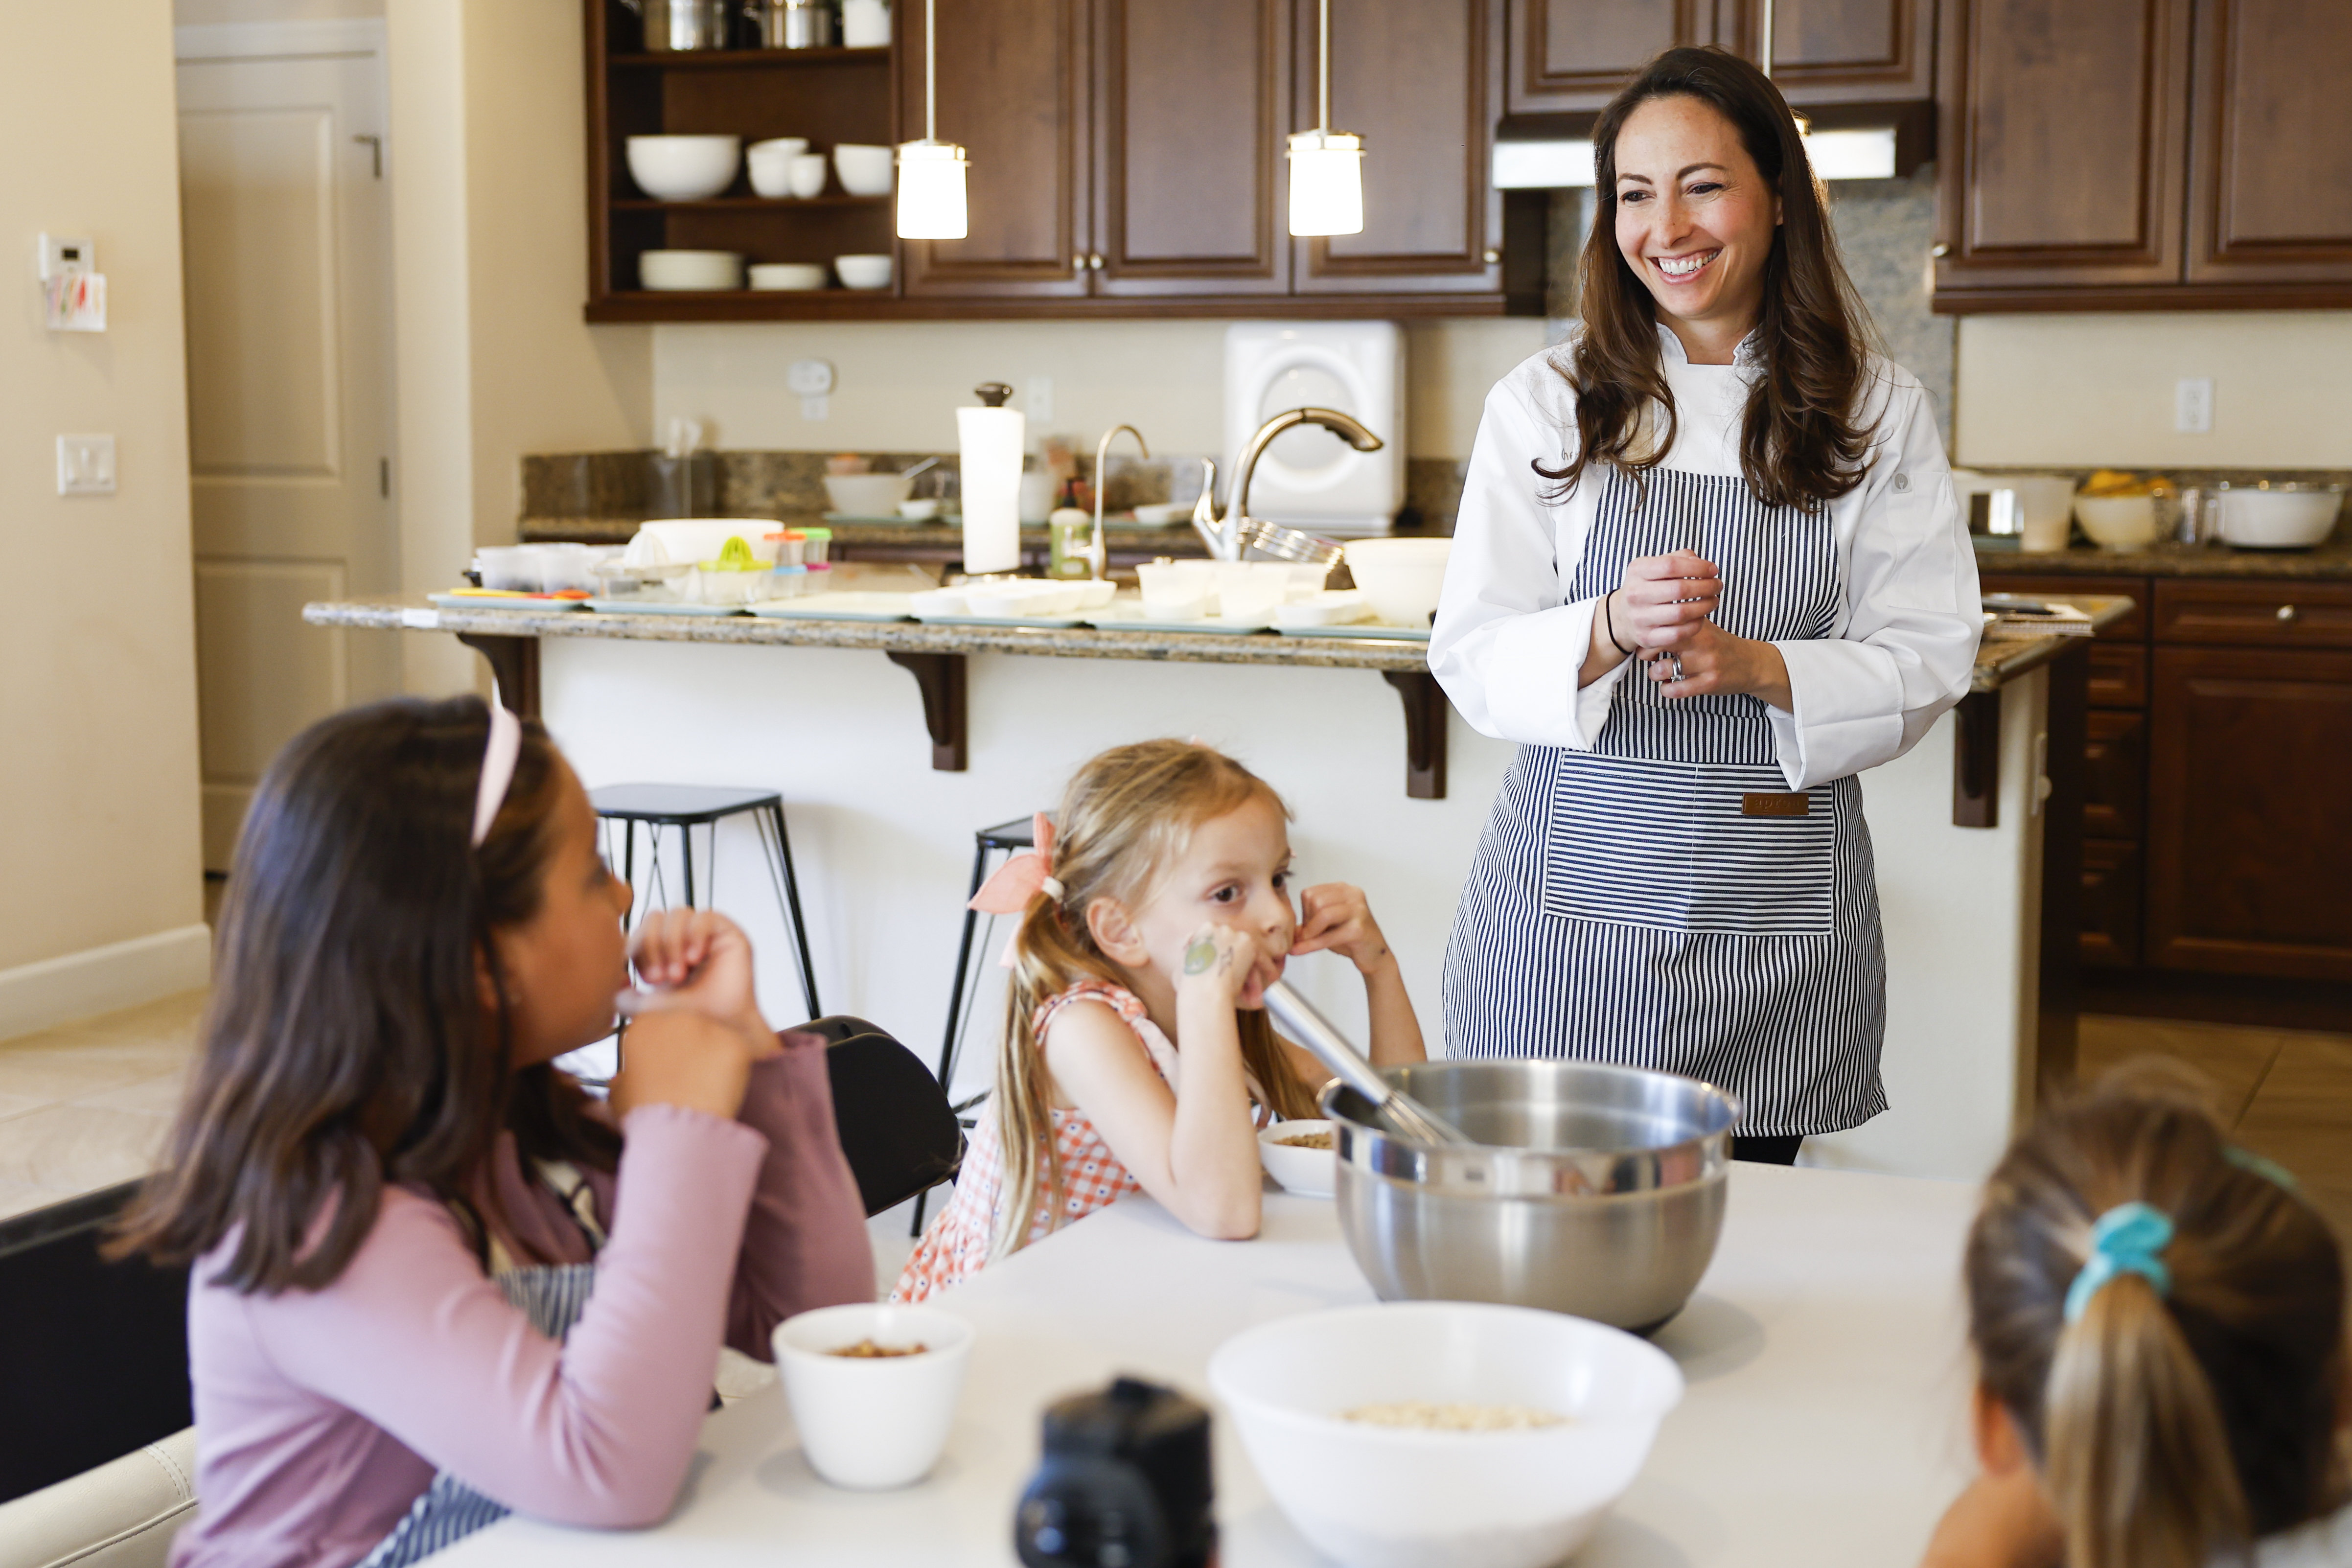
Baldwin, a mom and former patent litigation lawyer who later earned her culinary degree, did so to combine her two passions: cooking and working with children. She started a neighborhood cooking club for kids and then later opened the school. (Meg McLaughlin / The San Diego Union-Tribune)
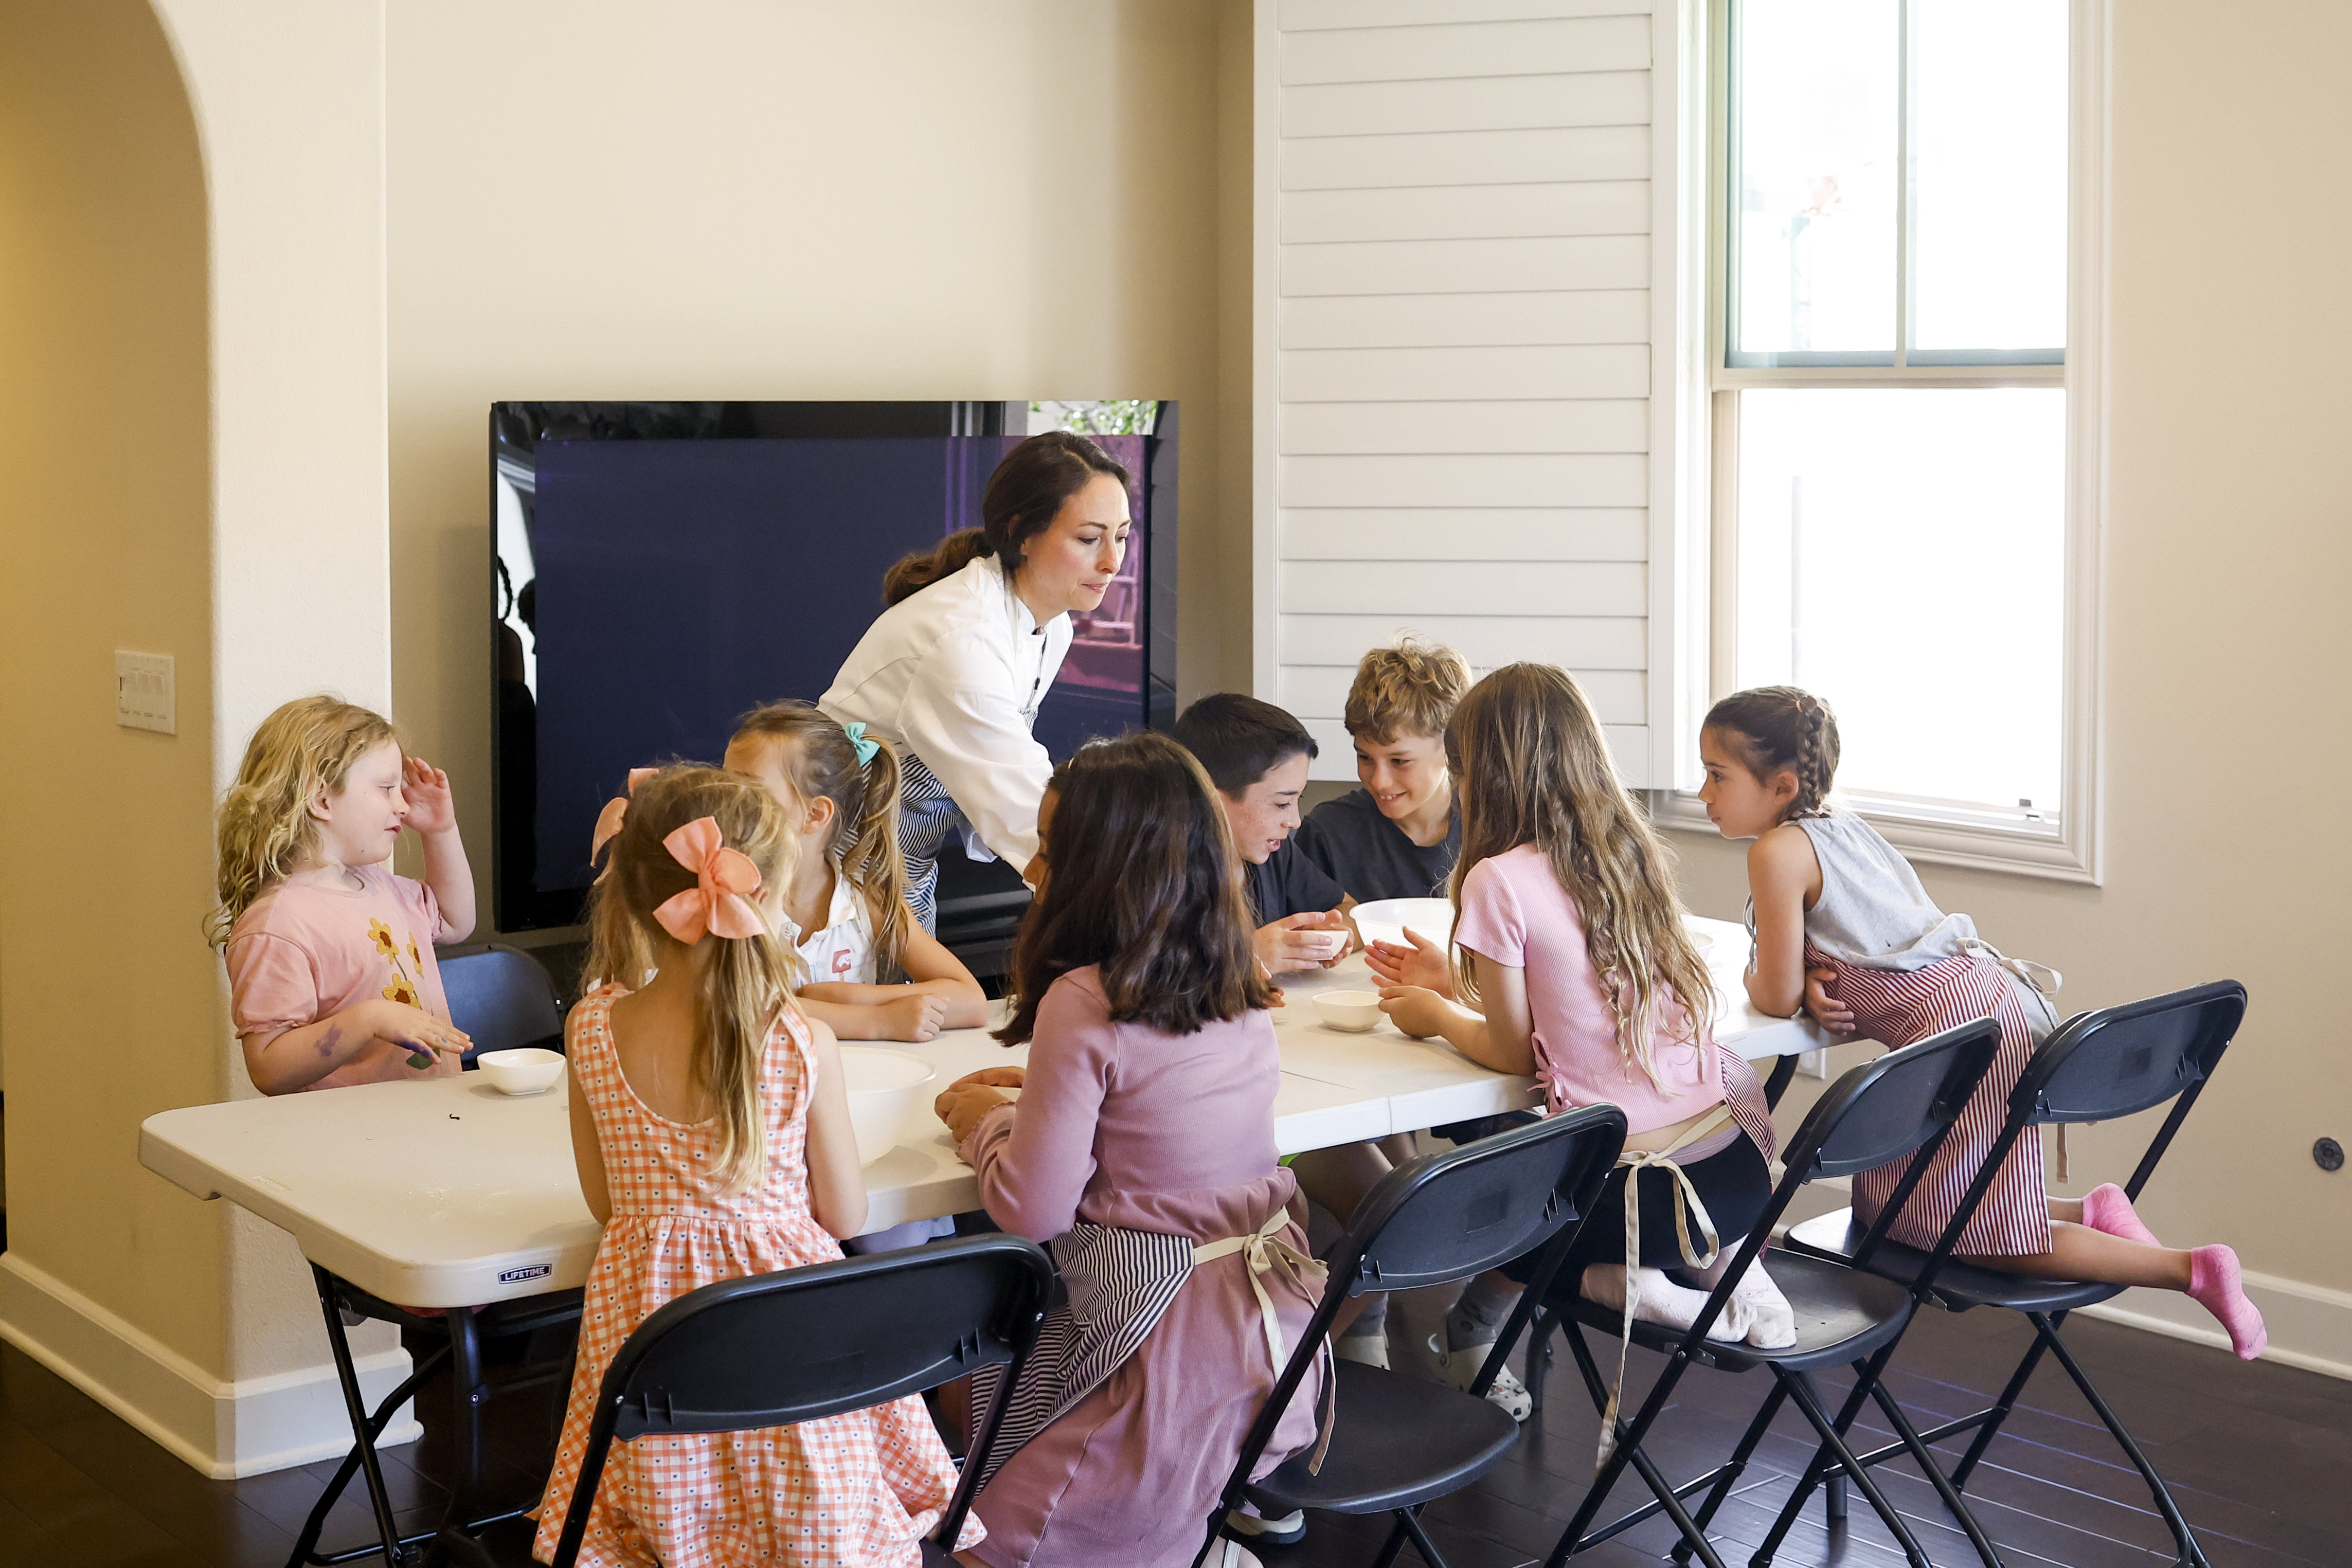
Baldwin explains the process to students during her cooking class at Le Petit Pâtissier. (Meg McLaughlin / The San Diego Union-Tribune)

Decorating food boxes for their moms are, from left: Aileen Ramos, 7; Zoe Ringer, 6; Gina Kathman, 6; and Taylor Ward, 6. (Meg McLaughlin / The San Diego Union-Tribune)
Show Caption
1 of 4
Taylor Waddon, 6, steadies the mixing bowl of granola as it’s poured onto a baking sheet. (Meg McLaughlin / The San Diego Union-Tribune)
She’s especially fond of the classes with the preschoolers.
“Those are honestly my favorite classes to teach, because they are just so excited to be doing something in the kitchen,” Baldwin said. “And I feel like the benefits to having kids that young in the kitchen are just so important. I think the most important thing is it teaches them they belong in the kitchen, and they’re able to do this.”
The class I observed was magnificent, organized chaos. Since each dish required time in the oven and some required chill time in the fridge, the recipes were broken up based on what needed to be prepped for the next stage. So the ingredients for the granola were measured and mixed, then put on a sheet pan to go into the oven.
While the granola was baking, the dough for the quiche came out. Baldwin kept it simple, using pre-made pie dough that she spread out. Each piece could make two mini-quiches. Baldwin had them make circles larger than the tart, then demonstrated how to press them into the little pans. Next, the students used forks to poke holes into the bottom of the crust to allow air to escape while blind baking them. Kids are kids and, for them, more is more — so they enthusiastically stabbed at the dough for maximum air flow.
While the tart dough rested in the fridge and the now-baked granola cooled, Baldwin started on the scones, introducing “zesty sugar.” Her recipe calls for zesting lemons into a bowl with sugar and then rubbing in the zest with their fingers to release fragrant oils. This was a bit hit. The kids sifted in dry ingredients and got more finger fun rubbing the little squares of cold butter into the flour mix before that went into the fridge to cool. Then they combined the wet ingredients — heavy cream, lemon juice, eggs and vanilla. There was some competitive egg cracking and only one miss. The dry ingredients came back out and everything was gently mixed together — a test of restraint on little hands itching to treat it like clay. But they did it and then took turns using the scoops to create balls of dough to place on the Silpat circles. The soon-to-be scones went into the fridge to rest before being brushed with cream and hitting the oven.
While they baked, the class returned to the quiche, making the filling. Major decisions had to be made. Baldwin had several types of shredded cheeses for the kids to choose from, which they carefully placed on the bottom crust. Then were the other filling choices — ranging from sliced scallion tops, corn and spinach to herbs and diced ham. They mixed the egg mixture and took turns carefully pouring that over the cheese and add-ins. Then into the oven they went.
As food came out, the children headed into the dining room to create the packaging for the food they made, where “more is more” reigned again. Colorful flower stickers festooned the boxes. What was impressive was how enthusiastic the children were about their cook prep, how patient they were with one another when sharing activities and tools and how attentive they were to Baldwin.
Baldwin writes great, easy-to-follow recipes. Perfect for kids, but how about adults? Were the flavors dumbed down? I made each at home that weekend — hey, I have a mom, too! Each was delicious and perfect for families to enjoy.
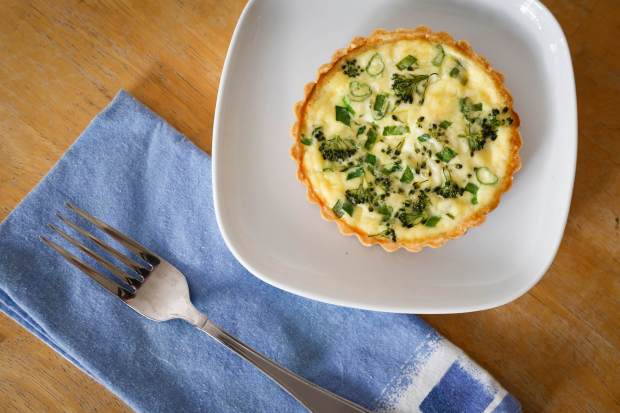 Mini-Quiche. (Meg McLaughlin / The San Diego Union-Tribune)
Mini-Quiche
Makes two 5-inch mini-quiches
INGREDIENTS
Two 9-inch store-bought pie crusts, defrosted in the refrigerator
2 large eggs
1/4 cup milk
1/4 cup heavy whipping cream
1/8 teaspoon salt
1/3 cup shredded or crumbled cheese (feta, cheddar, goat cheese, mozzarella or Gruyere work well)
1/2 cup fillings (optional) For example: scallions (snipped with food-dedicated, child-safe scissors), corn, spinach (snipped or torn), herbs like dill, parsley or basil (snipped or torn), diced ham, bacon bits
DIRECTIONS
1: Preheat the oven to 375 degrees.
2: Prepare the crusts: Unroll the pie crusts onto a clean work surface. Use a bowl or a cutter to cut out two 7-inch circles. Gently place each dough circle into a tart pan. Use your fingers to press the dough into the bottom, in the corners, and up the sides. Fold the excess dough over the sides and press gently against the edges of the pan to cut the excess off. Place tart pans on a baking sheet and chill in the freezer for 20 minutes.
3: Blind bake the crusts: Use a fork to gently poke a few holes in the bottom of the crusts. With a grown-up’s help, place the baking sheet in the oven and bake for 10 minutes. Remove from the oven and let cool. Keep the crusts on the baking sheet for the remaining steps. Reduce the oven temperature to 350 degrees.
4: Make the egg mixture: Crack the eggs into a medium bowl. Add the milk, cream and salt, and whisk until fully combined.
5: Add the fillings: Divide the cheese evenly between the crusts and sprinkle over the bottom.
6: Add the remaining fillings, if using. Pour the egg mixture over the top of each crust.
7: With a grown-up’s help, carefully place the baking sheet in the oven. Bake for about 25 minutes, until the centers are just set and the tops are lightly golden.
8: Let cool for about 10 to 15 minutes before serving. Store in the refrigerator for up to 4 days.
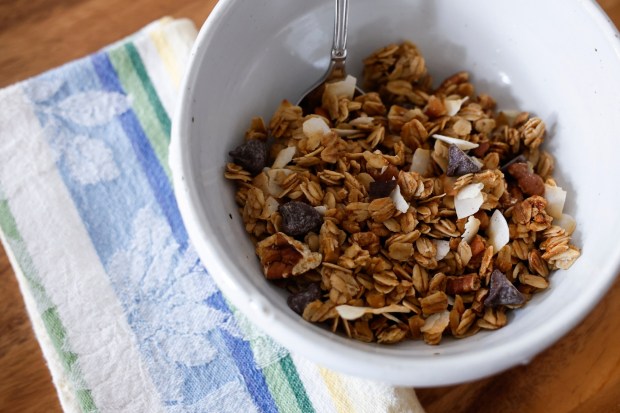 Granola. (Meg McLaughlin / The San Diego Union-Tribune)
Granola
Makes 6 cups
INGREDIENTS
3 cups old-fashioned rolled oats
1 cup chopped nuts (nearly any kind will do; pecans and walnuts work well)
1/2 teaspoon salt
1/2 teaspoon ground cinnamon
1/3 cup coconut oil (melted) or avocado oil
1/3 cup maple syrup (honey can be used instead if desired)
1/2 teaspoon vanilla extract
1/3 cup chopped dried fruit (raisins, Craisins and dried cherries work well)
1/4 cup other optional mix-ins (For example, chocolate chips, toasted coconut flakes, toasted sesame seeds and sunflower seeds)
DIRECTIONS
1: Preheat the oven to 350 degrees. Line a large baking sheet with parchment paper.
2: In a large mixing bowl, combine the oats, nuts, salt and cinnamon. Stir well to mix.
3: In a separate small bowl, combine the oil, maple syrup and vanilla. Whisk until smooth.
4: Pour the wet ingredients over the oat mixture. Stir well, making sure everything is evenly coated.
5: Spread the mixture onto the prepared baking sheet in an even layer, using a spatula.
6: With a grown-up’s help, place the baking sheet in the oven. Bake until lightly golden, about 20 to 25 minutes.
7: Let the granola cool on the baking sheet for about 30 minutes. It will continue to crisp as it cools.
8: Once cool, break the granola into pieces. Stir in any dried fruit or other optional mix-ins.
9: Serve by itself, or with yogurt and fresh fruit. Store in a covered container for up to one week.
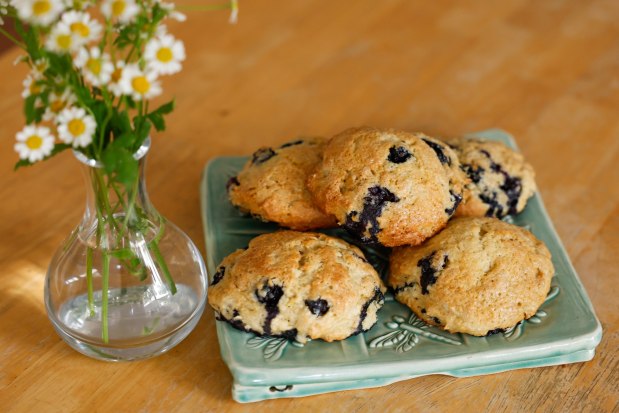 Blueberry-Lemon Drop Scones. (Meg McLaughlin / The San Diego Union-Tribune)
Blueberry-Lemon Drop Scones
Makes 14 to 16 drop scones
INGREDIENTS
6 tablespoons granulated sugar
1 tablespoon lemon zest from one lemon
2 cups all-purpose flour plus more for dusting work surface
2 1/2 teaspoons baking powder
1/2 teaspoon baking soda
1/2 teaspoon table salt
8 tablespoons cold unsalted butter, cut into small cubes
1/2 cup heavy whipping cream plus about 1 tablespoon more for brushing tops of scones
2 teaspoons lemon juice from one lemon
2 eggs, cold
2 teaspoons vanilla extract
1 cup fresh blueberries
1 tablespoon turbinado sugar (optional) for topping
DIRECTIONS
1: Line a baking sheet with parchment paper.
2: In a large bowl, combine the sugar and lemon zest. Rub them together with your fingers to release the oils from the zest. Sift in the flour, baking powder, baking soda, and salt, then whisk thoroughly to combine.
3: Add the cold, cubed butter to the flour mixture. Working quickly so the butter stays cold, toss to coat the cubes in flour. Using your fingers, smush the butter cubes into the flour until the mixture resembles wet sand and the largest pieces are no bigger than a pea. Place the bowl in the refrigerator while you prepare the wet ingredients.
4: In a small bowl, whisk together the heavy cream, lemon juice, eggs and vanilla. Remove the flour mixture from the refrigerator and add the blueberries, tossing to coat. Pour in the cream mixture and gently mix until just combined, with no large pockets of dry flour. Do not overmix, or the scones will lose their delicate crumb.
5: Using a 3 tablespoon scoop (or a 1/4 cup measuring cup), scoop mounds of dough onto the prepared baking sheet, spacing them at least 2 inches apart.
6: Refrigerate the baking sheet for 20 minutes. Preheat the oven to 400 degrees.
7: Brush the tops of the scones with heavy cream and sprinkle with turbinado sugar, if desired.
8: With a grown-up’s help, put the baking sheet in the oven and bake for about 15 minutes, or until lightly golden.
9: Enjoy once cooled, or store covered at room temperature for up to 2 days.
Recipes from Jessica Baldwin of Le Petit Pâtissier.