
[upbeat music]
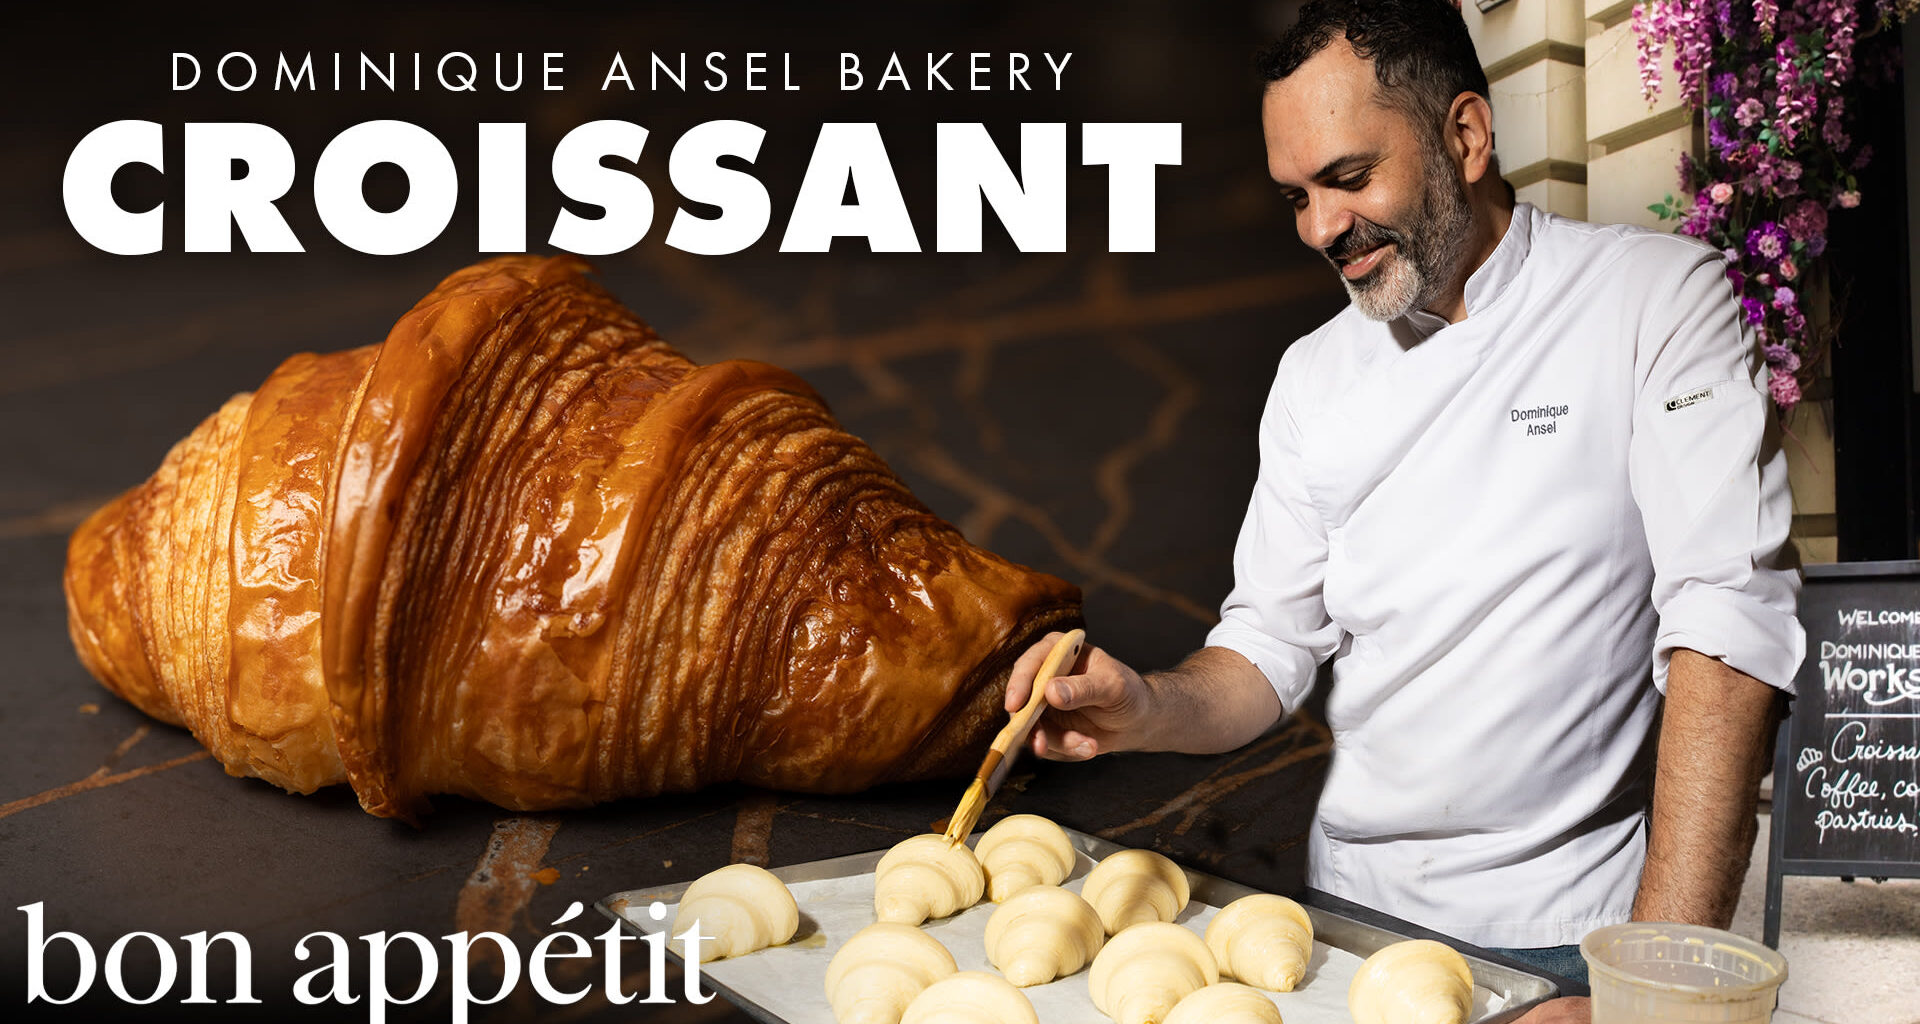
I’m Dominique Ansel,
pastry chef and owner of Dominique Ansel Bakery,
and today I’m going to show you my perfect croissant.
[bell chimes]
Here in New York City, we have three bakeries
and we also have two bakeries in Las Vegas,
Caesars Palace and the Paris Hotel.
I eat a croissant like you’re tasting wine.
You’re gonna see this golden beautiful crust,
all these layers that are slightly separating on the side.
It has to be moist,
it has to be tender in the center
with a nice crunchy flake on the outside.
I look at the cross section,
which we call the honeycomb.
The honeycomb should be this little air pocket
within the layers of the croissant,
which tells you that the croissant is beautifully made.
The very first thing we do for making a croissant,
it’s mixing the dough.
[gentle music]
If you are making croissant at home,
a few tips and tools that you need.
I think for sure using digital scales.
I measure everything in metrics
because it’s a lot more precise.
Digital thermometer as well is very important.
One, try to keep things as cold as possible.
As the mixing process,
the friction will add or rise the temperature
within the dough.
The flour is probably one of the most important ingredient
in our croissant.
This is a flour from France,
from les Grands Moulins de Paris flour maker in France.
The quality of the wheat, the quality of the soil.
This is one of the most crucial ingredient
into making the croissant
because you get something that is the quality
and the specificity of making a croissant
that will hold the gluten,
that will absorb the water properly,
and they give you like a very specific and unique texture
that you cannot get without any other flour.
The levain that we use,
it’s for both flavor and fermentation.
The hubs with the characteristic of
the taste of the croissant
makes it like very unique and special.
The deep easy flavor and it’s also a leavening agent
so it helps like making the croissant puffy and light.
This is a mixer that’s designed for those specifically
so that only the bowl and the hoop are moving.
We’re gonna put all our dry ingredients within the mixer.
Then we’re gonna add our levain,
add the honey to give the hints of fruit,
but also for the flavors and texture.
Without the honey, the texture of the dough is different.
Then we’re gonna add our butter here.
We use easy Isigny Sainte-Mere butter,
high quality ingredients,
and that makes a huge difference
within the quality of the croissant you get.
And we’re gonna add the milk
and the extra protein makes the croissant
just a little bit richer.
Eggs.
We have yeast that’s been dissolved
with room temperature water.
I’m gonna add this to the side here.
We add the water at the end, we’re gonna close the gate,
we’re gonna start mixing.
The motion and the friction of the hook within the dough
is gonna make everything warmer.
So the longer you mix, the warmer it’s gonna get.
Our sweet spot here is between 22 and 24.
It cannot be above 30 degrees.
You will start killing the fermentation,
killing the levain, and the yeast.
Making dough in a small stand mixer is not ideal
even with a hook because you have a lot of friction.
Oftentimes that is too hot and not elastic enough.
What I find like using this type of mixer
that is designed for dough,
it makes the dough more combined,
mixed faster with more elasticity
without overheating the dough.
The snap should be strong,
it should be like a lot of resistance.
Right now I can grab it and pull it easily.
So I’m gonna mix for another minute.
We use the same levain, the same recipe,
the same ingredients every single day.
There’s so many variables
that makes it too tricky to give too many details
on what we’re looking for.
Winter, it will change.
The summer, it will change depending on the flour.
Yeah, the difference is like already like much, much bigger.
So I can feel just after like a minute of mixing
the dough has a lot more elasticity.
But we’re gonna stretch it very thin in the center
to see how much elasticity we have here.
You should be able to do this to the dough
and for the dough to bounce back without breaking.
You see it’s thin like paper right now.
And we’re activating the fermentation
between 22 and 24 Celsius.
That’s the sweet spot.
Still got it. [laughs]
If you get the dough after mixing between 22 and 24,
we are activating that fermentation.
So the dough is gonna start like puffing up and rising.
If for some reason it’s a little too cold,
you can mix a little bit more.
If it’s too hot, unfortunately there’s nothing you can do.
You have to start the whole process again.
So always better to have
a dough that’s a little bit too cold.
The bulk fermentation is happening now.
We’re looking for
a dough that’s going to double the size.
That’s going to be a good indication
that the fermentation has started.
[bright music]
Now we’re gonna shape the dough.
So what I like to do here,
with two hands, we’re gonna give a nice ball shape.
We’re gonna keep it nice and tight.
You can see just after a few minutes sitting on the counter,
the texture change already
and the dough is already like changing, evolving.
So all the flour,
all the green content is gonna absorb
the moisture within the dough.
It’s gonna feel very stretchy, very bouncy.
What I like to do is to get the dough on top here
and do a cross right in the middle.
I’m predefining the shape of the dough.
I want something square and rectangle
to incorporate the butter.
And then I’m gonna put this on sheet tray
with a plastic cover and we’ll just wrap it up.
We’re gonna leave a little bit of room.
Now we’re just going to wait.
The door has been sitting out for about two hours.
As you see like it’s light and puffy right now.
So with the plastic on top, just gonna press the dough down
to really remove all that gas, all these bubbles,
and you can feel the gas getting chased out of the dough.
If you don’t do this, what’s gonna happen is that
the dough is going to over-ferment.
All that fermentation that you need before the baking
eventually turns sour.
You’re not gonna have the result you’re looking for.
The volume is not gonna be there
and the flavor is gonna be different.
We just finished the first degas.
We’re gonna put this in the fridge for one hour,
we’re gonna do second degas,
and then we’re gonna start the lamination.
[gentle jazz music]
The lamination process is very important
that we’re gonna give all the layers to the croissant.
Here, my butter that’s squared out
and the quality of this butter,
which is one of the most important thing,
is that this butter is a French butter.
It is very, very, very, very flexible.
As you can see, it can bend, it won’t break.
So this butter has very low water content
and butter is gonna give
all that beautiful texture of the croissant.
If it’s too cold, you won’t be able to bend it.
You want cold but very flexible
and you wanna have your dough as cold as possible
because we’re going to give the fold.
And as we’re doing this,
the dough’s gonna get warmer and warmer.
I’m gonna have to work a little bit fast here.
We’re gonna place our butter
about halfway through the dough.
So I’m gonna cut my dough in half right here.
You want everything to match up and pile up
as perfectly as possible.
I’m gonna flip my dough,
bring the dough to the edge of the butter.
And you see I put this on parchment paper
so it doesn’t stick.
We’re starting doing the first fold,
what’s gonna give us that light, puffy texture.
For this, I use a rolling pin.
The layers within the croissant
is one of the most important part
of making a beautiful croissant.
It has to be flaky, it has to be separated,
it cannot be too buttery, it cannot be too dry either.
It’s gonna take a little bit of time,
but we’re gonna roll this very gently
as delicately as possible.
So even for home, this will be a large batch.
I flip it because I wanna make sure that
I evenly put pressure on the butter and the dough.
I’m trying to make sure I keep that layer of butter
sandwiched between the dough and as consistent as possible.
If it gets too warm,
we should definitely put this in the fridge.
It takes a little bit of time,
takes a little bit of strength to roll that dough.
You don’t have to make that big of a batch either,
but I won’t show you the process of like making by hand,
which is not the easiest and not ideal either,
but which is still possible to do at home.
There’s many different ways of doing this.
People can wrap the dough around the butter and push it in.
Do like a pocket. I like to do it this way
because the butter goes as close as possible to the edge
and you don’t have an excess of dough on the side.
I usually work my dough around zero to four degrees celsius
and I work the butter around 18.
We’re gonna fold the dough one third of the way like this
and over here.
You can see we started with two piece of dough,
one piece of butter,
and now we’re like multiplying the layers.
So there’s like three layers here, plus three plus three.
This nine layers.
We’re going to chill it for about an hour
and then we’ll give another fold.
Here’s the dough we just folded.
You see it’s a little puffy, a little bit more round,
a little like less even.
And this is the dough that went through the sheeter
with a single formable fold.
A dough sheeter,
it’s a machine that has two cylinders
where we can adjust the height of the cylinder.
So essentially you pass your dough through it
and that makes it like thinner and thinner.
And you can automate it and you can do it very quickly
and have a very consistent result.
Here we’ve given a single fold, double fold.
The dough has chilled for another hour
and now we’re going to process the final sheeting.
So we’re gonna go to four millimeters,
which is the thickness for a croissant.
We’re gonna make it wide enough so we can fold it in half
and actually cut those triangles.
So just a light dust of flour right here.
And the machine is programmed
so it’ll know like which thickness to go.
So as you see as the cylinders are going down,
the dough’s gonna get thinner and thinner.
You can have too many layers
in the case like you’re stretching the dough way too much
and you’ll have a dough
that will like tear apart a little bit.
You can have too little layers
if you don’t give the right folds.
It won’t be as light and as puffy.
If your dough is tearing at this point,
there’s nothing else you can do.
You have to start the process from the beginning.
There’s no way save it.
[bright music]
Once our dough is off the sheeter,
what we do first is to relax the dough.
We stretch it so much one way,
wanna make sure it doesn’t retract.
So we’re gonna relax the dough
by just pulling the sides like this.
We have a lot of layers here.
A single fold and a double fold,
so there are like probably thousands of layers right here.
So once I have relaxed my dough here,
just gonna fold it in half.
With just a light pressure on the dough
just to mark the middle
and I’m gonna cut it with a sharp blade.
I’m gonna cut it right here.
This is called a bicycle just to mark out the dough.
So I’m gonna push it to nine centimeters, nine and a half.
You will see thousands of different ways
of making ways of making croissant different sizes.
I like mine to be like nine and a half by 26, 27.
And then we’ll go all the way down.
We mark it on the bottom as well.
So now I’m gonna take my blade and my ruler.
I’m gonna cut through to make my triangles.
I use a razor blade because it isn’t pressed
and crush the layers.
It really like cuts them through.
What I want you to see here is all these layers,
hundreds and hundreds of layers of butter and dough,
they are overlapping each other.
And you can see the dough and the butter are distinct lines
and that’s what makes like a beautiful croissant.
It’s because all those lines sort of like make those layers
and make this very light texture.
And you wanna do this as quick as possible
while it’s on the counter
so the dough doesn’t get too soft.
It’s important to like the rest at this stage
because we’ve stretched the dough so much
and we want the dough to relax a little bit
before we give the final shaping
so we don’t lose that definition of the croissant.
So we’re done with shaping the croissant.
Now we’re gonna put them in the fridge
for about an hour to rest.
We just cut our croissant.
And the fun part, I will say,
the part everyone loves is rolling the croissant.
For this, we just push at the top of the croissant
and we roll it down straight to make sure it’s symmetrical
and I push it down slightly.
Remember, we sheet those croissant to four millimeters
and we see those layers.
We can really see the definition of
the butter and the dough still,
and this will appear when we actually bake those croissants.
I like to leave the tip of my croissant
just tucked slightly under and not too far in.
So you want something as puffy, as light,
as aerated as possible.
If the tail of the croissant is tucked in,
it’s gonna keep everything tight
and prevent it from developing.
Once we shape our croissant,
two things that are important here.
I slightly press it down
so to prevent from the dough to rolling
as it’s like proofing and baking.
I also leave enough space within the croissant.
The volume is gonna double to triple.
So I wanna make sure there’s space in between
so they don’t touch each other.
And also to make sure that the air circulates while baking
throughout the tray in between the croissants
so you have a nice development of the croissants.
[gentle jazz music]
So those are ready and ready to go in the proofer.
They’re rolled.
We are 28 degrees celsius with 80 to 85% humidity.
So very important is
when we really push the fermentation.
If you go over 28 celsius,
you might take the risk of melting the butter.
So you don’t want be too hot.
And that humidity inside the proofer is very important
to help keeping the dough moist so it doesn’t dry up,
and helping develop as well without too much heat.
This is our proofer.
It’s just a box with some heat and humidity,
but they’re gonna be in here for about two hours.
You know, it’s really gonna get to work,
start activating within the croissant
and puff up our croissant.
These have been proofing for about an hour and a half.
They’re ready to bake.
So the test, the jiggle.
You want to shake it a little bit and see that jiggle.
You see the croissant is like puffy, light, aerated,
and we’re gonna put egg wash on top.
Ideally I like to do is to stay within the top layer
and not go to the side.
So I’m gonna brush lightly right here.
You’re hitting the sides because
you want that beautiful layer separation on the side
and you want to see it flaking off and like puffing up.
So if you were to put egg wash,
you would kind of like stick
and attach those layers together.
In our egg wash we put some whole eggs,
a little bit of cream, and a tiny bit of salt.
This is only to make the croissant shiny and golden.
This is now proofed, egg washed. Next step is baking.
[gentle jazz music]
This are Midea oven, they are Germans ovens actually.
Some of the best on the market for baking.
Love the precision and the consistency of it.
We’re going really hot, 190 for about eight to nine minutes.
We want nice crispy, flaky layers on the side.
We want these layers to puff up so we won’t go really hot.
If you want to bake at a lower temperature,
you’ll form like a crust outside that you’re not gonna eat,
and it’ll be like very unpleasant to eat.
So you want like nice like crunchy bite
and keeping that moisture in the center is very important
so you don’t go really hot.
Actually what’s happening here is that
those layers of butter and dough with elasticity
and the steam inside puffing, rising up
and developing those layers and the texture of the process.
All right, we can talk, we can talk,
but actually we have to eat this.
You know, the ultimate experience.
What makes it special here for me,
that golden caramelized, like shiny crust on the other side.
You see all those layers,
those flaky layers will preserve them.
It’s light, smells good.
Don’t use a regular knife.
A serrated knife to really cut through those layers.
They’re gonna hear that flake.
You’re gonna see the little flakes falling apart,
which is normal.
And then I’ll look inside the croissant.
So here, our cross section.
The honeycomb defines like the fermentation, the layers,
and everything we’ve been building.
So you can see this right here,
that’s a little tight because I’m very picky.
But I proofed a little bit longer.
But overall, like a pretty good croissant.
That thin white line right under the crust,
I call it the lining,
which should be like almost inexistant.
It should be like super thin like paper, like white line.
If it gets thicker, your oven is not hot enough.
It’s gonna get thicker and thicker.
You’re gonna slowly dry the croissant
instead of cooking it very quickly.
That will make the croissant like very unpleasant.
And of course we’re gonna take a bite.
So cheers to our beautiful croissant.
[gentle jazz music]
Happy.
[gentle jazz music ends]