
The Kidsburgh team learned about this Maker Monday project years ago from our friends at The Frick Pittsburgh, who shared this project in connection with an exhibition called “Fashioning Art From Paper.” It showcased life-size paper dresses created by artist Isabelle de Borchgrave.
Little artists at home can create their own paper dolls with this cool project, and maybe they can even make enough for their own mini-paper doll exhibition.
As with all Maker Monday projects, the supplies you’ll need are things you may already have around the house or you can buy inexpensively at a dollar store or craft store. A note to kid makers: Please work with a parent or caregiver on this Maker Monday project and always be very careful when using tools of any kind.
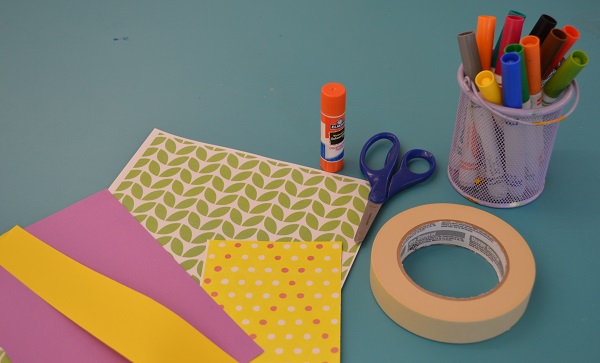
Maker Monday materials you’ll need:
colorful or patterned paper (don’t have colorful or patterned paper? Make your own with white paper and markers.)
a glue stick
scissors
tape
markers (or crayons or pencils)
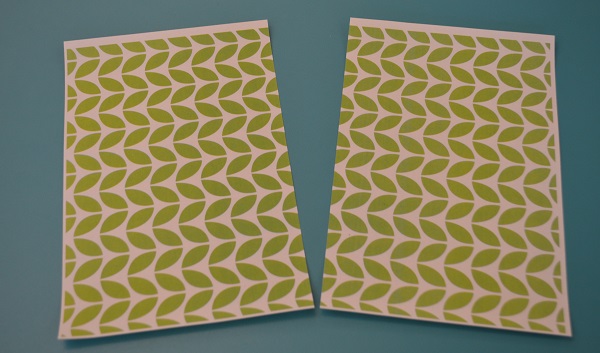
STEP 1: Start with a full sheet of paper. Then cut the paper in half.
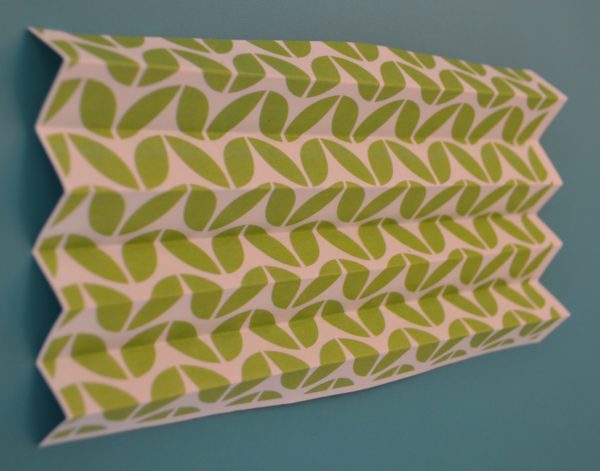
STEP 2: Fold the paper like an accordion until the whole sheet is folded (see above).
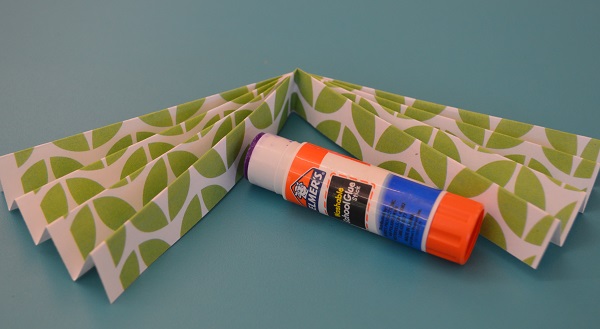
STEP 3: Next, fold that folded piece of paper in half. Run the glue stick along the inner folds and glue them together in the middle (see above and below).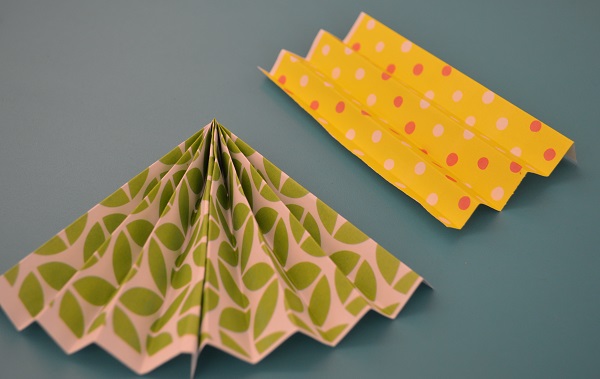
STEP 4: Now get a slightly smaller piece of paper and fold that paper like an accordion.
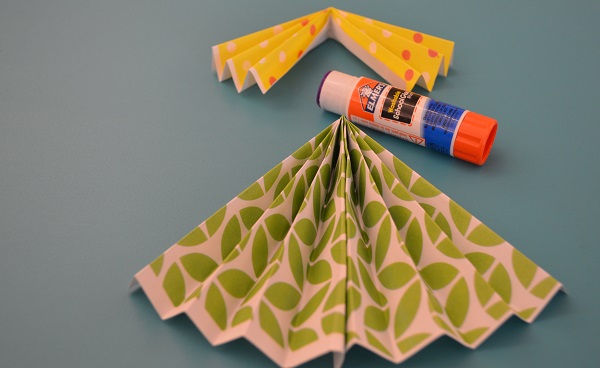
STEP 5: After folding the smaller paper like an accordion, fold that piece in half and glue it on top of the larger folded paper. Then wrap some tape around the top to keep it secure and create a place where you will be adding the doll’s head (see above and below).
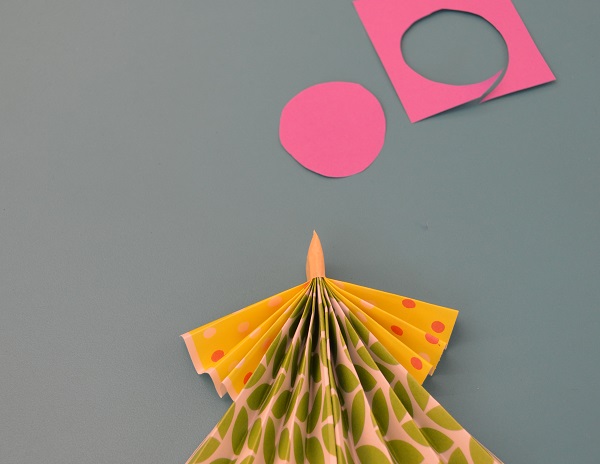
STEP 6: Now you are ready to make and add the head. First, cut out a round shape from a new piece of paper. Then, using a marker (or crayon or pencil), decorate the face however you would like. Next, you will glue that face to the tape at the top of the doll.
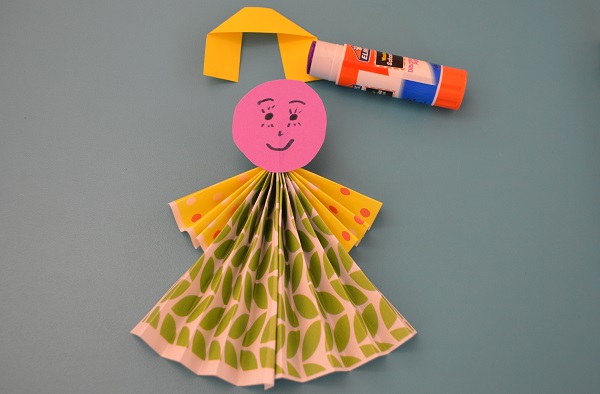
STEP 7: After attaching the head to the body, the last step is to add some hair. Fold a small piece of paper around the head and glue it in place. (You could also glue on something else as hair, or give your doll a hat instead of hair. Have fun getting creative!)
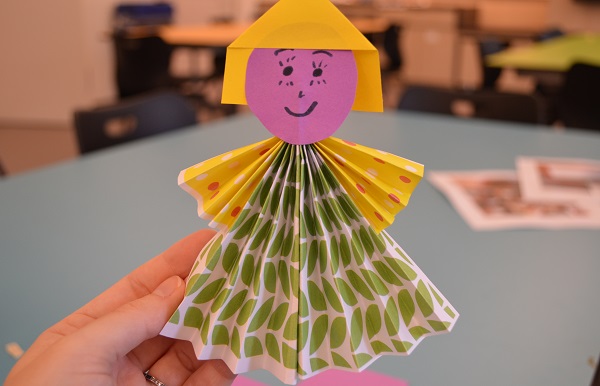
You’ve now made your first paper doll! If you like, you can attach the string to hang your paper person from a special place in your home. You could even make a whole family of these dolls to string across a window.
Want more at-home fun creating cool stuff and making beautiful things? Check out more Maker Monday projects right here.
Do you have an idea for a Maker Monday craft project? If so, please share it with Kidsburgh! Send your maker activities to info@kidsburgh.org.