
 9 min read
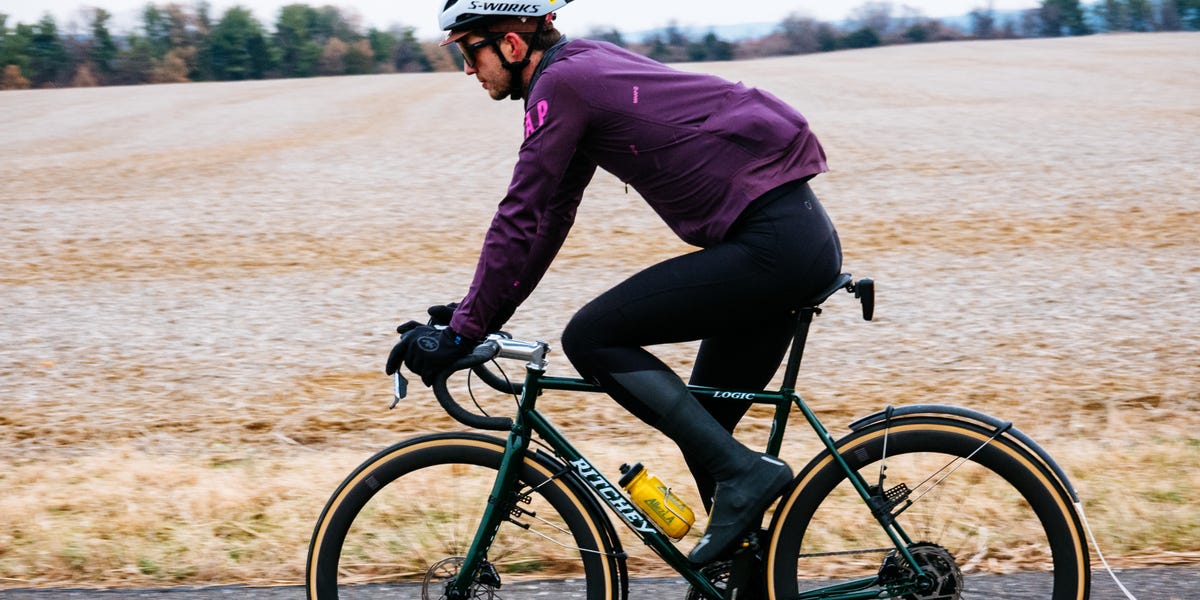
Layering is your key to staying warm and comfortable on your bike this winter. Simply put, layering means combining multiple garments, each with a specific function, to regulate temperature, manage sweat, and stay protected from wind, snow, and sleet without overheating. How hard you ride affects what those layers need to do. A hard ride with climbs can leave you sweating in kit that felt right when you left home, while a slower, steadier ride may call for more insulation. And after a climb, a cold descent can make damp clothing feel chilly fast.
While cycling clothing technology has come a long way in the two decades since I started riding, a single piece of winter kit still can’t do everything. But a layered approach lets you add or remove clothing to compensate for changes in air temperature, wind, precipitation, and ride intensity. I choose lighter, more breathable layers when I expect to work hard, and warmer ones when I know I’ll be doing a steadier base mile ride. When I want to ride hard, I want an outer layer I can open to vent excess heat and close again when I cut back the pace. Being able to actively regulate your temperature with a two-way zipper on your outer layer is arguably the most important thing you can do to stay comfortable while riding this winter.
Before You Get Dressed
I always start my ride prep by checking the weather. I prefer to do it as close to the ride as possible to ensure the most accurate forecast. I look not only at the temperature range but also at wind speed, wind direction, the “feels like temperature,” precipitation likelihood, and humidity.
Trevor Raab
Then I consider the type of ride I’m doing. More intense rides, with challenging climbs and intervals, require more breathable layers than steady-paced rides. It’s generally worth starting slightly underdressed, meaning that it’s okay to be a bit chilly during the first 10 to 20 minutes of your ride. As you warm up, you’ll land in a comfortable range. If you’re warm from the start, you will most likely overheat. This will soak your clothes in sweat, and eventually you will get very cold.
Plan to be flexible on your ride. On longer winter rides, I like to carry a small frame or handlebar bag to swap a heavier vest for a lighter one, pack spare gloves, or stow a rain shell. The ability to change layers mid-ride can make a big difference in comfort. Finally, account for your personal preferences: If you tend to run hot, lean toward more breathable layers. If you’re cold-sensitive, add modest insulation while protecting breathability.
The Basics of Layering
The three-layer system for cold-weather riding organizes your clothing into distinct functions: moving moisture away from your skin, retaining warmth, and blocking the elements while allowing vapor to escape. When each layer does its job, you stay warm without overheating, and you can adapt to changing intensity and weather throughout a ride.
Trevor Raab
The base layer sits directly against your skin; its primary purpose is to manage moisture. In cold conditions, sweat left on the skin accelerates heat loss and leads to chills. Therefore, the base must be thin, skin-tight, and efficient at wicking. Lightweight synthetic fabrics, such as polyester, excel at this because they quickly pull sweat away and don’t retain moisture. Heavier, more absorbent fabrics that come into direct contact with the skin can soak up moisture and act as a cold bridge; therefore, bulky “winter” base layers work better away from the skin than as the first layer.
Trevor Raab
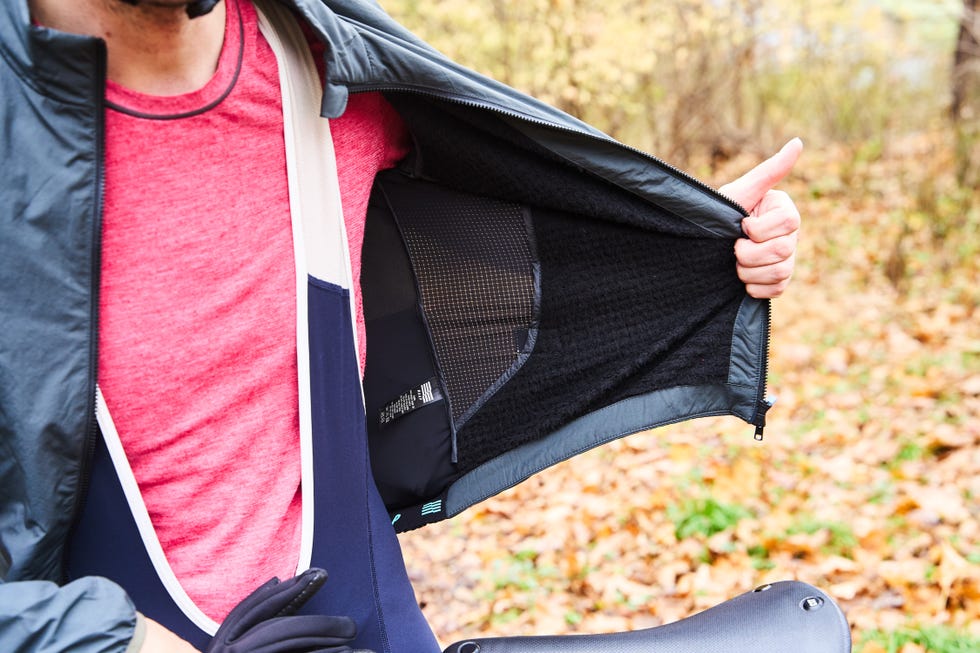
The mid‑layer provides adjustable insulation while supporting continued moisture transfer. Its role is to dial warmth up or down based on temperature, wind, and ride intensity. On hard or high-intensity rides, a lighter, more breathable mid-layer prevents overheating and lets moisture move outward. On steadier, colder rides, a warmer mid‑layer helps maintain comfort without forcing you to rely on a stifling shell.
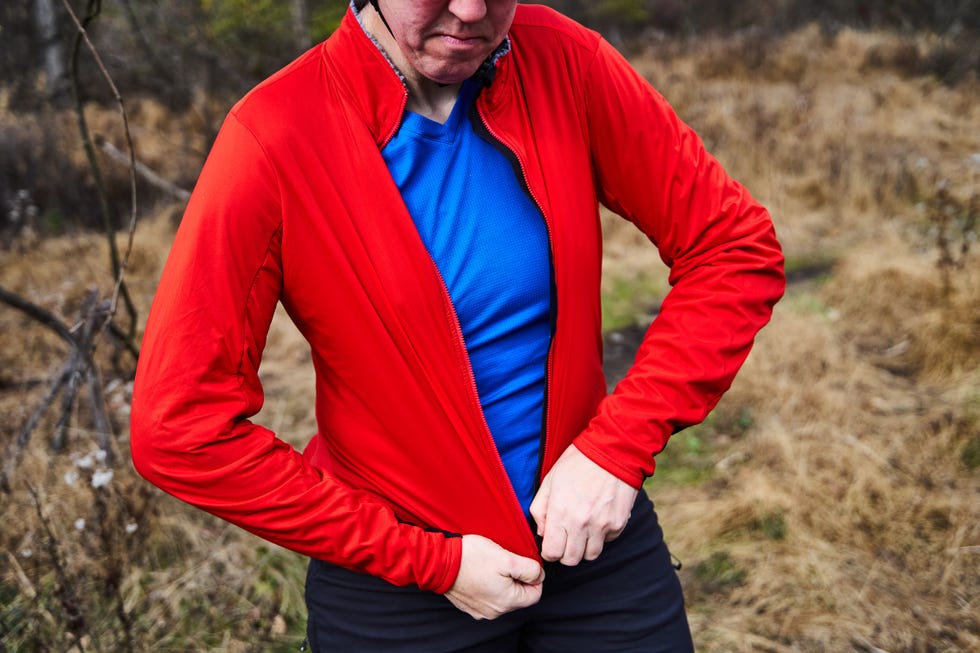
Fabric choices can enhance the system: a merino wool mid-layer can help pull moisture away from a synthetic base, while a synthetic outer layer encourages further evaporation. Full-length zippers and vent-friendly designs matter because they let you shed excess heat on climbs and close back down for descents, keeping insulation effective without trapping sweat.
Trevor Raab
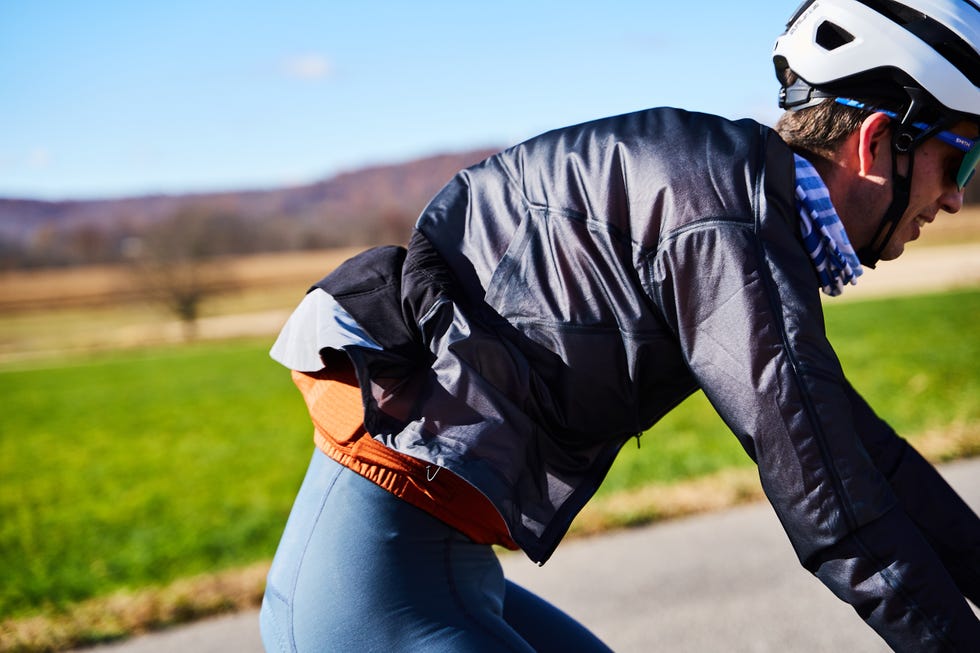
Finally, the outer layer protects you from wind and precipitation while still allowing internal moisture to escape. In dry, windy conditions, a wind‑blocking vest or a breathable softshell over knit layers can shield your core without smothering it. For colder or more variable weather, jackets that feature more protective, less breathable fabrics on the chest and shoulders, and lighter, more porous panels on the back extend comfort across a wider range of temperatures.
In sustained rain, a dedicated hardshell rain jacket offers the most reliable external protection. Still, it breathes less, so you should reduce insulation beneath and manage vents and zippers proactively to avoid overheating. Two-way zippers are crucial for any outer layer because they allow you to vent from the bottom, reducing core heat without fully exposing your chest to cold air.
What About the Legs?
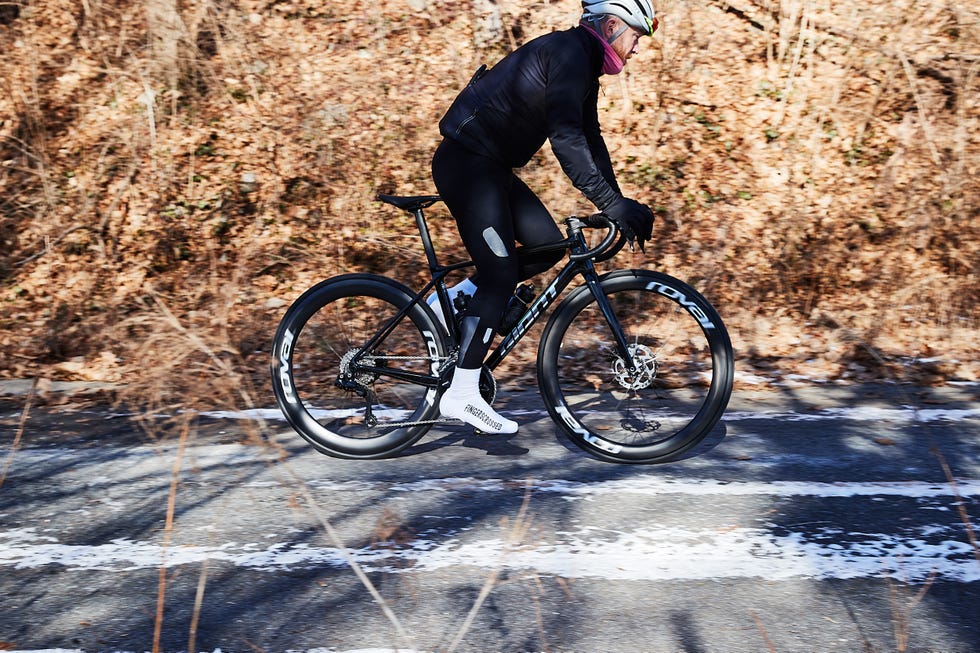
In general, most riders’ legs are fine with a single layer. But that doesn’t mean you can’t apply some layering principles to them as well. For example, I tend to prefer knit leg warmers; their excellent breathability helps a lot, especially on high-intensity rides or when it’s not particularly cold. Generally, I switch to full tights versus thermal leg warmers. This is mainly because when it’s cold enough for fleecy leg warmers, I don’t want to be wearing regular bib shorts anyway.
Trevor Raab
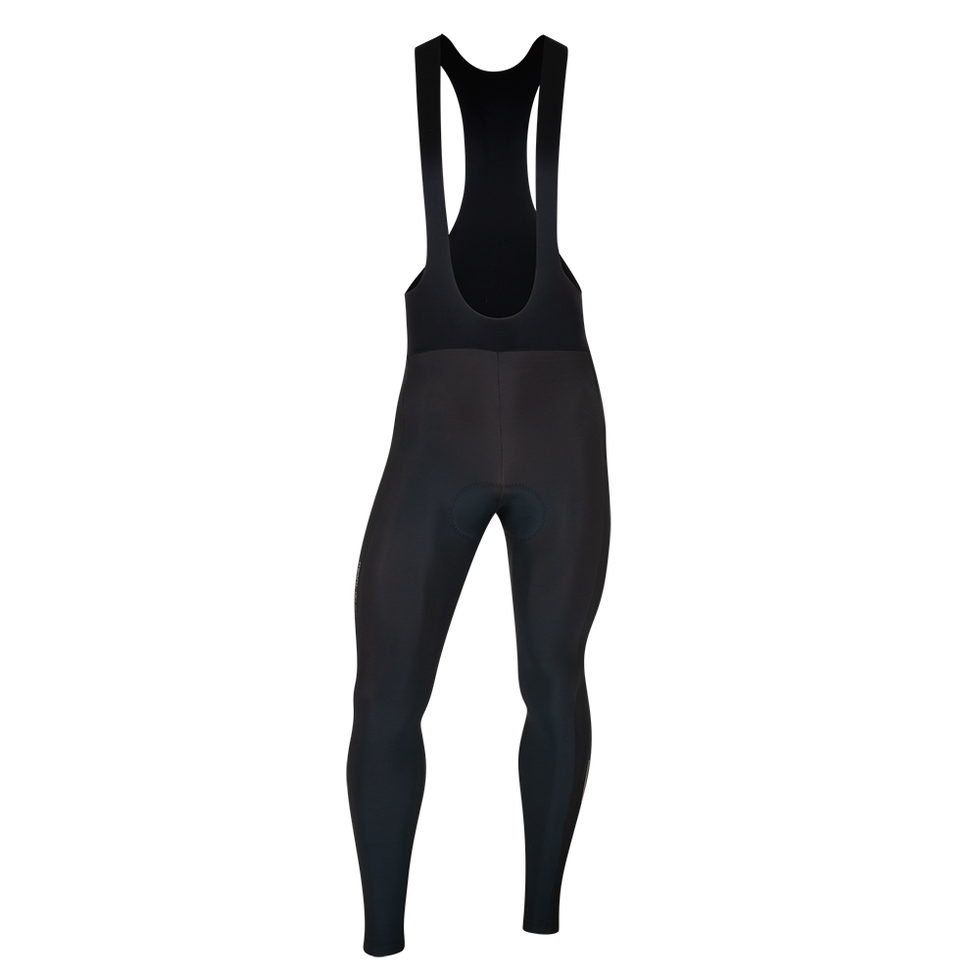
For winter tights, I recommend looking for ones that use variable fabrics and offer extra wind protection at the knees and quads, while using thinner, more breathable fabrics on the back of the leg.
Hands, Feet, Head, and Neck
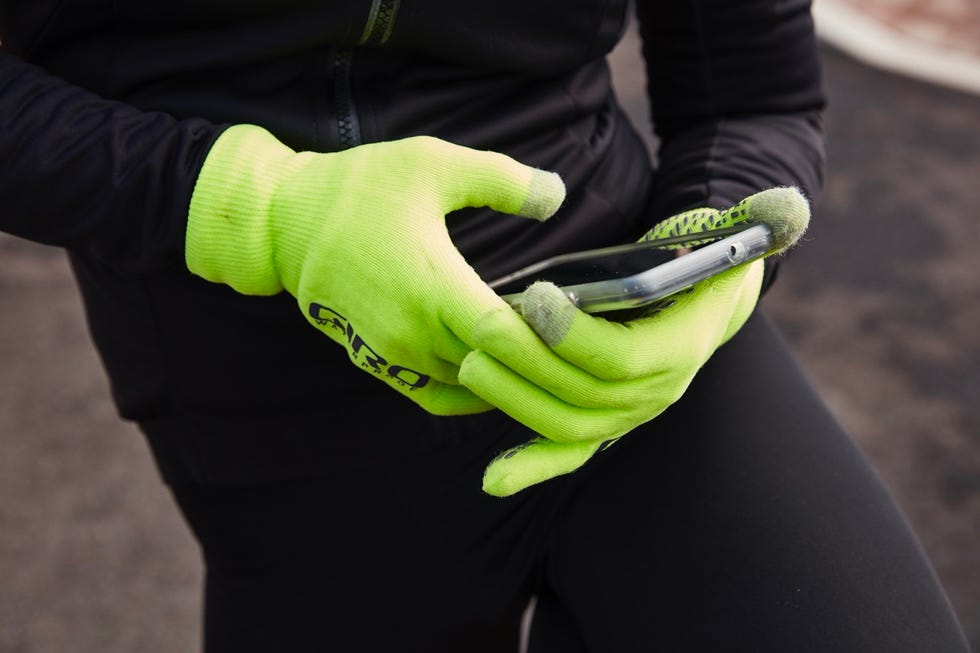
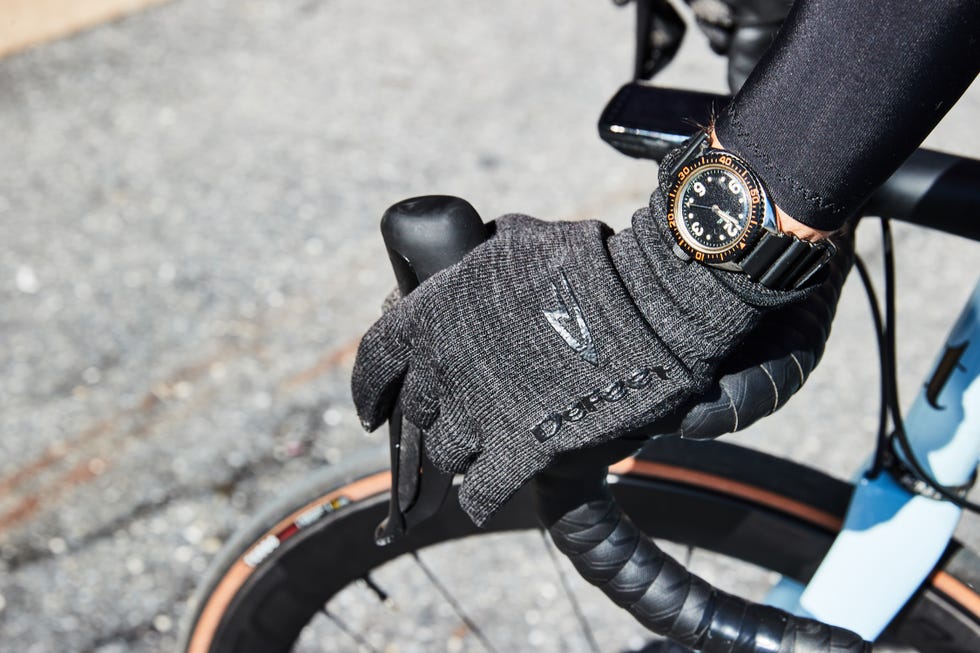
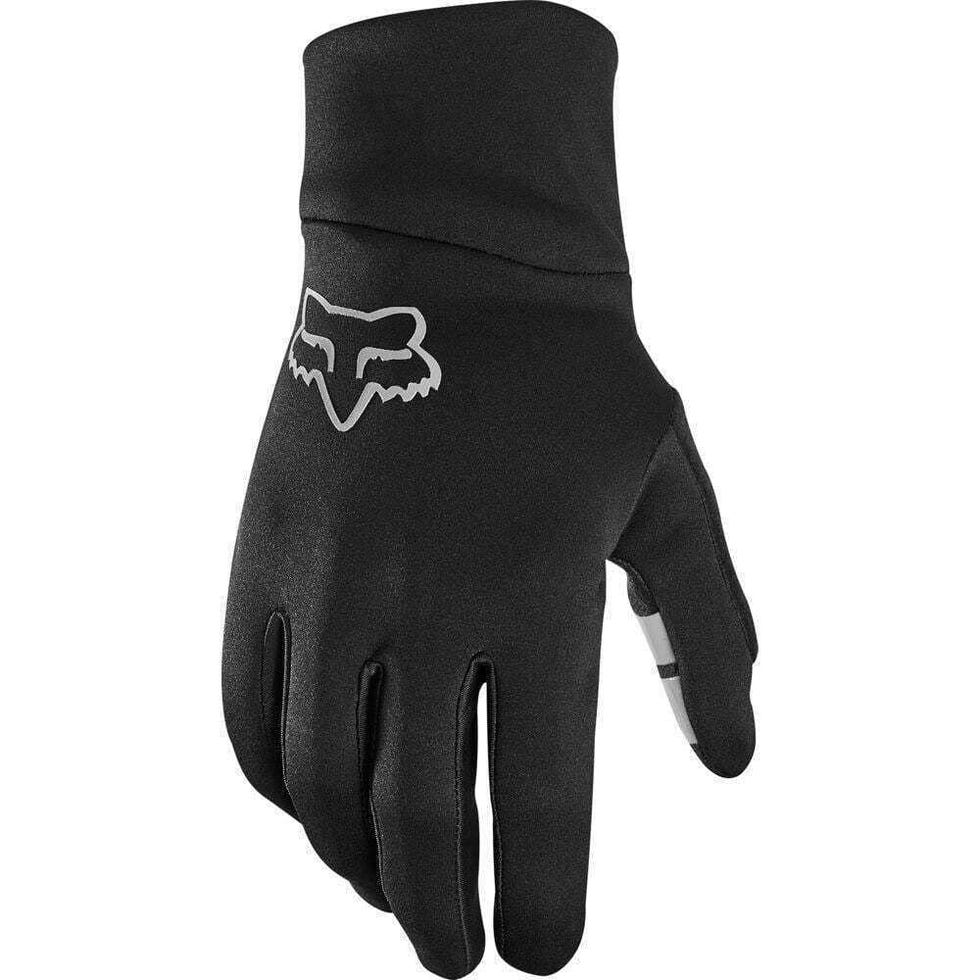
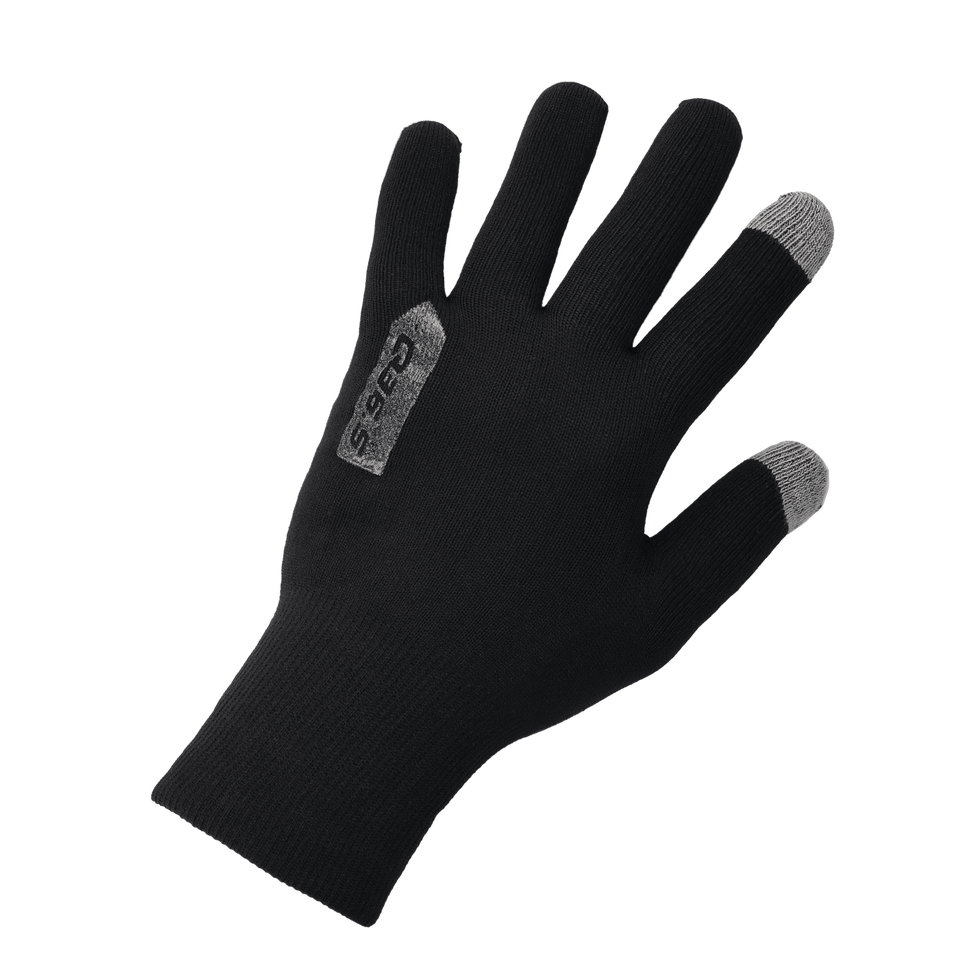
Hands stay warm when the core is warm, so start by getting your torso layers right. Then consider your glove system. A thin, wicking liner against the skin preserves dexterity and adds a controllable increment of warmth. Then use an insulated, wind‑resistant outer glove appropriate to the day’s temperature and precipitation.
Don’t underestimate the importance of how your gloves fit! Gloves that are too tight restrict blood flow and feel colder, while overly loose gloves let wind leak in and reduce control.
Trevor Raab
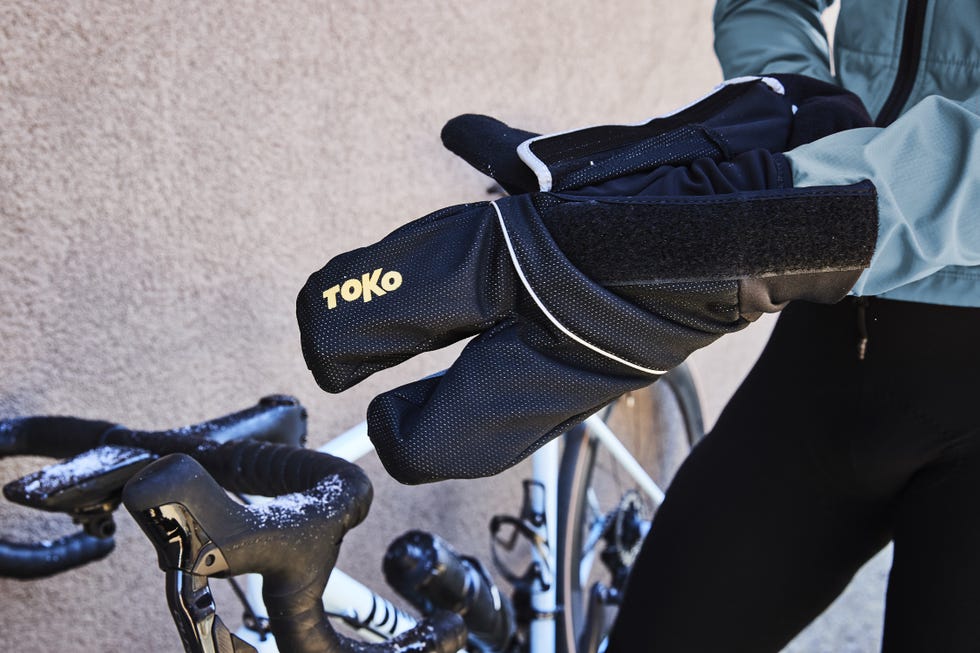
On rides with big temperature swings, extended climbs, or hard intervals, I always recommend carrying a second set of gloves. One lighter set for when it’s warm (or if I’m riding hard) and a second warmer set for descents or when the temperature drops. Don’t neglect to vent your torso early during hard efforts—you don’t want to saturate the gloves with sweat, as it will quickly lead to frozen fingers.
Trevor Raab
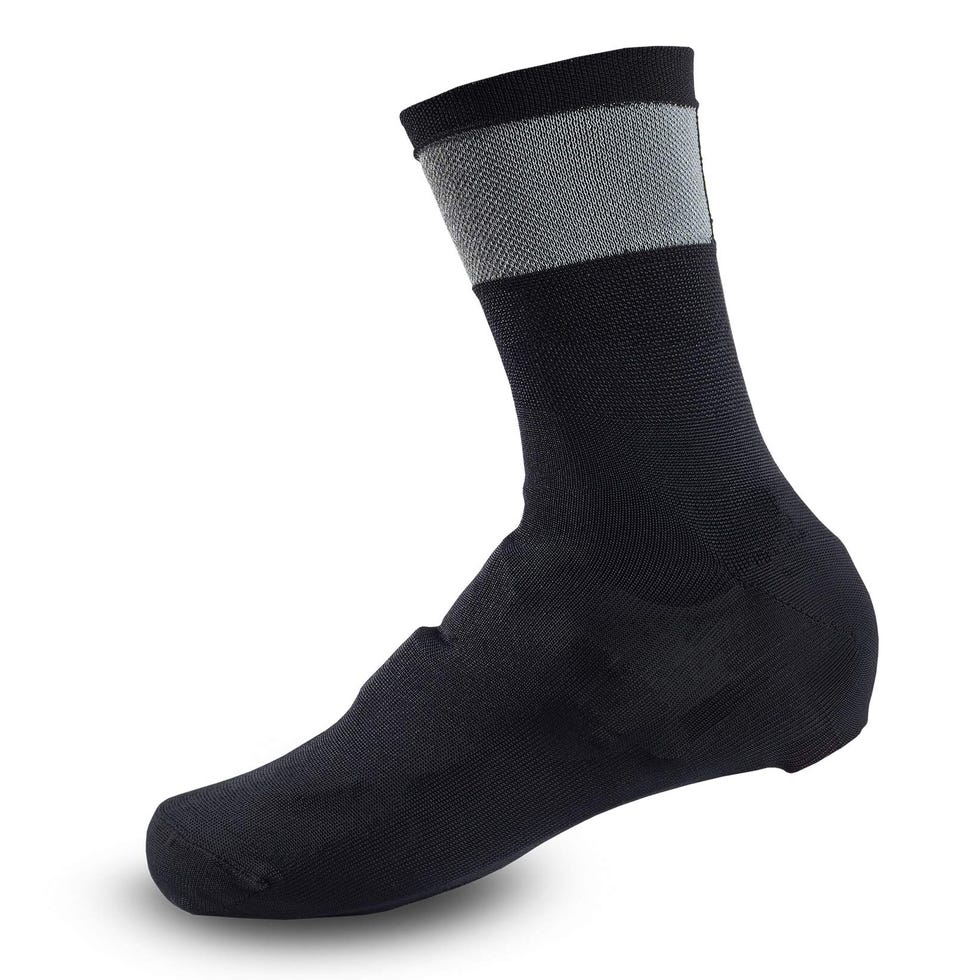
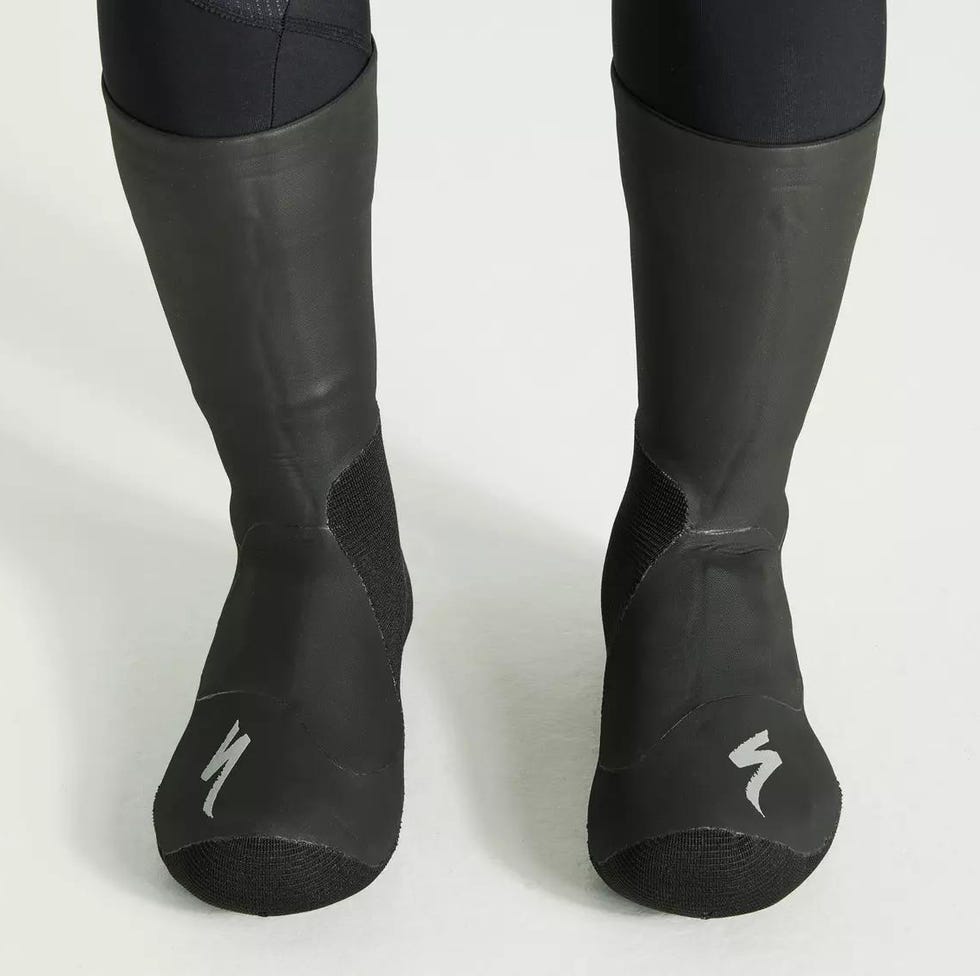
To keep your feet warm, choose thermal socks that wick moisture effectively, then pair them with shoe covers that suit the ride conditions. On cold, dry days, knit oversocks or light covers can be enough. In wet or extremely cold conditions, multi-layer membrane shoe covers provide wind and water protection. A common hack for warmer feet is to add a thin barrier layer, such as a latex rain shoe cover under the main shoe cover or a piece of plastic wrap over the sock. Use this technique sparingly, as it can easily backfire and lead to clammy, cold feet.
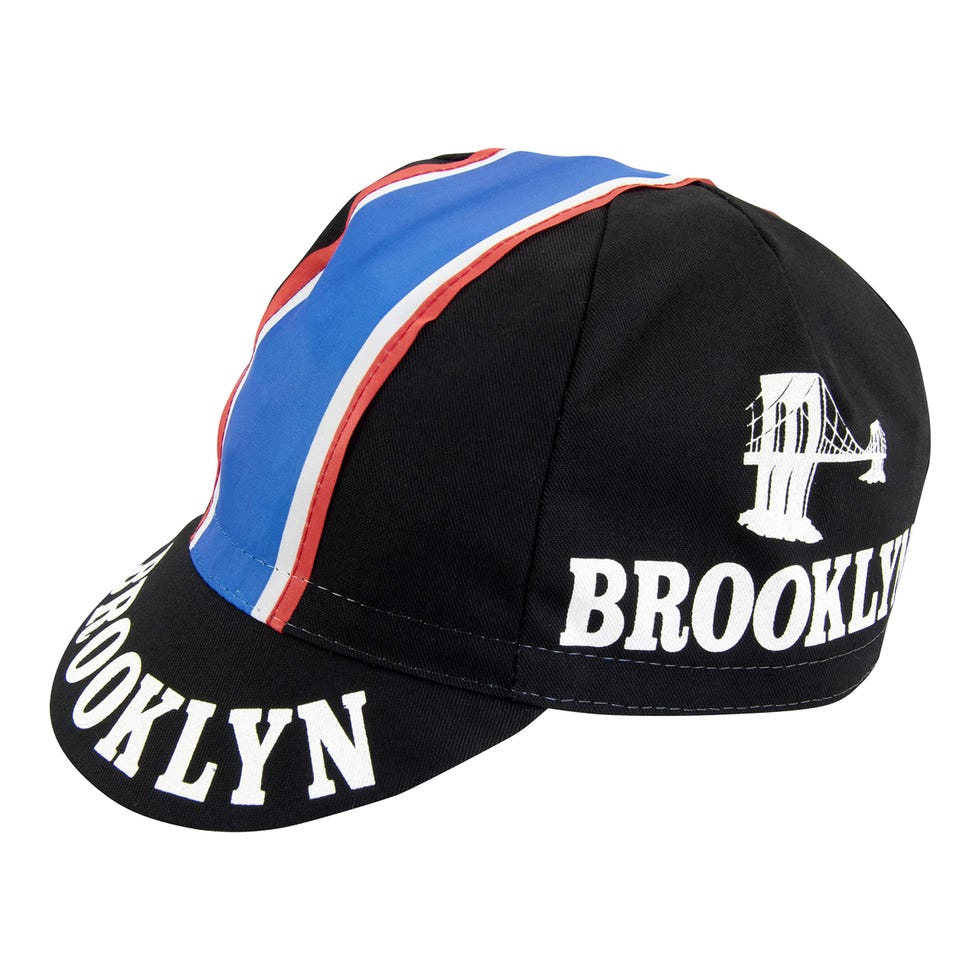
On very cold days, a less‑vented helmet or a simple helmet cover is an effective wind block. In steady rain, a cap with a small brim helps keep water off your face and out of your eyes. Wear a breathable gaiter around your neck that seals the collar; pick one that prevents drafts and can be easily pulled down during climbs for better ventilation.
As with the rest of your clothing, regulate your activity: loosen the gaiter or lift the cap brim on long efforts, then button back up before exposed descents so that retained warmth in your hands and feet is not squandered by sudden wind chill.
What If It’s Raining?
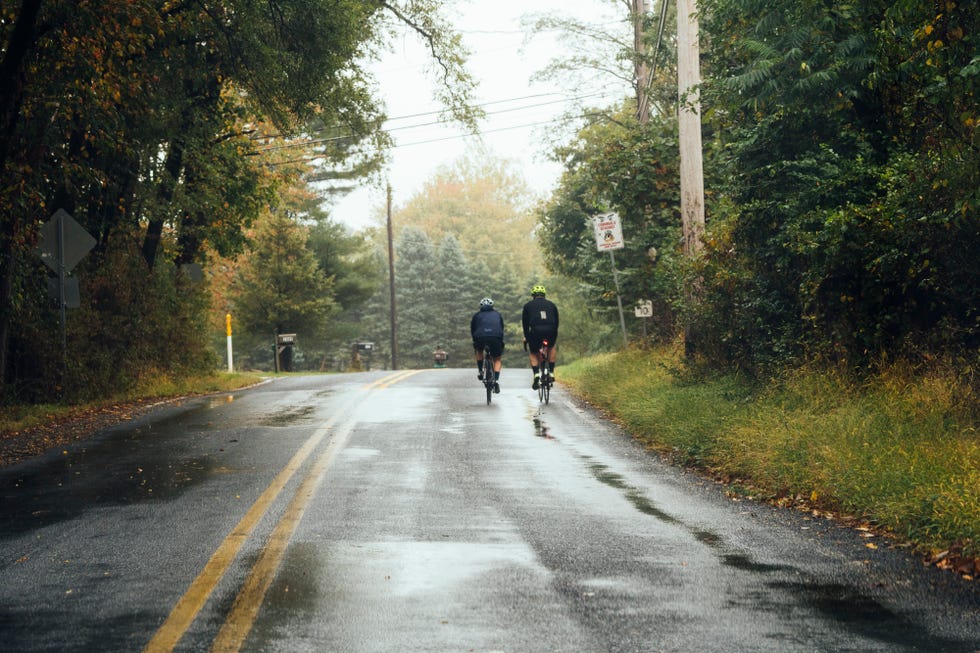
Choose your rain jacket based on the expected duration and intensity of the rain. For passing showers and road spray, a breathable, water-resistant jacket will keep you comfortable. For continuous rain, use a true hardshell and reduce the insulation underneath so you don’t overheat.
Trevor Raab
Manage the cuffs and hems: overlap glove cuffs and jacket sleeves to channel water outward, keep sock cuffs below shoe cover cuffs to prevent wicking into shoes, and tape shoe vents on cold, wet days to cut convective heat loss. Prioritize staying warm and wind-protected rather than perfectly dry.
There is no getting around the fact that if you’re riding in sustained rain, you’ll be wet. But that doesn’t mean you need to be cold. For gloves and feet, look for neoprene options that retain heat while wet.
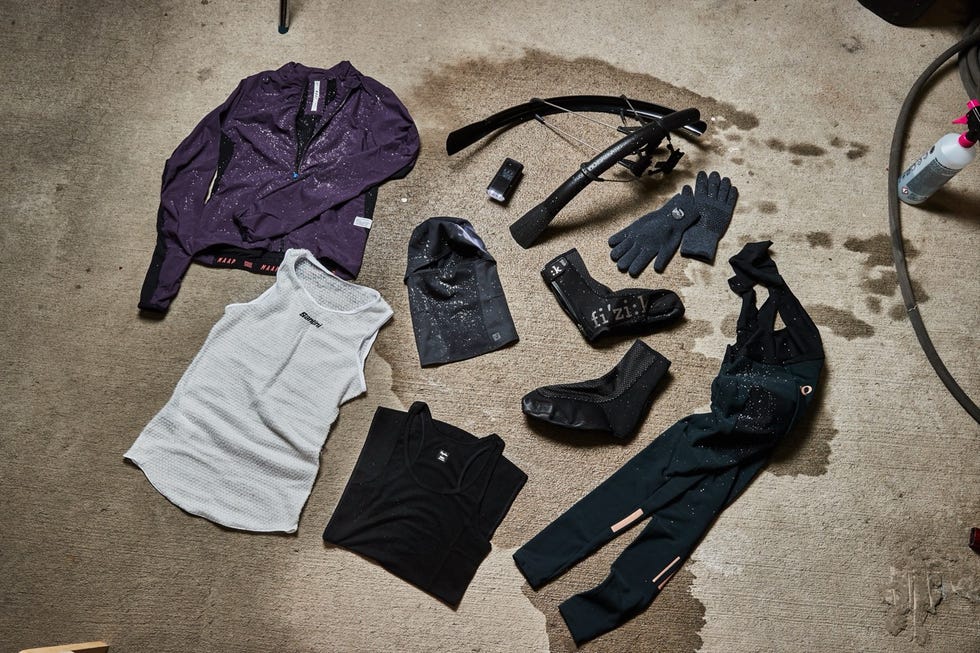
Even More Layering Tips and TricksDress and plan for the hardest parts of your ride: if you dress for comfort when standing still, you’ll likely overheat once the effort rises. Aim to start slightly cool.Use vents and zips actively: open them on climbs and close them on descents. Partially unzip from the bottom with two-way zips for targeted venting without blasting your chest with cold air.Smaller riders and those with less muscle mass typically generate less heat and can lose it faster. Lean toward slightly more insulation, but keep breathability in mind and avoid becoming soaked from sweat.The inverse can be true for larger riders who might run on the warmer side. Always remember that every rider is unique.Don’t underestimate your accessories! Arm warmers, knee/leg warmers, thin glove liners, and vests are low-bulk tools that can transform your layering setup at a much lower cost than a single jacket.Prioritize versatility: a great base layer and a reliable rain shell with a double zipper can anchor many layer combinations.
Consider where your pockets end up after layering; a vest with an accessible pocket opening or a two-way zipper helps reach your jersey pockets. You want to avoid having pockets on clothing you plan to take on and off, as that will prevent you from doing so mid-ride
Trevor Raab
Below are starting points for kit combinations. Adjust these recommendations based on your personal temperature, wind, and ride intensity. Use the effort notes to choose between warmer and lighter options within each temperature range.
Dry 45-50º
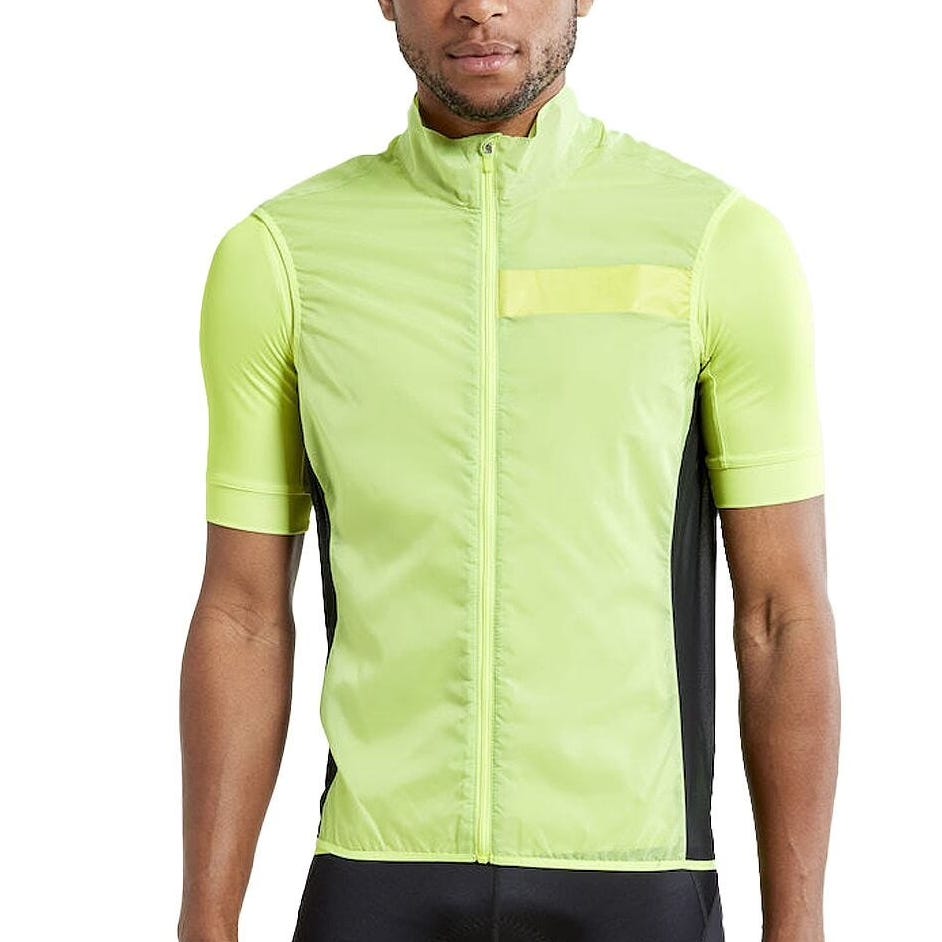
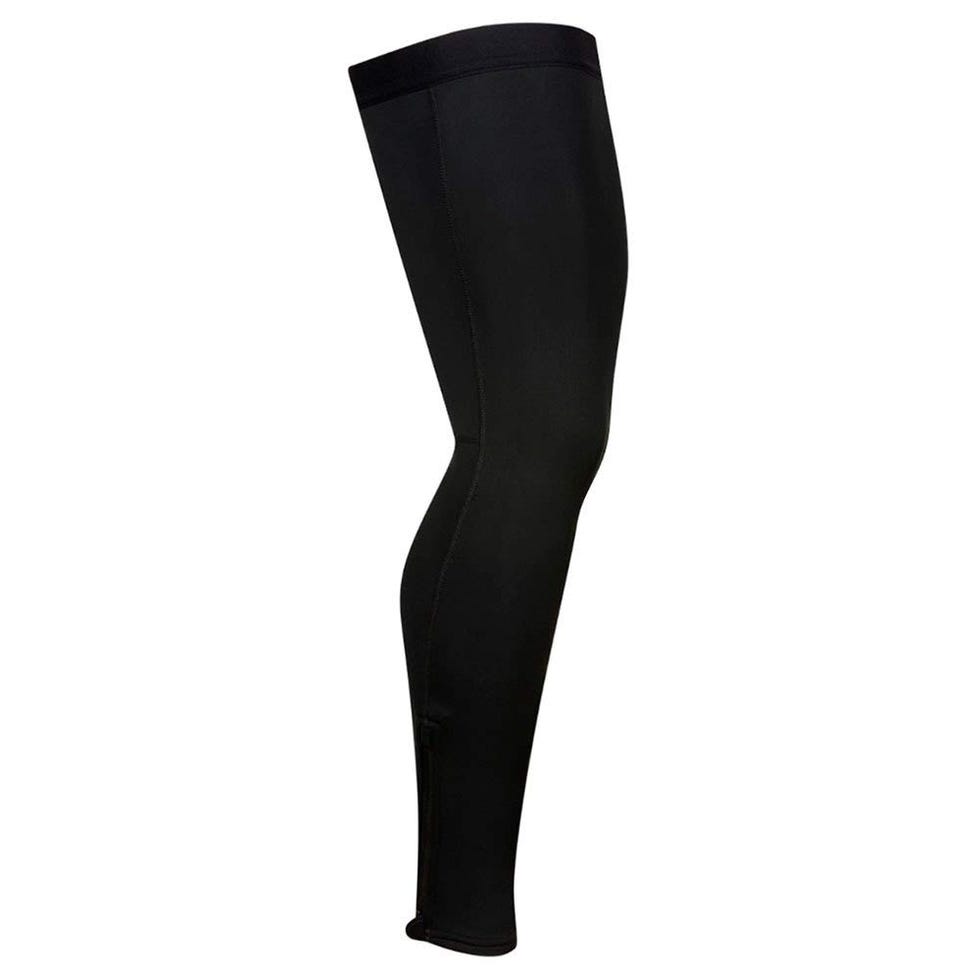
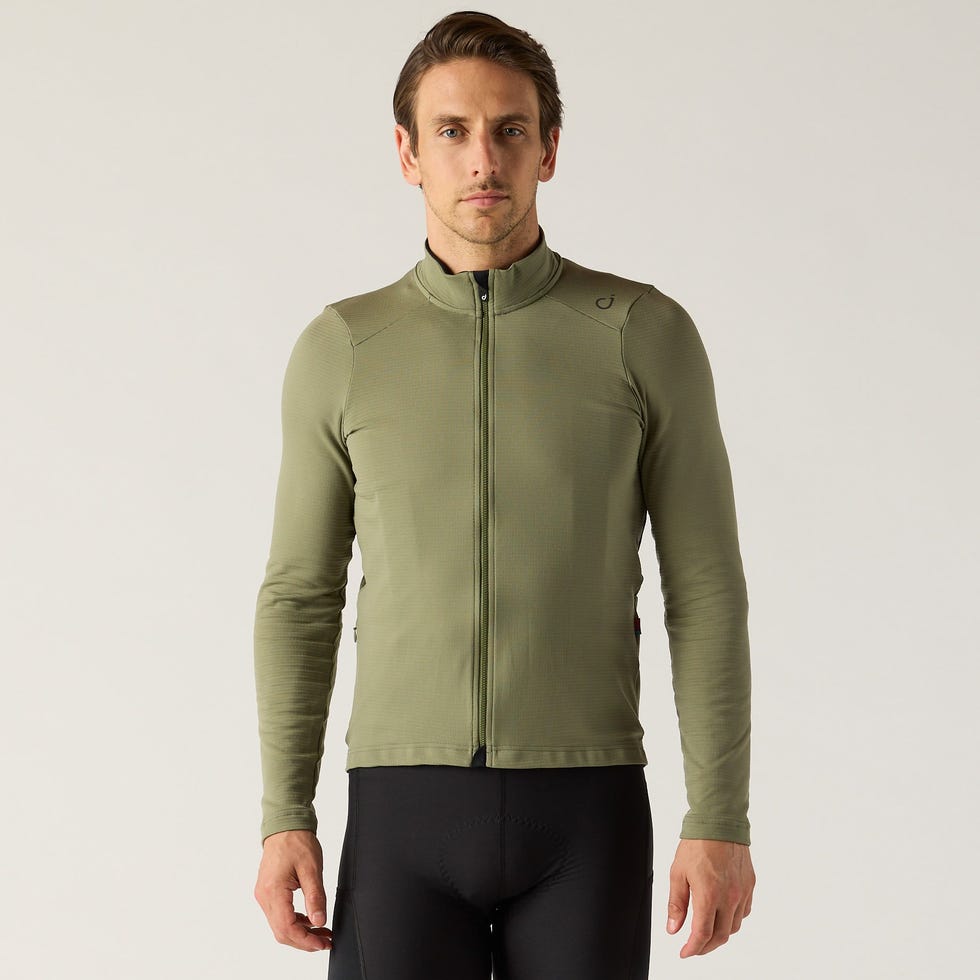
Lightweight synthetic base layerLong-sleeve thermal jerseyLightweight wind vestThermal bib shorts with leg warmers or light winter tightsStandard cycling socks, knit shoe coversLightweight cap under helmetMedium-weight gloves
Effort adjustment: For a hard ride with climbs, leave the vest open or take it off before you start sweating; put it back on for exposed descents.


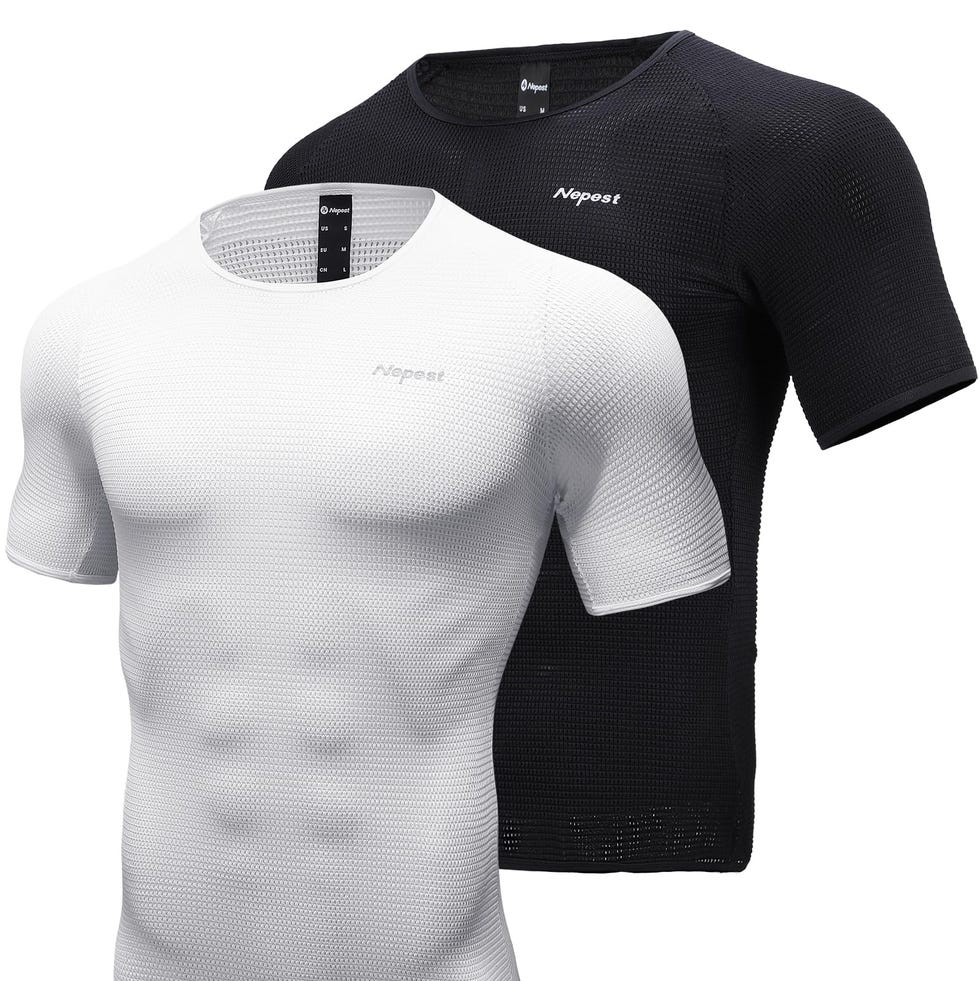
Lightweight Synthetic Base Layer
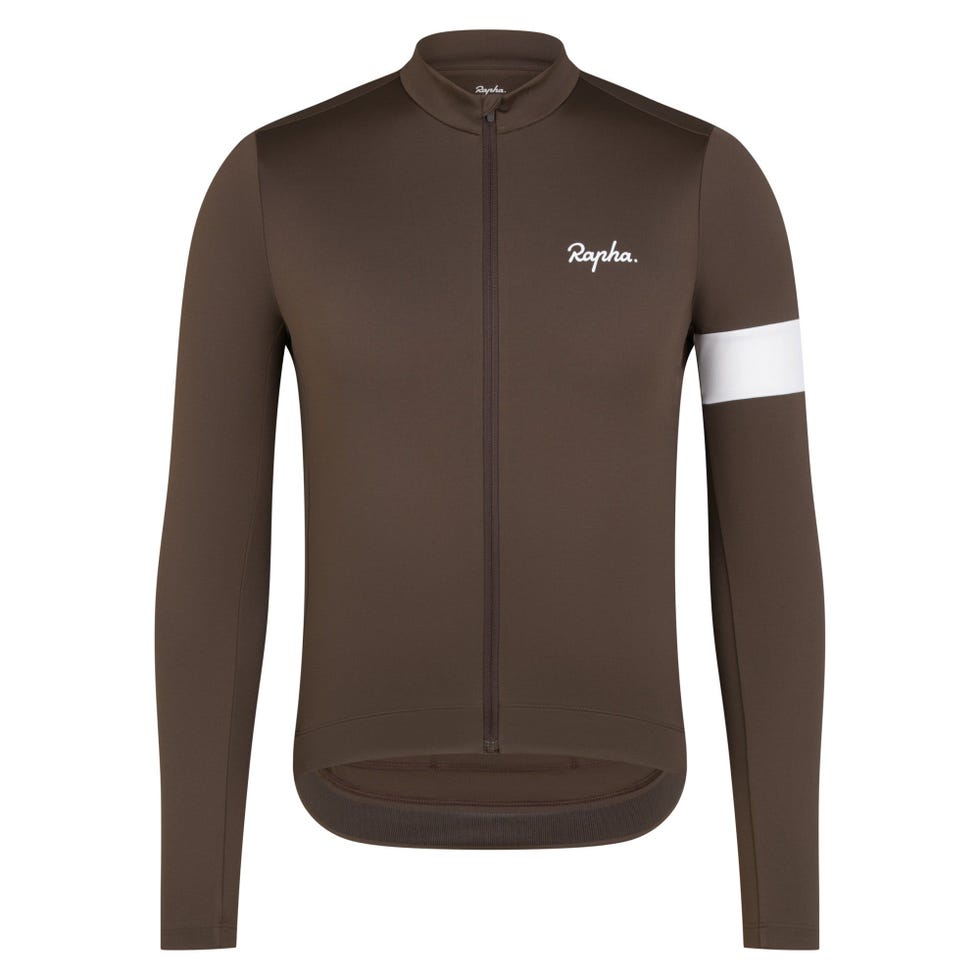
Long-Sleeve Thermal Jersey
Wet 45-50º
Lightweight synthetic base layerFor passing showers: a jacket with a protective membrane and good ventilationFor continuous rain, opt for a long-sleeve jersey paired with a dedicated hardshell rain jacketThermal bib shorts with leg warmers or light winter tightsNeoprene shoe coversCap with a small brim under the helmetWater-resistant or neoprene-style gloves
Effort adjustment: For hard efforts, stick with the light base layer and vent the jacket early on climbs. At an easier pace, use the thermal jersey under the shell.
Dry 40-45º
Lightweight synthetic base layerSummer-weight long-sleeve jersey as a breathable spacer or light thermal jersey.A packable wind jacket paired with a vest for descents or early miles, which you can open, remove, or swap for the jacket as intensity rises.Winter tightsThermal socks and shoe coversWinter cycling hatLayered or insulated gloves (depending on wind)
Effort adjustment: The vest is the easiest way to tune this kit. Keep it in a pocket for hard climbs, then pull it on for descents; wear it from the start on an easy, steady ride.
Wet 40-45º
Lightweight synthetic base layerLight thermal jerseyFor passing showers: a jacket with a protective membrane and good ventilationFor continuous rain, opt for a dedicated hardshell rain jacketWinter tightsThermal hat under the helmetThermal socks, neoprene shoe covers with a thermal liningNeoprene or thermal gloves
Effort adjustment: If you’re riding hard, keep the layer under the jacket light and open the vents before you feel sweaty. For a steadier pace, choose the thermal jersey. Use the hardshell when rain is continuous.
Dry 32-40º
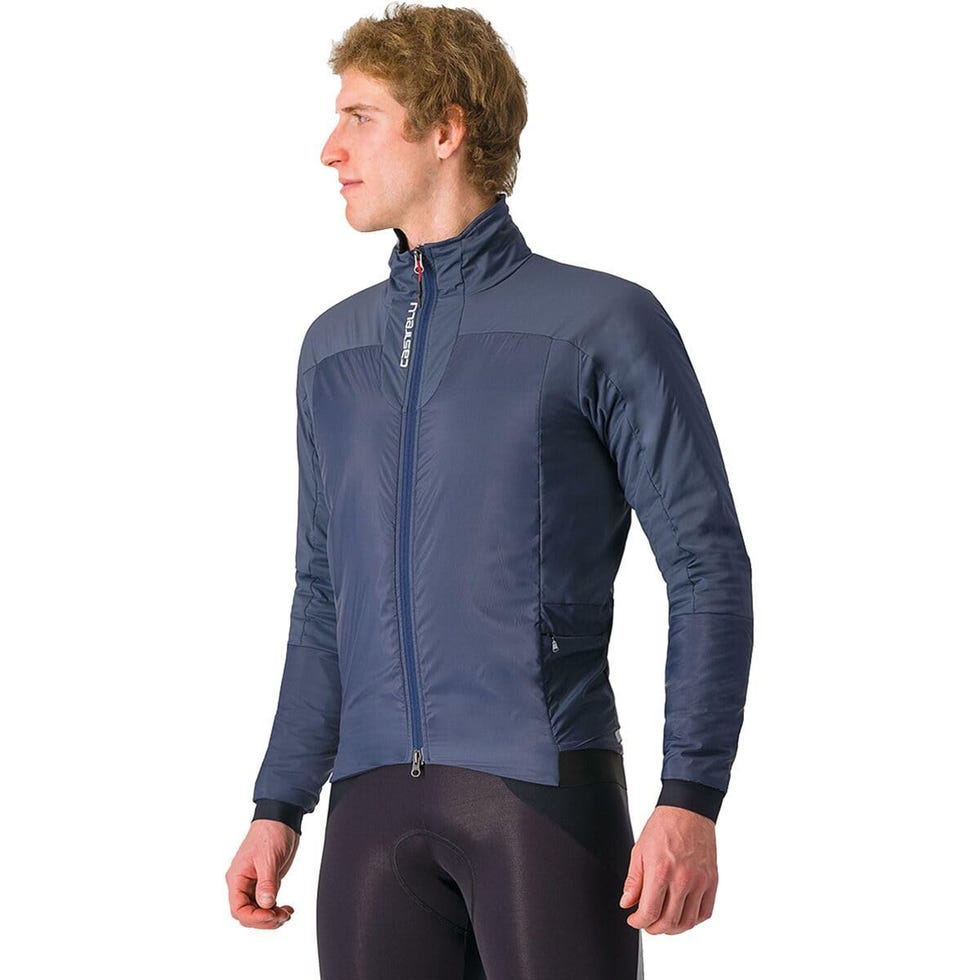
Long-sleeve lightweight synthetic base layerThermal base or insulated mid-layerInsulated winter jacketWinter tightsThermal socks, thermal shoe covers, consider adding a thin barrier layerConsider a less vented helmet and use a winter hatLayer gloves or use heavy thermal gloves
Effort adjustment: Choose the thinner thermal mid-layer option for intervals or repeated climbs, and vent the jacket as soon as you warm up. For a steady, easy ride, use the warmer mid-layer.
Wet 32-40º
Long-sleeve lightweight synthetic base layerFor passing showers: membrane jacket plus a water-resistant fleece-style jerseyFor continuous rain, wear a long-sleeve thermal jersey beneath a hard-shell rain jacket.Winter tightsThermal socks, neoprene shoe covers with a thermal liningConsider a less vented helmet and use a winter hatNeoprene gloves with a thermal lining
Effort adjustment: During hard climbs, keep insulation under the shell light and open the front zip briefly when effort rises, then close it before the descent. At an easy pace, wear the warmer thermal jersey under the shell when the rain is steady.
Thermal Lined Neoprene Covers
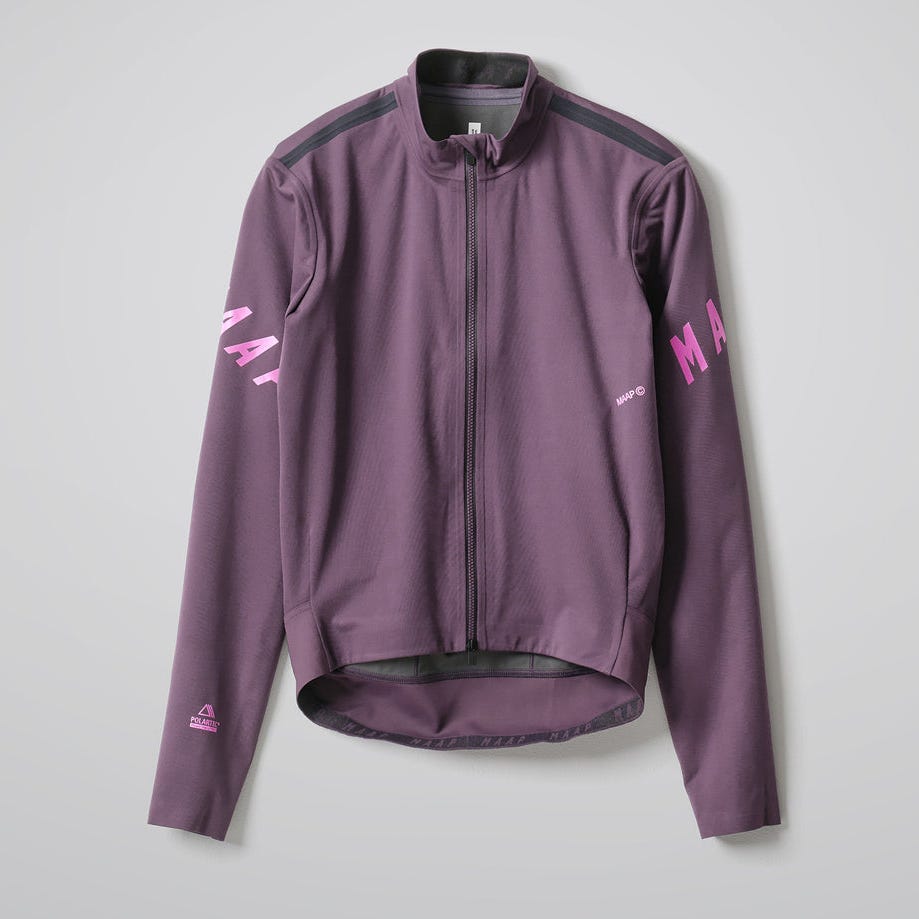
Thermal Waterproof Jacket
 Member Exclusive: Check Out Our Top Cycling Stories
Test Editor Dan Chabanov got his start in cycling as a New York City bike messenger but quickly found his way into road and cyclocross racing, competing in professional cyclocross races from 2009 to 2019 and winning a Master’s National Championship title in 2018. Prior to joining Bicycling in 2021, Dan worked as part of the race organization for the Red Hook Crit, as a coach with EnduranceWERX, as well as a freelance writer and photographer.