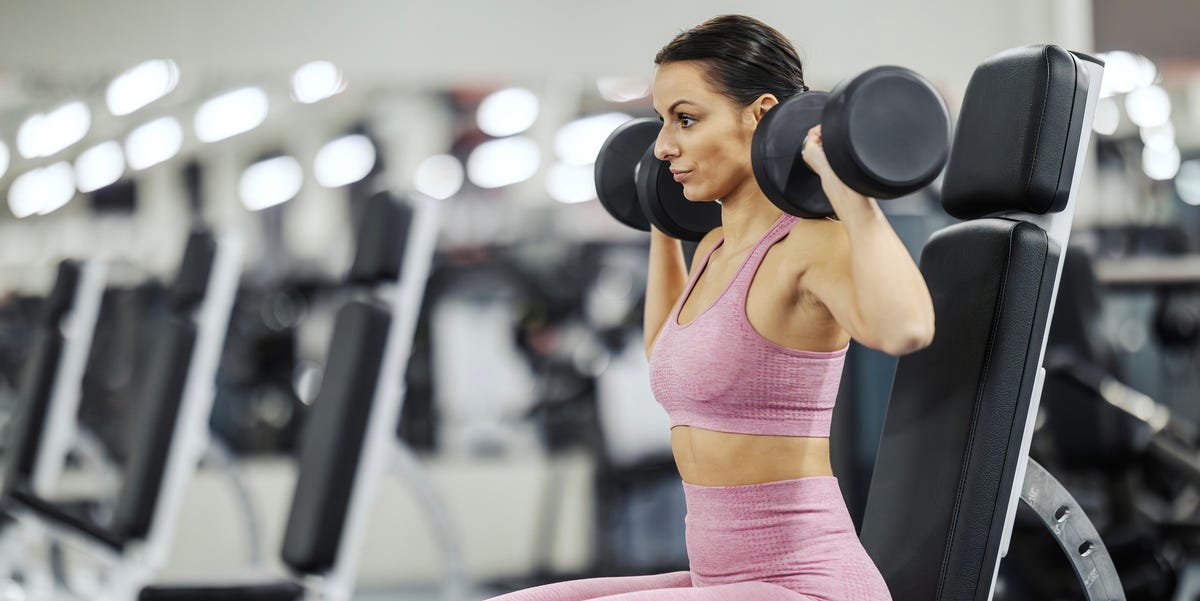
‘How do I gain muscle and lose fat?‘ is the question Dr Stephanie Estima, doctor of chiropractic and women’s health expert in physiology and hormones, says she’s asked more than any other after over 20 years in clinical practice.
Addressing the muscle-building side of body recomposition on a recent episode of The Diary of a CEO, she explained that strengthening certain muscle groups can help create a more defined silhouette.
‘If the goal is body [re]composition and they are trying to build “curves”, these are the five muscle groups that I want women to be thinking about… in order to help develop more of an hourglass figure,’ she said, highlighting a section from her new book, Nothing to Lose (Hay House, £15).
‘You can’t spot reduce [fat], but you can definitely spot build [muscle] – you can put curves where they weren’t before,’ she added.
5 muscle groups to prioritise for body recomposition – and the best exercises for each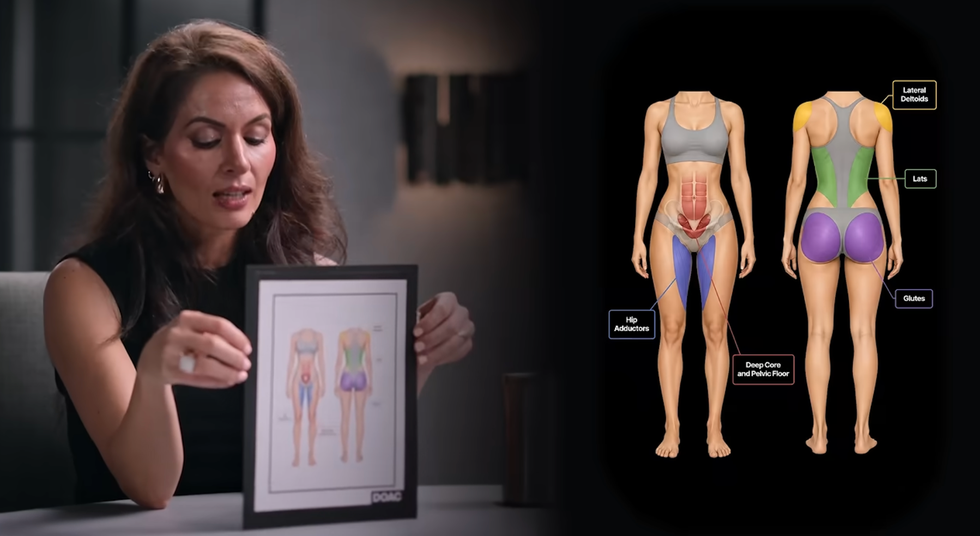
The Diary of a CEO//YouTube
Shoulders (deltoids)
Dr Estima advises focusing on the lateral delts (side shoulders) over your front and rear delts.
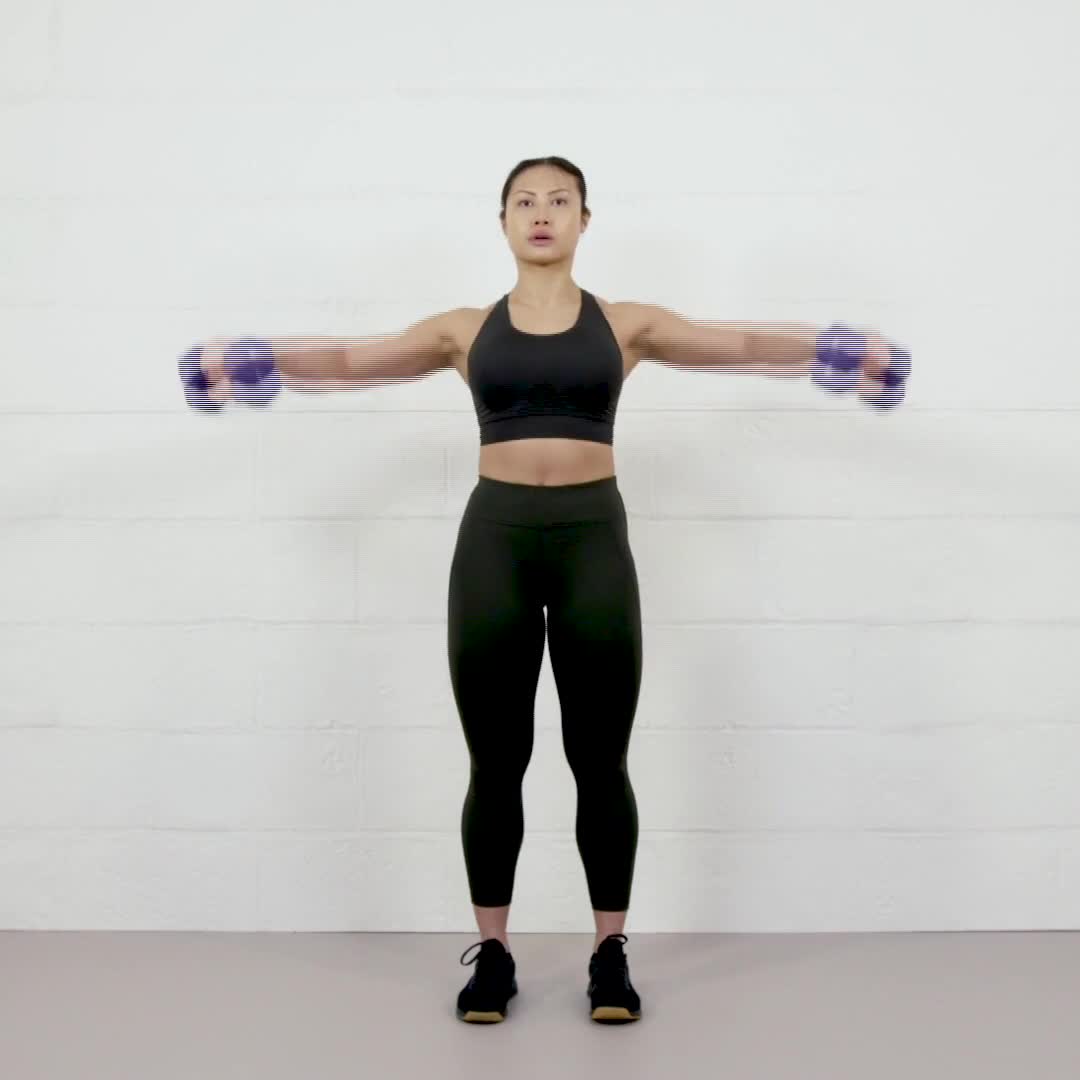 Stand with your feet shoulder-width apart with a dumbbell in each hand.Keep your shoulders relaxed and a slight bend in your knees.Lift the dumbbells out to your sides to shoulder height with a gentle bend in each elbow.Ensure your back is neutral, tailbone is tucked and your shoulders are away from your ears.Gradually lower the dumbbells to the starting position.Upright row
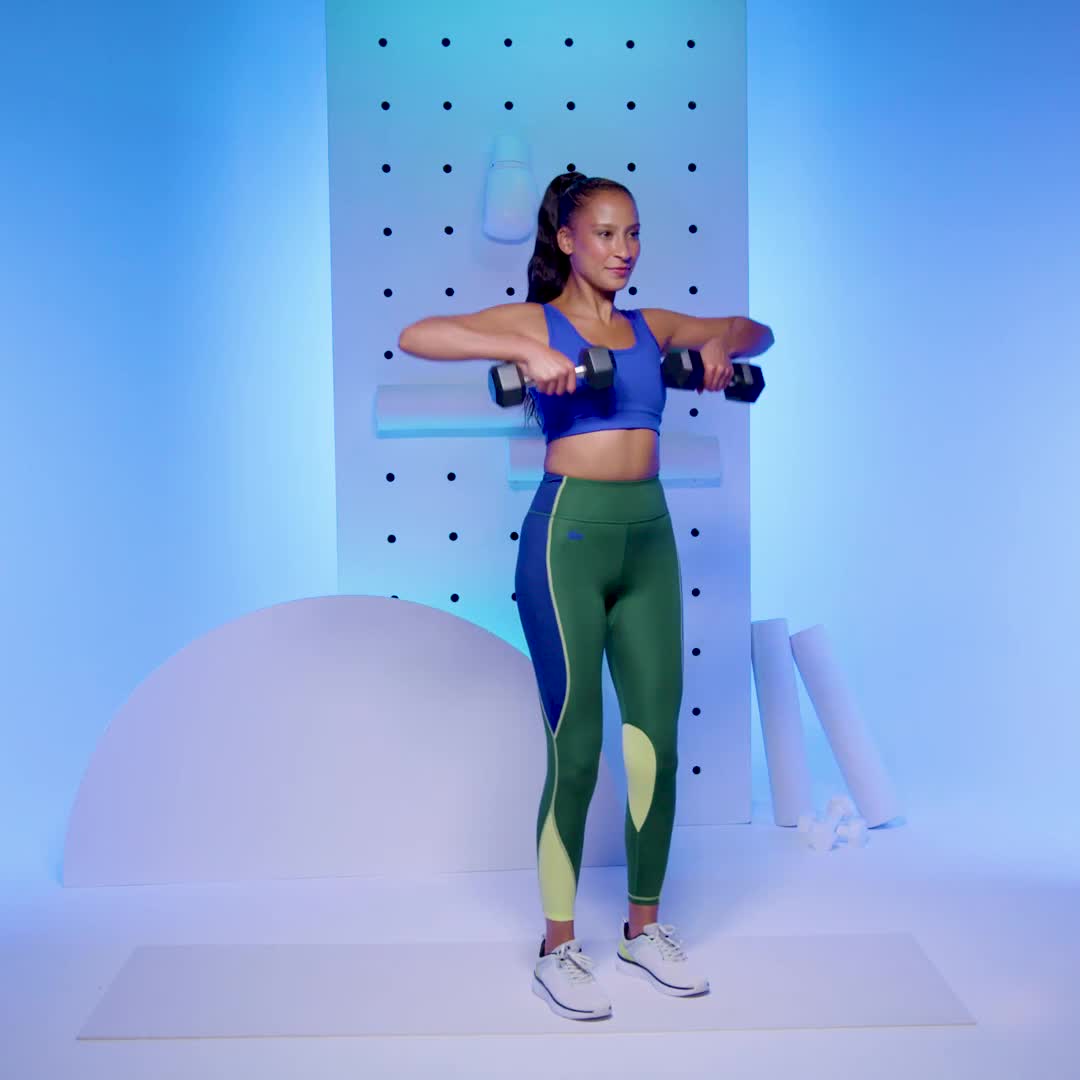 Start with your feet under your hips, legs straight, holding a dumbbell in each hand, palms facing toward your body and weights touching your quads.Pull elbows up and out wide to lift the dumbbells to your chest.Reverse the movement to return to the start with control. Bent-over rear delt fly
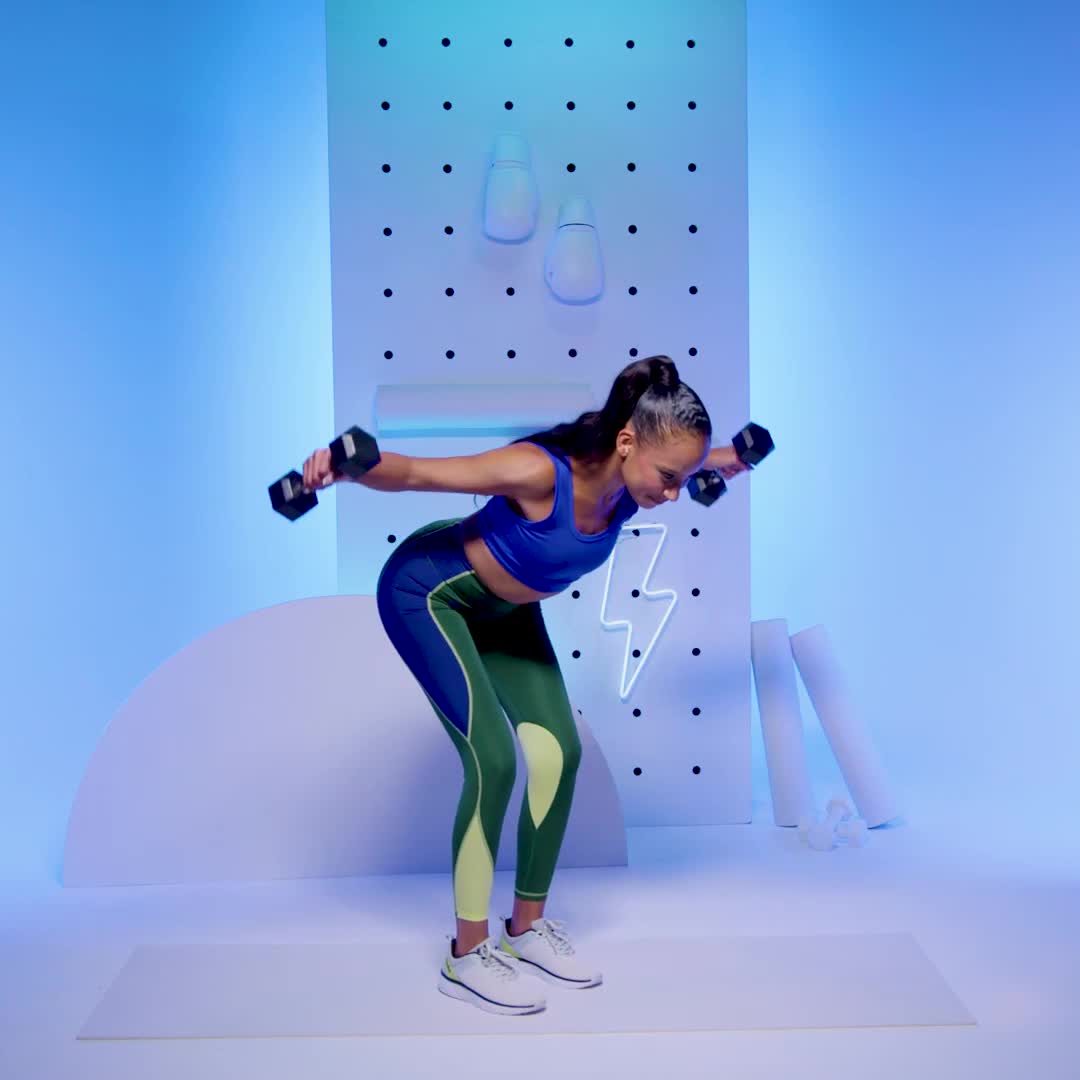 Start standing with feet hip-width apart, knees bent, hinged forward at the hips until back is flat and torso is parallel to mat, holding a pair of dumbbells with arms extended down toward the floor, elbows softly bent and palms facing each other.Raise both arms up and out to the sides while squeezing shoulder blades together.Lower arms back to the start with control. 2. Back
Dr Estima recommends working on your lat muscles in particular.
‘[Developing your] lats…helps to create that “V” as your back widens, [so] you have a the appearance of a slender or slimmer waist,’ she says.
Lat pulldown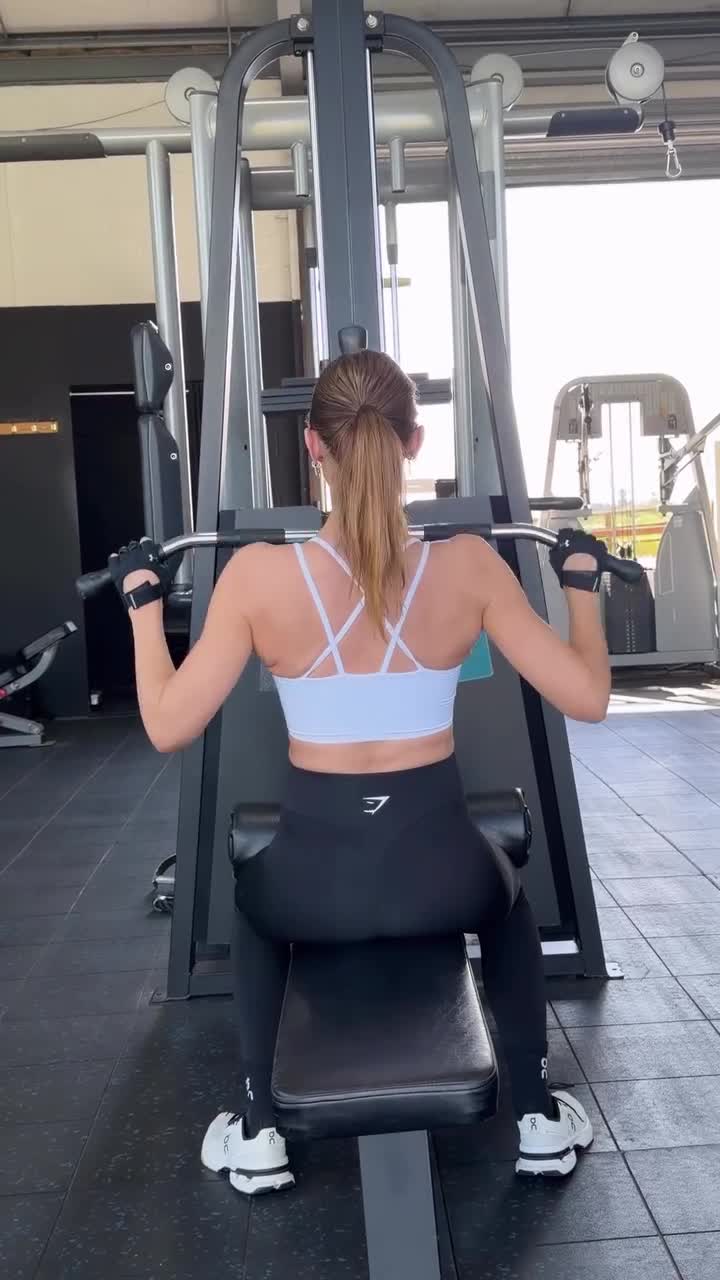 Sit at a lat-pulldown station and grab the bar with a shoulder-width overhand grip, arms straight and torso upright.Without moving your torso, pull the bar down to your chest as you squeeze your shoulder blades together.Pause, then slowly return to the start.Seated cable row
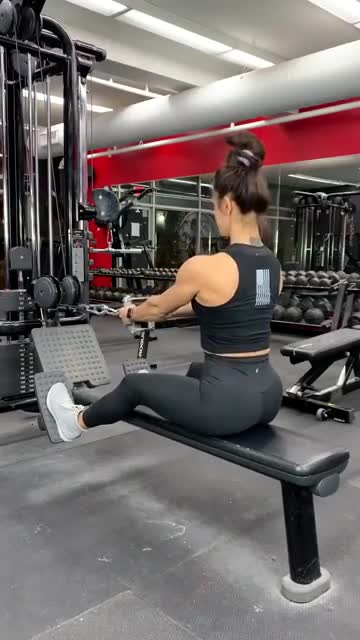 Clip a ‘double D’ handle to the cable machine and sit down, placing your feet securely on the footplate. Keep your knees bent, maintain a slight arch in your lower back, and lift your chest with your shoulders drawn back. Grasp the handles with each hand, palms facing each other.Bring your shoulder blades together as you pull your elbows back and your hands towards your torso. Pause, then allow your arms to extend and return to the starting position.
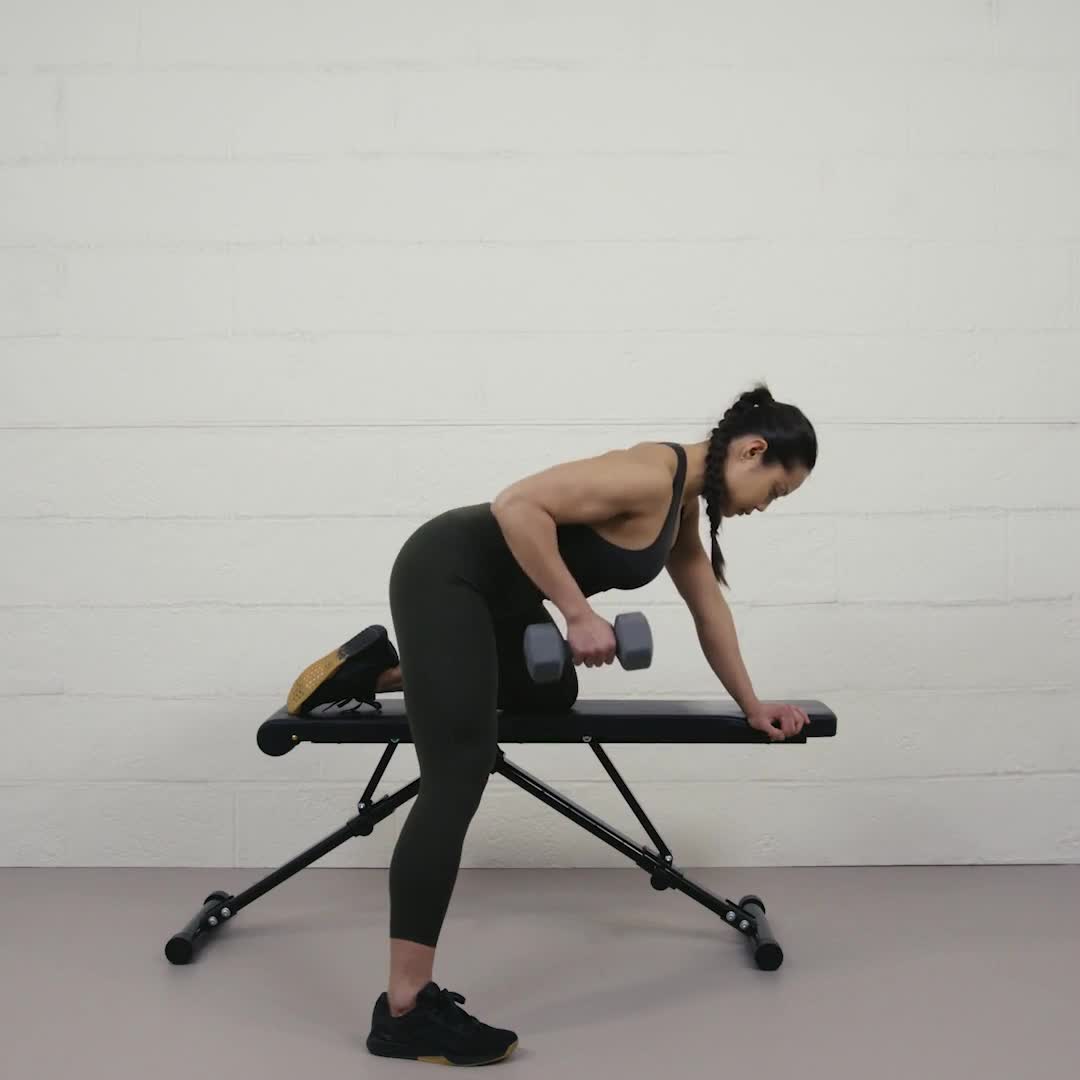 Place one hand and the same-side knee on a bench. Your hand should be under your shoulder and your knee directly under your hip. Hold a dumbbell in the opposite hand and let your arm hang straight down.Draw the dumbbell towards your waist, keeping your elbow tucked into your side.Pause briefly before lowering with control.3. Glutes
Three muscles make up the glutes: the glute maximus, medius, and minimus, says Dr Estima.
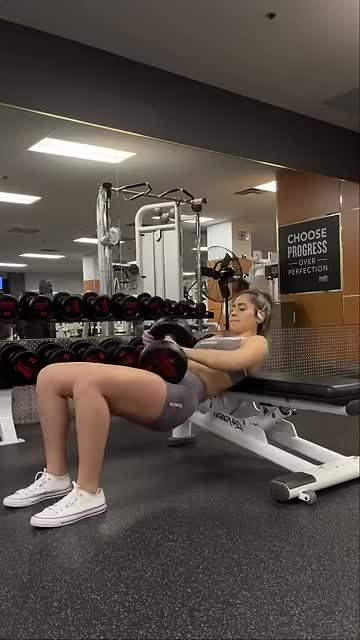 Sit on the floor with your upper back against a bench. Hold a dumbbell across the hip of your working leg.Place your working foot firmly on the floor. Lift your other leg off the ground and keep it raised throughout the movement.
Keep your chin tucked, ribs down, and brace your core.
Drive through the heel of your working foot and squeeze your glute to lift your hips until your body forms a straight line from your shoulders to your knee.
Pause at the top and fully contract your glute without arching your lower back.
Slowly lower your hips back down with control.
Machine hip abduction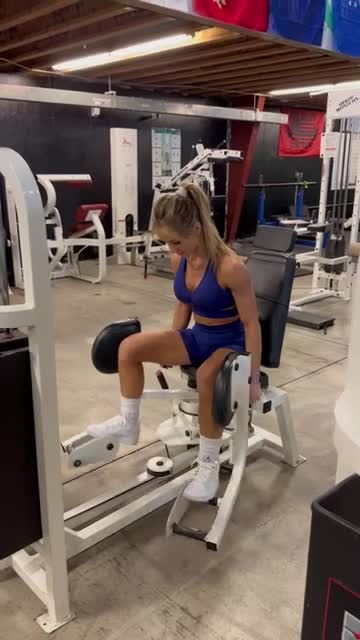 Adjust the seat and leg pads so they rest comfortably against the outside of your knees or thighs. Select an appropriate weight.Sit on the machine with your feet on the footrests and lean your torso slightly forward from the hips while keeping your back straight. Hold the handles for stability.Brace your core and keep your torso still throughout the movement.Push your legs outward against the pads as far as is comfortable, squeezing your glutes at the end of the movement.
Pause briefly, then slowly return to the starting position with control, resisting the weight as your legs come back together.
Cable kickback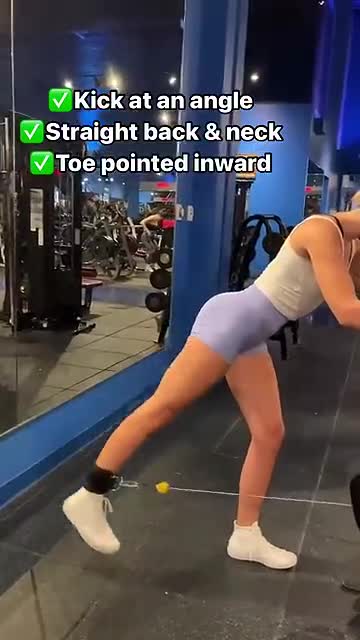 Attach an ankle strap to a low pulley setting on a cable machine and secure it around your working ankle. Stand facing the machine with your weight on your supporting leg, holding the frame for balance if needed.Brace your core and keep your back straight. Keeping your working leg slightly bent, extend it straight back, squeezing your glute at the top of the movement.Slowly return your leg to the starting position with control. 4. Inner thighs (hip adductors) Lateral lunge
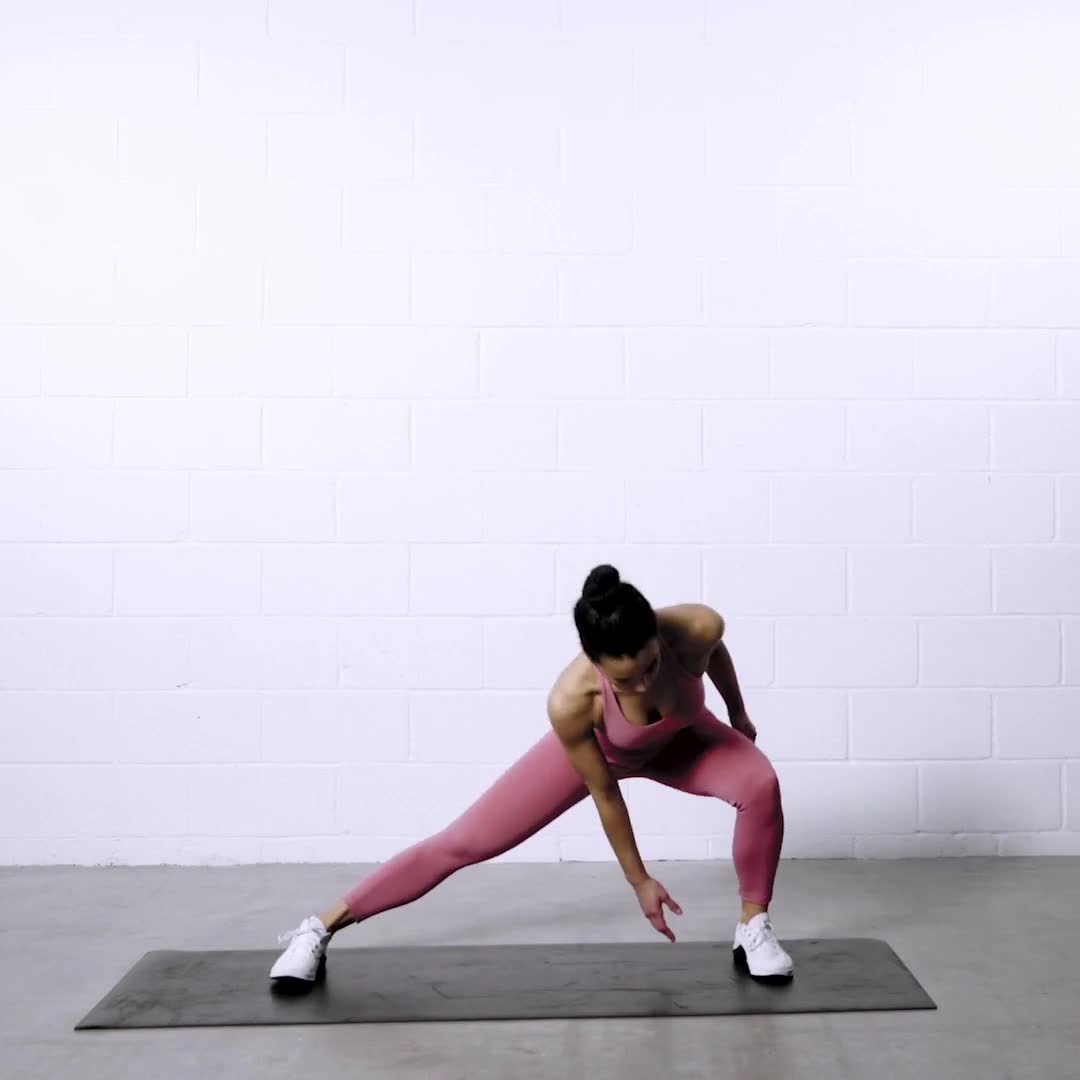 Stand at the top of a mat with your feet together.Brace your core and take a large step out to one side. Bend the knee of your stepping leg, pushing your hips back as if sitting into a chair, while keeping your chest lifted and back flat.Keep your opposite leg straight, with both feet pointing forward.Push through the heel of your bent leg to return to the starting position.
 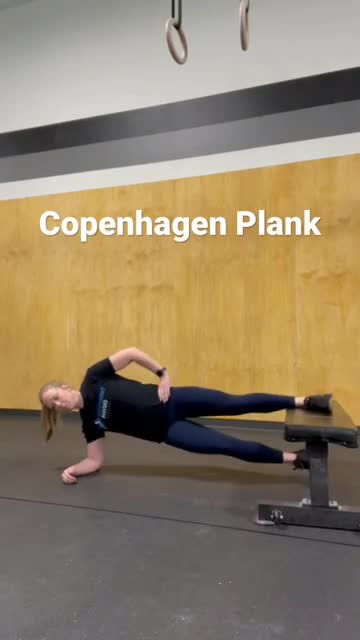 Start in a side plank position and rest your top calf on a bench, chair, sofa, or other sturdy knee-height prop.Press into your top leg and bottom forearm and engage your core, glutes, and inner thigh to lift your hips and bottom leg off the floor. Keep your shoulders, hips, and knees in one straight line. (For a modification, leave your bottom leg on the floor. To make it more challenging, rest your top ankle on the bench instead of your calf.)Hold for 10 to 30 seconds, then lower your hips back down to the floor with control. Machine hip adduction
 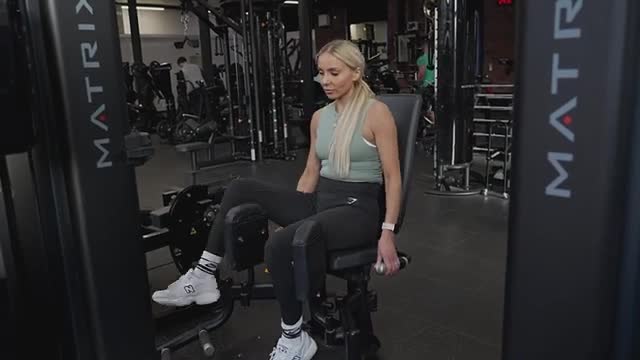 Adjust the seat and thigh pads so they sit comfortably against the inside of your thighs. Select an appropriate weight.Sit upright with your back against the backrest, feet placed on the footrests, and hold the handles for stability. Brace your core and keep your upper body still.Slowly press your legs inward, bringing your thighs together and squeezing your inner thighs at the end of the movement.Pause briefly, then slowly return to the starting position, allowing your legs to open with control. 5. Deep core and pelvic floorX plank
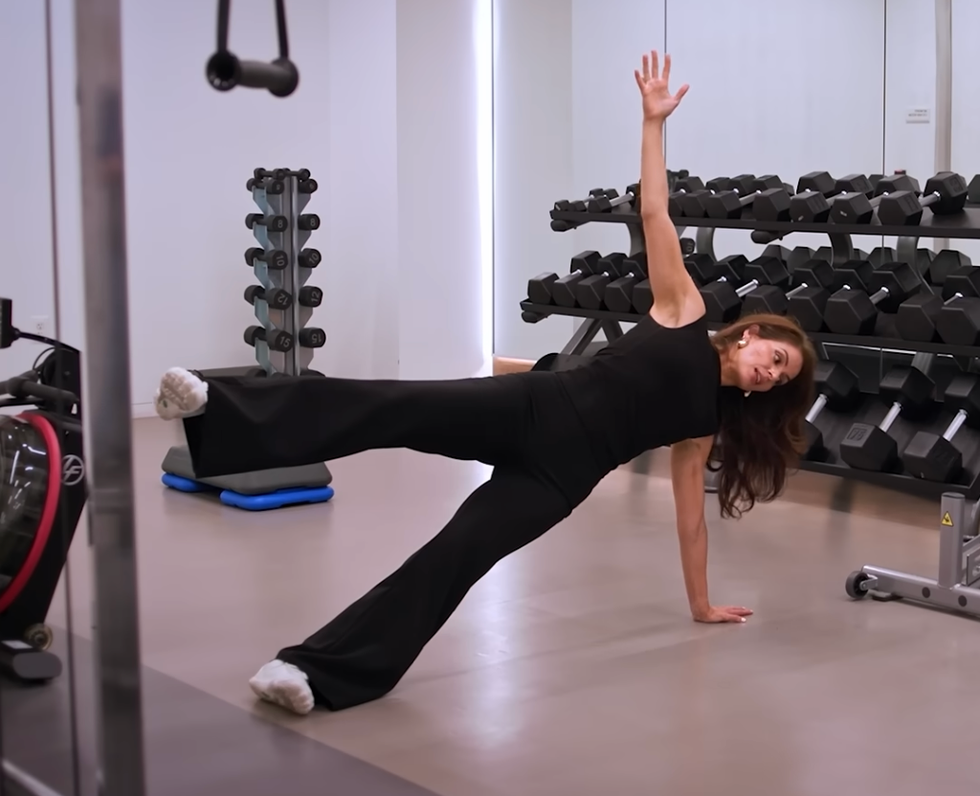 The Diary of a CEO//YouTube
Dr Estima demonstrates the X plank
‘This is directly challenging the muscles on the side of the hip and whether or not you can stay stable,’ says Dr Estima. ‘So this is a great exercise.’
Come into a side plank position, making sure ‘your wrist and your shoulders are all aligned.’ Keep your toes facing forward.
Lift your top arm up towards the ceiling and hold the position for up to 30 seconds.
Focus on maintaining control, as ‘this is really testing the stability and the mobility of your hips’.
Keep your top leg lifted away from your body, as ‘it’s also testing the integrity of your ability to stay abducted’, or held away from the centre of your body.
Bird- dog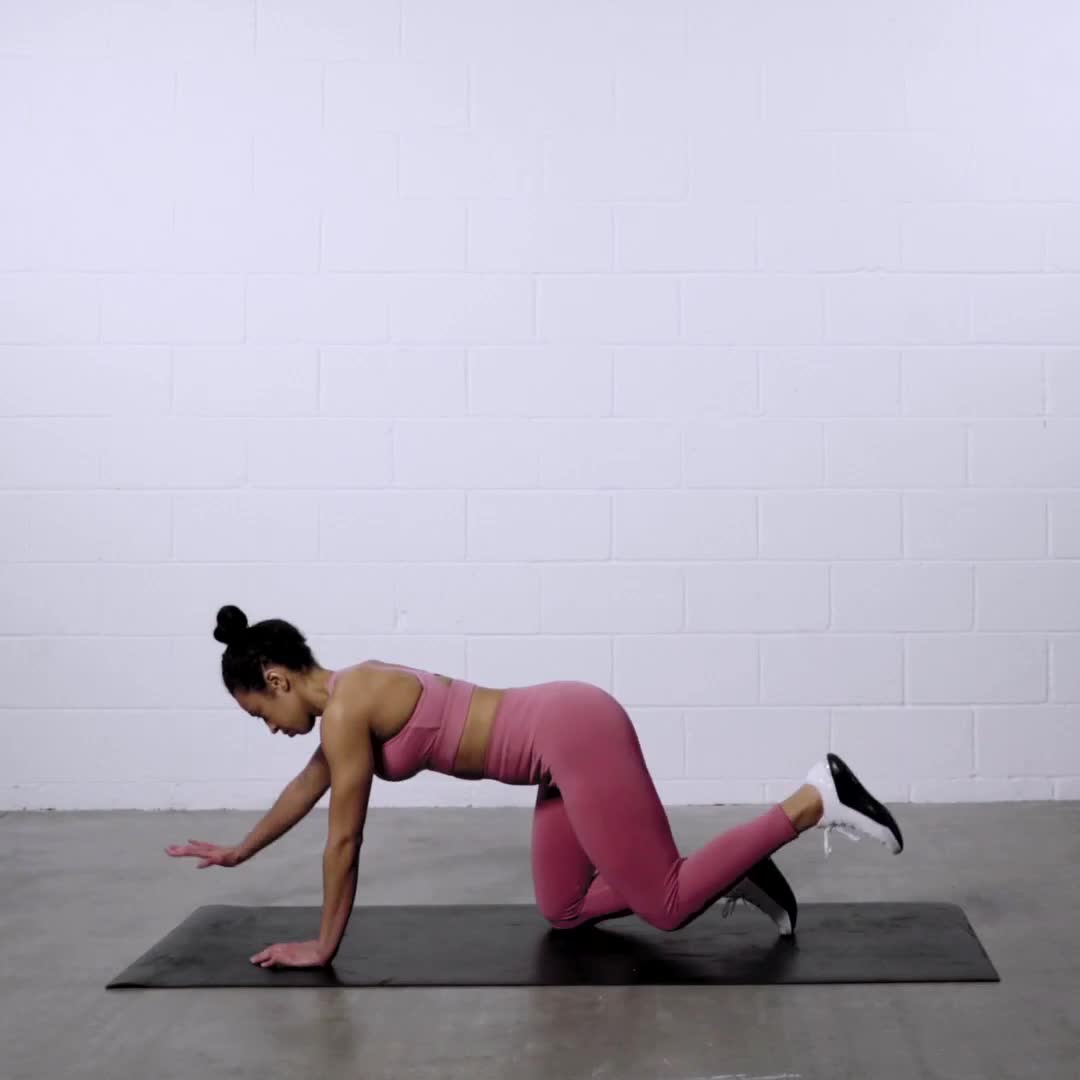 While on all fours, position your spine into into a pain-free position. Your thoracic spine (middle section) should be curved slightly upward. Engage your abs to control your torso and ensure that movement will be focused just around your hips and shoulders.Raise the opposite arm and leg simultaneously. Do not raise the arm higher than the shoulder, nor the leg past the height of the hips. The objective is to be able to hold the limbs parallel to the floor for about six to eight seconds.The bird- dog is improved by ‘sweeping’ the upraised hand and knee along the floor between ‘holds’.
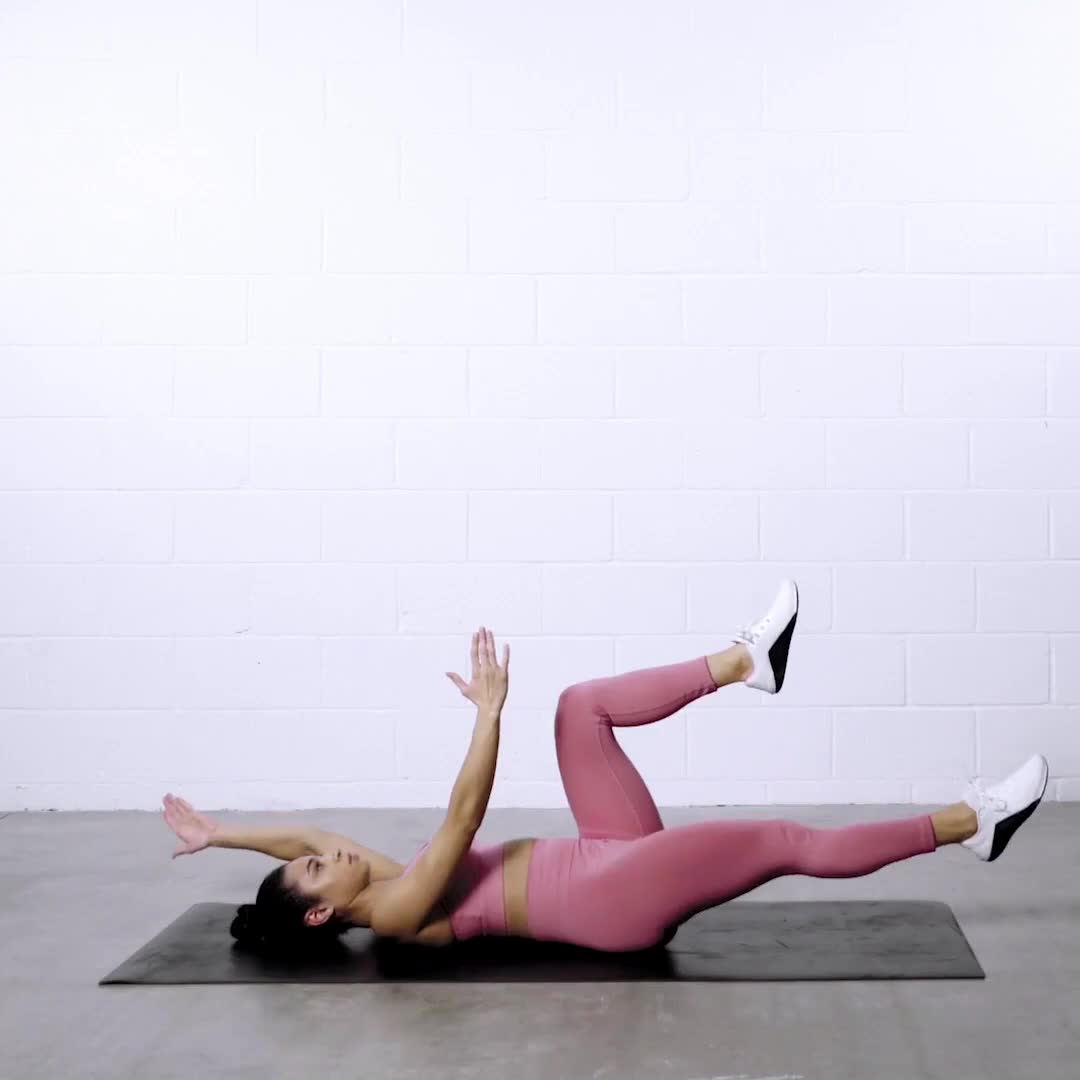 Lie flat on your back on the floor or a mat and try to get as much of your spine in contact with the ground surface as you can. Raise your arms straight up towards the ceiling, and bend your hips and knees to 90-degrees to create a ‘table top’ with your shins. Without any part of your spine losing contact with the floor, reach your left arm up above your head and extend your right leg. Push your heel away, and pull your toes back towards you as you extend, imagine you are standing on that leg.Fully exhale as you reach the longest part of the movement.Without allowing your heel to touch the floor, slowly return to the setup position.Dr Estima’s recommended training routine
Dr Estima advises around 3-4 days of strength training per week, ‘alternating between upper and lower body’.
Across those days, ‘you should perform 10 sets of exercises per muscle group each week,’ she continues. ‘So 4 hip thrusts is one set of 4,’ clarifies Stephen.
‘It’s not that much,’ she reassures. ‘[Some women] say “I [can only strength train] two times a week”, but…you can still have incredible results as long as you are taking the muscle one to three repetitions from failure.‘
This means you should choose a weight that allows you to complete your set while feeling like you could only do 1-3 more reps before you couldn’t continue with proper form.
One of our most frequently asked questions here at Women’s Health? How to build muscle and burn fat at the same time. So, we asked superstar trainer Oyinda Okunowo exactly how to do it. In this 4-week plan – created exclusively for Women’s Health COLLECTIVE members – you’ll get the workouts and nutrition guidance needed to help you on your way to better body composition. Tap the link below to unlock 14 days of free access to Oyinda’s plan and start training today.