
Published March 16, 2026 03:05AM
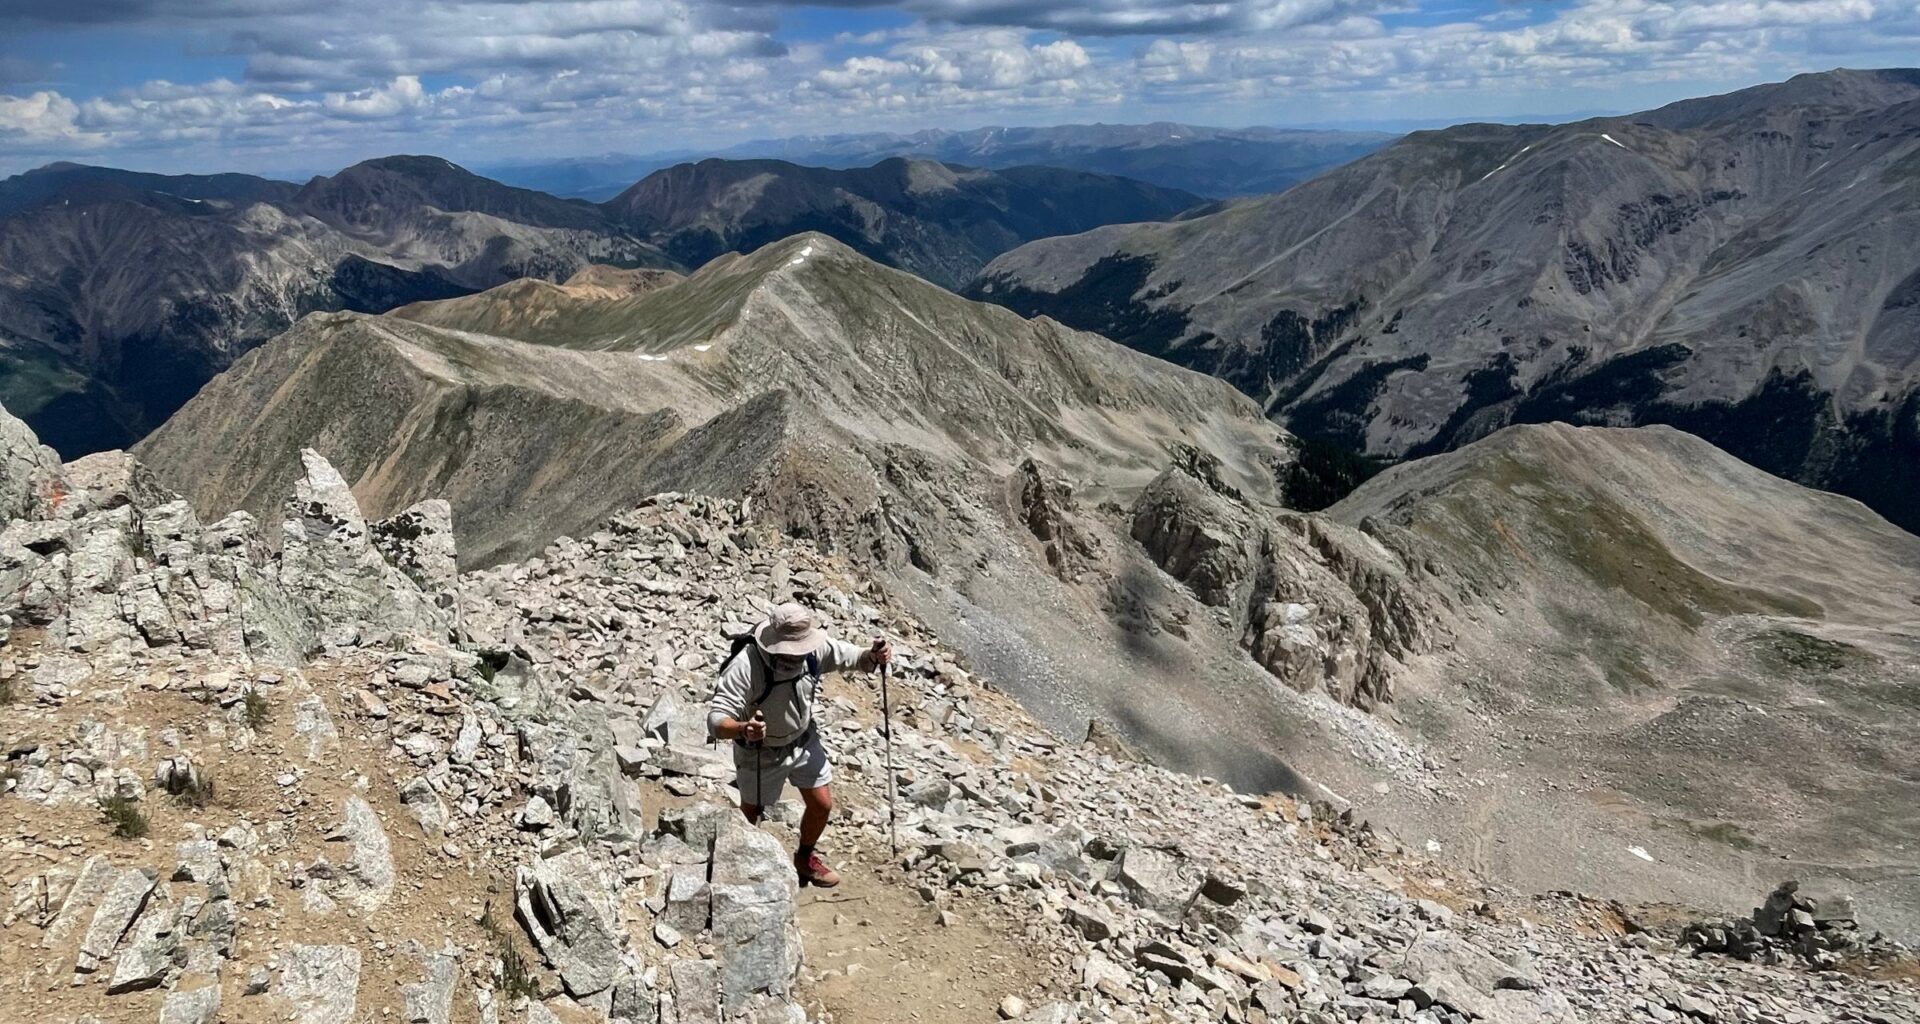
Backpackers are fond of saying that the only way to get fit for hiking is by hiking. But that’s not necessarily true, says Marc Monroe, a physical therapist and strength and conditioning coach based in Boulder, Colorado. “It’s not the only way, and it’s not always the safest or most efficient way,” he says. If you live in the flatlands, can’t get to a trail regularly, or don’t have the time to plod around for hours during the work week, you can make up a lot of fitness in the weight room—provided that you do specific-enough exercises.
Even if you do have trail time on the menu, gym sessions are still essential for most hikers, says Monroe.
“Strength training should be considered foundational, not optional,” he says. “At 30, we start losing 3 to 8 percent of our muscle mass each year. By 60, it drops off a cliff. Strength training can help slow or reverse that.” It can also help prevent injury, improve load tolerance, and increase your tendon capacity—e.g., reduce knee pain over long hikes.
So, whether you’re getting to the trail or not, strength training should be on your pre-season schedule. The caveat? Hiking challenges all kinds of muscles in unique ways. To truly train for the trail, you’ll need to target the right muscular systems. According to Monroe, that’s your core, glutes, quads, and lower legs, in that order. Here are his top picks for sport-specific exercises in each category. Target 3 rounds of 8 to 10 reps of each exercise, and try to get into the gym two to three times per week for maximum benefit.
Core
To truly prepare for the chaos of the trail, you’ll need to prioritize core stability in all planes of motion. “Your core is your foundation,” says Monroe. “Everything else you train is going to start from here.”
Oblique v-ups
Lie on your side with your legs straight and your body bent into a shallow L shape. Press your lower palm into the floor and use your obliques to lift your legs off the floor, keeping them straight and pressed together throughout. Touch your feet with your upper hand, then lower your legs back to the floor. Repeat.
Dead bugs
Lie on your back with your legs up and knees bent at a 90-degree angle. Your arms should be extended straight alongside your ears. Slowly extend your left heel toward the floor as you reach your left arm forward toward your right knee. Tap the floor with your heel and knee with your hand. Then move slowly back to the starting position. Switch sides, keeping your core engaged and spine pressed into the floor throughout.
Russian twists with press
Sit holding a plate or medicine ball in front of you. Bend your knees and lift your heels off the floor. With heels suspended, turn to the left and tap the plate against the ground, then turn to the right and do the same thing. Try to keep your back straight throughout.
Deadlifts
Strengthening the lower back is critical to balancing out the muscles of the core. Start with a barbell or a large kettlebell on the floor in front of you. Hinge at the hips, keeping your core engaged, spine neutral, and knees slightly bent. Pick up the bar, then squeeze your core, lower back, and hamstrings to pull yourself into an upright position, keeping the bar close to your shins as you rise. Start with low weight as you get a feel for the form. If you haven’t deadlifted before, find an experienced spotter to check your technique.
Pallof press with a band
Girth-hitch a resistance band to a squat rack (or use a cable machine) and step away from the rack until the band is taught. Standing parallel to the band with one foot forward, hold it in both hands against your belly button. Push the band away from your body, facing forward and using your core to resist the urge to twist toward the rack. Once your arms are fully extended, use your core to turn away from the rack, then slowly twist back to your original position. Bring the band back into your belly button, then repeat. Do all your reps on one side, then switch.
Glutes
Next stop: the glutes. “Your glutes align and stabilize the lower leg,” says Monroe. “If they do what they need to do, everything else should be working more efficiently.”
Side-step with band
Put a resistance band around your ankles. Then bend your knees slightly and walk sideways for 10 to 20 steps. Pause, then walk back the way you came to work your other side. You should feel this in the sides of your glutes and legs.
Side planks with hip abduction
Get into a side plank position on your elbow. Then, lift your upper leg using your glute. Hold it here, parallel to the floor, for 30 to 45 seconds. Then, switch sides. If you want to add challenge, hold a dumbbell against your upper hip.
Hip thrusters
This is the gold-standard exercise for your glute max. Sit against the long side of a bench with your knees bent and your feet flat on the floor in front of you. The edge of the bench should sit just under your shoulder blades, and your elbows should rest on the bench. Put a weighted barbell in your lap, balanced in the soft part of your hips right below your hipbones. With your hands resting on the bar to hold it in place, squeeze your glutes to straighten your body and push the barbell off the floor, rocking back onto your shoulder blades and elbows until your body is parallel to the floor and your head is on the bench behind you. Slowly sink back to the starting position and repeat.
Single-leg Romanian deadlift
Single-leg exercises are ideal for hiking because they mimic the instability of the trail and help prevent muscle imbalances. Among these is the single-leg Romanian deadlift. To do it, put a kettlebell (or dumbbell) on the floor in front of you. Standing on your left leg, hinge forward until you can grab the kettlebell with your left hand. Squeeze through your glute, hamstring, and lower back to lift yourself (and the kettlebell) back to a single-leg stand. Keep your core tight and your spine neutral throughout. Do all your reps on one leg, then switch.
Bulgarian split squats
Holding two dumbbells, elevate one foot on the bench behind you. Sink into a single-leg squat on your forward leg, keeping your knee in line with your ankle and behind your toes throughout. Pause at the bottom of the motion, when your knee is at a 90-degree angle, and remind yourself to tighten your lower core. Then, drive up through the heel to rise back to your starting position. Do all your reps on one side, then switch.
Elevated single-leg squats
A precursor to the pistol squat, this is a challenging exercise that will give your glutes a run for their money. Stand at the edge of a box on one leg. Your foot should be parallel to the edge. Keeping your free leg straight, slowly sink into a single-leg squat, reaching your free heel off the edge of the box toward the floor. When your standing knee is at a 90-degree angle, pause and squeeze your glute to push yourself back into a stand. If you need a little boost, tie a resistance band to a squat rack in front of you and tug on it to help you rise.
Quads
Your quads are among the most powerful muscles in the leg, and the ones you’ll rely on for big climbs and long descents. “Quad-specific exercises are a must-have in any hiking program,” Monroe says.
Heel-elevated goblet squat
Stand on a slant board (or put your heels on a plate). Now squat with your back straight, letting your knees come forward but keeping them in line with your toes as you sink down. When your knees are at a 90-degree angle, hold for three seconds, then push through your feet to return to the starting position. If you need more challenge, hold a kettlebell or dumbbell.
Eccentric step-downs
Stand on one leg with your toes at the forward edge of a low box. Step down, slowly lowering your free leg toward the floor. Tap your heel to the floor, then push up through your elevated leg to rise back to the starting position. Do all your reps on one leg, then switch.
Walking lunges
Hold a pair of dumbbells or a plate and lunge across the room and back, barely tapping your knee to the floor at the bottom of each lunge. The motion should be slow and controlled; absorbing your momentum with your quads will help you mimic the rigors of downhill hiking.
Suitcase carry
Loaded carries help your quads mimic the challenge of hiking with a heavy load. While the farmer’s carry (walking with a heavy weight in each hand) helps strengthen the front and back of the core, the suitcase carry (walking with a heavy weight in one hand) works your obliques as well. Stand beside a large dumbbell or kettlebell, squat down to grab it, and lift with your legs. Then, walk across the room, using your core to maintain a straight spine throughout. Switch hands, then walk back the way you came.
Lower leg
This muscular system includes the calves, ankles, and the muscles along your shin bone. It’s the final stop in a hiking-specific training program, and not to be neglected.
Eccentric calf raises
This slow-and-controlled calf exercise will strengthen your Achilles and help prevent tendonitis. Start balanced on the balls of your feet on the edge of a step with your heels hanging off into space. Lift up onto your toes and pause. Then, slowly drop your heels until they’re just below the edge of the step. (The slower the better.) Pause for one second at the bottom of the motion, then push back up onto your toes and repeat. If you need more challenge, do these on one leg.
Bent leg eccentric calf raises
Eccentric calf raises only work one part of the muscle. To work the rest, do these with your knees slightly bent throughout. Feel free to touch a wall or hold onto the back of a chair for balance, particularly if you’ve graduated from double-leg calf raises and have moved onto the single-leg version.
Tibialis raises
The reverse of calf raises, tibialis raises balance out the lower leg and help prevent shin splints. To do them, stand with your back against a wall and your feet about 12 inches in front of you, almost as if you’re about to do a very shallow wall sit. Engage your shin muscles to lift the balls of your feet off the ground. Balance on your heels for one second, then lower your toes back onto the floor.